Slippers by the door and hot cocoa in hand signal seasonal change, but winter prep starts long before the first flake falls. Embedding the right habits now saves you from headaches later. Tackling draft-proofing and heater maintenance means enjoying warmer days at home during the chilliest months.

Ultimate Spring Cleaning Checklist for Every Room
Find your ultimate spring cleaning checklist for every room. Transform entryways, kitchens, living areas, bedrooms, and more with room-specific tips, checklists, and acti
Effective winter prep keeps energy bills in check and homes comfortable. Gaps under doors or fluttering curtains hint at heat loss, while a neglected heater shortens its own lifespan. Both are fixable with smart, focused steps that fit any busy household’s schedule.
Ready for a truly practical winter prep walkthrough? Find out how to block sneaky drafts and keep your heater humming, using methods you can finish in a weekend. These steps lay the foundation for a healthier and more efficient winter season.
Find and Fix Drafts to Protect Your Winter Comfort
Locating and sealing cold-air drafts delivers an instant bump in home comfort. This step cuts down on heat escaping—making your winter prep more effective from the get-go.
Stand by windows and doors on a windy day. Feel for chilly air or rustling curtains. Make a quick note of which spots cause most discomfort—these areas matter most for draft-proofing efforts.
Use Smoke or Paper for Pinpointing Leaks
Hold a lit incense stick or very thin paper strip near suspected drafty frames. See how smoke wavers or paper flutters. A steady stream means there’s a real leak that needs your attention.
Apply this method at the edge of old wooden frames, basement doors, or the rim of attic access points. Watch which way the smoke flows and jot down spots that require repair.
Finish with a checklist. “Window seam upstairs: needs weatherstripping. Basement door: thick draft, may need a sweep.” This approach keeps your winter prep simple and actionable.
Seal Gaps with Affordable Materials
Once you spot a draft, grab self-adhesive foam tape or silicone caulk. Press the tape along the frame’s edge or squeeze caulk precisely into narrow cracks. Wipe excess for a neat result.
Don’t forget outlet covers on exterior walls. Snap on foam gaskets behind cover plates—a quick task with a screwdriver. Each small step cumulatively boosts your winter prep results and lowers heating demands.
Walk back through your draft list after sealing. Stand by the previously leaky spot and feel for changes. Tackling each detail ensures none of your work goes to waste.
| Draft Location | Detection Method | Sealing Solution | Takeaway |
|---|---|---|---|
| Window frames | Incense or paper strip | Weatherstripping foam | Seal to reduce recurring cold spots |
| Basement doors | Hand test for airflow | Door sweep seal | Add door bottom seals for better results |
| Attic hatches | Smoke stick detection | Insulated cover kit | Insulate access points for energy savings |
| Electrical outlets | Back-of-hand or candle | Foam gasket inserts | Install behind plates on outside walls |
| Floorboard edges | Visual gap check | Clear silicone caulk | Caulk for lasting airtightness |
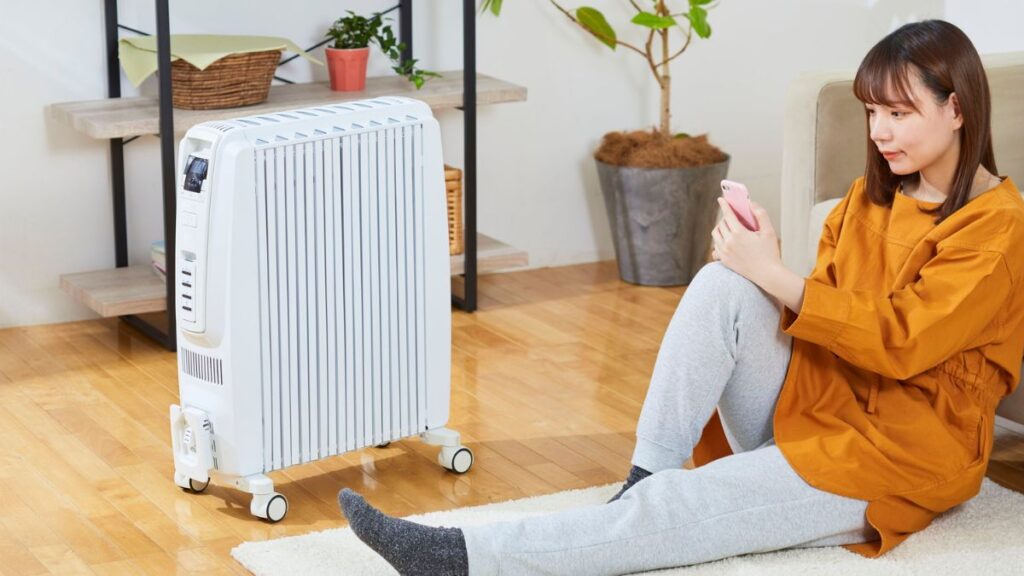
Ensure Heater Runs Efficiently and Safely All Season
Testing and maintaining your heater extends its life and avoids inconvenient breakdowns. Complete these winter prep tasks before the first big chill for peace of mind.
Flip your thermostat to heat and listen closely. A smooth system will click on, blow steady warm air, and shut off at the correct temperature. Distinct smells or unusual rattles signal service is needed soon.
Change Furnace Filters for Better Air and Efficiency
Slide out the old filter and check for a gray, fuzzy lid of dust. Replace it with a new, same-sized model marked for your furnace. Set a reminder to repeat every two to three months during heavy use.
- Replace filters monthly during winter—improves heater performance and lowers dust.
- Vacuum around vents weekly—allows air to flow freely and boosts room warmth.
- Test carbon monoxide detectors—alerts you to unsafe gas buildup from heater faults.
- Clear away storage from furnace area—prevents fire hazards and improves safety checks.
- Listen for noisy startup cycles—early indicator your winter prep may need professional support.
By staying vigilant, you’ll help prevent bad surprises on frosty mornings and keep costs in check throughout your winter prep routine.
Flush Radiators and Bleed Air From Baseboards
Radiator owners should check for cold spots while heat runs. Use a bleed key to carefully release trapped air; catch drips with a rag or dish. This improves circulation and ensures every room feels cozy.
- Turn heat off before starting—prevents accidental burns or leaks when bleeding radiators.
- Find the bleed valve at top—usually brass with a square key slot for easy control.
- Hold a small bowl or cloth under the valve—trapped water may spray as the air exits.
- Close valve quickly after hissing stops—ensures no water loss and keeps the system pressure steady.
- Check every radiator in the home—completes your winter prep and boosts heat efficiency everywhere quickly.
Use the same practical process with hot water baseboards if present—making your overall winter prep universal and thorough.
Clear Vents and Keep Every Room Consistently Warm
Arranging furniture with vents in mind helps airflow and avoids cold corners. This small but critical winter prep step ensures each room gets its share of warm air every time the heater runs.
If rugs, chairs, or curtains cover supply vents, airflow gets blocked or rerouted inefficiently. Shift furniture enough to keep at least twelve inches of space open around every vent for best circulation.
Clean Registers and Grilles Inside and Out
Pop off vent covers, then use a vacuum’s soft-brush tool for dust and hair. Wash covers in soapy water and let them dry fully before reinstalling. Clean vents help heaters breathe and keep airborne dust to a minimum all winter long.
Make it a habit to swipe grilles and floor registers at the start and middle of the season. The result: less dust means healthier air and a smoother heating cycle for your winter prep plans.
Replace any rusted, cracked, or stubborn grilles before cold weather arrives. You can find affordable options at home stores. New covers prevent heat leaks and can even update your room’s appearance.
Adjust Airflow With Dampers in Multi-Level Homes
If your home has multiple floors, check for manual air dampers in ductwork. In winter, slightly close vents upstairs, forcing more warmth downstairs, where air is cool. Mark damper handles with tape for easy future adjustments.
Explain the change to everyone in the house: “We keep upper vents mostly open in summer, but close them a bit for winter prep, so the living room gets warm first.” Make small changes and check comfort daily.
If available, ask guests to mention any room that feels cooler than the rest. Use feedback to tweak settings, building a home-wide approach to draft-proofing and warmth.
Spot Clean Chimneys and Vents to Prevent Hazards
Clearing buildup from chimneys and exhaust vents helps prevent blockages and keeps indoor air safe. Add this check to your annual winter prep before firing up wood burners or gas stoves.
Use a flashlight and mirror to look for debris, soot, or animal nests. Dirty vents make heaters less efficient and increase the risk of backdrafts or smoke leaks, so inspect both inside and outside for best results.
Schedule Professional Inspections and Recognize Warning Signs
If you notice a slow draft in the flue or whistling around stove pipes, don’t ignore it. Licensed inspectors handle clogs and buildup you can’t reach. Ask for a receipt showing the chimney’s clear for the year.
Watch for powdery soot around vent seams or faint smoky smells on cold startup days—these signs mean your winter prep is overdue for professional help. Store emergency contact info in your phone to schedule visits fast if needed.
After inspection, make a checklist of “clean” and “needs upkeep” areas. Tack this to your fridge or utility room wall as a visible winter prep reminder for the family all season.
Keep Dryer and Bathroom Exhausts Functional
Wipe away lint at the dryer vent exit after every load. Humidity can freeze grills shut on bathroom fans, so check these monthly and use a broom handle to knock away any frost or debris for clear ventilation.
Include these steps in your home maintenance calendar. A sticker with “vent cleaning day” every four weeks works as an effective, ongoing winter prep nudge. Your appliances will thank you, and so will your lungs.
After finishing, do a final walk around the exterior on a cold day. If you see condensed vapor or visible lint, add another cleaning pass to your winter prep checklist for truly safe and efficient air quality.
Check Insulation and Draft Barriers for a Tight Seal
Examining insulation and door sweeps can yield long-term benefits during winter prep, eliminating recurring cold patches and reducing the constant use of your heater throughout the season.
Look for matted insulation in attics or crawlspaces. These areas lose effectiveness over time, compressing under storage boxes or roof leaks. Replace or fluff compressed spots to restore full coverage and prep your home’s heat envelope.
Install or Replace Weatherstripping for Doors and Windows
Pick up peel-and-stick or V-strip weatherstripping at any home center. Scrape away old adhesive, measure lengths with scissors, and press on a clean surface. This keeps warm air in and drafts out, a core element of winter prep.
Teach kids or helpers to check for daylight at the edges of doors or windows. Seeing light means you need more or new insulation—repeat the process each season for reliable results.
Keep an extra roll of weatherstripping on-hand in your tool box. Emergencies, like surprise snaps in the strip, won’t slow down your winter prep timeline if you keep supplies nearby and ready.
Winterize Plumbing and Protect Against Freezing
Guarding pipes from freezing must be a core part of winter prep, especially in drafty basements or garages. Wrap pipes with foam sleeves, taping joints securely, and shut off exterior spigots before temperatures drop near freezing.
Add insulation covers to outdoor faucet heads. Lay towels or blankets over exposed runs during cold snaps. This habit prevents plumbing catastrophes and future repair costs—simple steps most homeowners can handle quickly themselves.
Drain Exterior Hoses and Install Frost-Proof Covers
Detach garden hoses, drain water, and roll them up for storage. A frost-proof cover—foam dome or antifreeze cap—takes only seconds to pop on and shields pipes from sudden temperature swings.
Imagine a neighbor hurriedly wrapping their faucet as ice forms: “I waited too long and now I need a plumber.” Avoid this common pitfall by adding this task to your early winter prep.
Scan the home for hidden spigots, like garage or patio faucets, and repeat the process before weather turns harsh. Routine makes the season less stressful and keeps surprises at bay.
Wrap Up Your Winter Prep With Smart Monitoring
Set up digital temperature monitors or smart sensors in draft-prone rooms. By checking these before and after your winter prep, you’ll see measurable results and identify new weak points before any discomfort sets in.
Keep the display panel in a visible spot—kitchen or living room—so everyone can glance at home temperatures daily. A small drop overnight signals where you should check doors, windows, or insulation first.
Log weekly temperature dips and note any patterns. If your bedroom feels brisk, but the kitchen stays warm, focus your next winter prep repair session on that space for smarter improvements moving forward.
Frequently Asked Questions
Walk with a lit incense stick or a tissue around windows and doors when it’s breezy outside. Smoke trails or tissue movement reveal exactly where air sneaks in. Mark these spots as top priorities for sealing up first.
If you hear grinding noises, smell musty or burning odors, or notice inconsistent heating from room to room, schedule a professional inspection. Annual maintenance as part of your winter prep can spot developing problems you may miss on your own.
Weatherstripping works for movable barriers like doors and windows, compressing with use, while caulk seals fixed gaps in frames or baseboards. Use both to maximize your winter prep effectiveness for blocking cold air across different surfaces.
Blocking vents below ground level (like in unused basements) may help, but avoid sealing main living space vents. Full covers can strain your system and reduce whole-home efficiency. A better winter prep tip is to adjust dampers, not shut vents entirely.
Add cleaning dryer vents, testing smoke and carbon monoxide detectors, flushing radiators, and checking attic insulation. These extra steps prevent hazards and raise your winter comfort level without major renovation or high costs, making repeat winter prep easier each season.

Pre-Holiday Cleaning Schedule to Beat the Seasonal
Discover a practical holiday cleaning schedule with checklists, room-by-room tips, and realistic micro-habits for a stress-free, inviting home all season long.