
<p Noticing weak water flow during your morning routine is frustrating, but it shouldn’t spoil your day. Many households experience this issue, making simple fixes valuable skills.
<p Efficient plumbing keeps daily tasks running smoothly. Over time, mineral buildup and clogged faucet aerators slow water, but reliable faucet aerator replacement can resolve these issues quickly without professional help.
<p Explore practical, proven ways to improve water pressure, extend fixture life, and achieve consistent flow. Whether you’re a first-timer or a seasoned DIYer, uncover actionable improvements in the guide below.
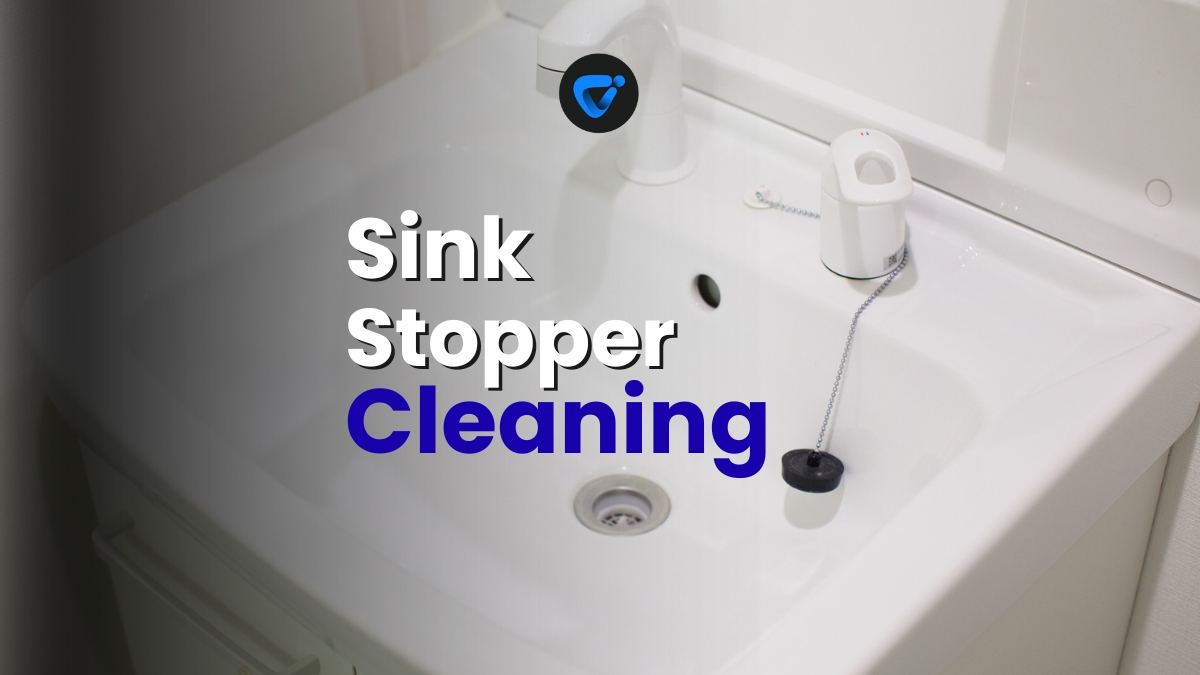
Sink Stopper Cleaning and Seal Check
Conquer slow sinks for good. This guide covers real-world sink stopper cleaning, fast seal inspections, and easy tools. Get a tidier kitchen and bathroom starting today.
Pinpointing Causes of Weak Faucet Flow on the Spot
<p Identifying why a faucet runs slow brings the solution within reach. Most sluggish flows start with a clogged or worn aerator, not complicated plumbing problems.
<p Looking closely at your faucet’s stream provides instant clues: an uneven spray, mist, or inconsistent pressure typically means the aerator needs attention or replacement.
Visual Inspection Techniques for Quick Clarity
<p Gently rotate your faucet’s spout and watch for any spray changes or side bursts. Place a glass under the flow—cloudiness signals debris, hinting at aerator replacement needs.
<p Many homeowners skip this step, missing clear signals. Wiggling the fixture lightly and inspecting with a smartphone flashlight also reveal hidden mineral deposits or stuck particles.
<p After removing the aerator, hold it to the light. Blocked holes or greenish-white crust confirm a clogged piece. Immediate faucet aerator replacement restores normal water delivery.
Understanding Mineral Buildup and Its Effects
<p If you notice chalky residue on shower heads and sinks, your tap’s aerator likely suffers too. Mineral-heavy water systems accumulate deposits inside small screens over months.
<p Buildup shrinks water pathways, creating uneven pressure and frustrating spurts. Replace the aerator whenever you feel a sudden drop in water strength or see gunky buildup.
<p Addressing hard water means regularly checking every faucet aerator. Replacement means smoother operation and less splashing on sinks and counters long-term.
| Cause | Observational Symptom | Immediate Action | Recommended Next Step |
|---|---|---|---|
| Clogged Aerator | Spray pattern changes; cloudy flow | Remove and inspect aerator | Replace with new unit if clogged |
| Mineral Scale | Crusty buildup, white stains | Soak in vinegar or clean | If cleaning fails, install new aerator |
| Old Gasket | Water leaks around base | Check rubber washer | Replace gasket or full aerator |
| Debris in Screen | Sudden weak water flow | Flush out trapped debris | Switch to fresh aerator for best results |
| Wrong Size Installed | Loose fit, leaks | Double-check threading | Obtain correct size before re-installing |
Choosing the Right Faucet Aerator: Avoiding Common Pitfalls
<p Picking the correct aerator saves headaches and money. Each faucet style demands a specific match for size, threading, and flow preference. Measure before you shop.
<p Sticking with trusted materials like brass or stainless steel prevents premature wear. Wind up disappointed using mismatched parts—stick with manufacturer’s recommendations or compare threading closely.
Decoding Thread Types and Flow Rates
<p Faucets use standard (male) or reverse (female) threading. Unscrew your old aerator and note whether threads are inside or outside. Bring it to the store for a direct match.
<p Flow rate labels—1.5 GPM or 2.2 GPM—reveal efficiency. Lower GPM conserves water, while higher GPM supplies satisfying pressure. Decide what feels best for your household routines.
- Check thread orientation to avoid mismatched fittings, comparing old part visually to replacements before purchase. Size consistency ensures leak-free installation and restores full pressure in a single swap.
- Opt for durable metals for longevity. Plastic models wear quickly and crack during tightening. For kitchens, brass or stainless strengthens the connection and resists recurring calcium deposits.
- Prioritize appropriate flow rates: install 1.5 GPM aerators in bathrooms to curb water usage; select 2.2 GPM for kitchen sinks where stronger streams speed up rinsing and filling pots.
- Compare physical appearance: water-saving aerators often have smaller holes, while spray-style options feature intricate mesh screens. Visual checks prevent unwanted spray patterns and streamline reassembly later.
- Match brand and model if possible. Manufacturers tailor threading for proprietary fit. Generic models suit most sinks, but reference your faucet’s make for best results and stress-free installation.
<p Always confirm new aerator size at home by screwing it into the faucet before tightening. Quick checks minimize wasted trips and prevent frustrating leaks or cross-threading issues.
Packing Your Toolkit for Smooth Installation
<p Assemble all tools first: a soft cloth, slip-joint pliers, a small flat screwdriver, and a replacement gasket if needed. This preparation ensures an uninterrupted, efficient upgrade.
<p Wrap the old aerator with the cloth before gripping with pliers—protects from scratches and preserves the finish. Loosen counterclockwise, applying steady, even pressure to avoid thread damage.
- Lay out tools before starting, so everything is within arm’s reach and the repair proceeds without delay or misplaced items that can slow you down or cause mistakes.
- Use gentle force—overtightening damages threads and risks future leaks. Slow, deliberate turns free stuck pieces without bending metal or harming chrome surfaces.
- Inspect for hidden debris inside the faucet once the aerator is off. A quick rinse or blast of compressed air removes remnants before reassembly, resulting in pure, uninterrupted flow.
- Test new aerator by hand-tightening first, then run water to check for leaks or funny noise. Any vibration or hiss means a second adjustment is needed.
- Include plumber’s tape around older male threads for a watertight seal. This tiny detail prevents slow drips or loose-fitting parts from marring your sink area or surrounding fixtures.
<p After all steps, record the aerator size and preferred brand in your home maintenance log, making future faucet aerator replacement even easier and hassle-free.
Removing and Replacing an Aerator Without Damaging Fixtures
<p You can avoid permanent scratches and stripped threads by following this step-by-step technique each time you attempt faucet aerator replacement at home. Steadiness pays off here.
Gentle Removal Techniques for Stubborn Aerators
<p Start with bare hands—if the part spins, continue carefully. For tight aerators, slip a rubber jar gripper over the piece and twist left until it loosens naturally.
<p If it refuses to budge, wrap the jaw of your slip-joint pliers in a soft towel and grip the outer surface lightly. With slow, even pressure, coax the aerator free.
<p Even after removal, inspect threading for dings. Smooth with gentle strokes from a clean toothbrush if necessary. This restores a flawless connection for your new aerator install.
Installing Your Replacement Aerator the Right Way
<p Hold the new faucet aerator straight and insert by hand, turning clockwise. Feel for smooth engagement—cross-threading feels rough or uneven right away. Stop if you sense resistance.
<p When snug, finish tightening with gentle pressure and a soft cloth, avoiding metal-to-metal contact. Overtightening deforms gaskets and leads to chronic leaks from the spout base.
<pRun water for thirty seconds to flush dust or manufacturing debris. Inspect all seams and confirm a steady, splash-free stream. Now, your faucet aerator replacement is complete—enjoy the renewed flow.
Protecting Water Flow Consistency After Aerator Replacement
<pSecuring steady pressure and a uniform spray for the long term means scheduling regular faucet aerator replacement and performing smart preventative care each quarter throughout the year.
Building Maintenance Checks Into Your Routine
<pSlip an annual reminder into your calendar next to other home tasks. In kitchens or bathrooms, create routines where faucet aerator replacement aligns with seasonal cleaning cycles.
<pIf your area is prone to hard water, increase inspection frequency to every four months. Use a magnifying glass or camera phone for up-close checks of mesh holes and threads.
<pReplace whenever you spot film, resistance, or visible buildup in the aerator. Consistent attention now prevents sudden breakdowns during critical moments, such as holiday gatherings or busy mornings.
Documenting Aerator Details in Your Household Binder
<pKeep the old aerator and its packaging as a reference for future replacements. Note brand, size, and flow on a single sheet in your maintenance file.
<pTaking a quick photo of your faucet and the new aerator package speeds up repeat trips to the hardware store, ensuring accurate matches next time there’s a drop in water pressure.
<pWhenever you complete faucet aerator replacement, check off the date, house location, and any observations. This growing record keeps your water use efficient and organized year after year.
Troubleshooting Problems After an Aerator Upgrade
<pIf your faucet acts up after switching aerators, address the situation right away. Skipping fixes risks costly water waste or stubborn leaks beneath the sink.
<pStay alert for sounds: whistling, vibration, or unexpected hissing signal improper installation or debris in the new part. Quick adjustments protect your plumbing investment.
Resolving Persistent Leaks and Drips
<pWhen you spot a steady drip at the spout, unscrew the aerator and inspect all surfaces for uneven gaskets or rough threads. Run a soft cloth around the joint and examine edges for nicks.
<pReplace worn gaskets immediately or verify you’ve used the correct thread type and size. Leaks disappear with the proper fit during faucet aerator replacement, ensuring continued efficiency.
<pFinish by hand-tightening rather than using pliers. Last-minute checks often solve hidden leaks without the need for another new aerator, saving both money and frustration shortly after the upgrade.
Restoring Balanced Water Pressure
<pIf pressure drops again, check water shutoff valves below the sink for accidental movement during repairs. Reset by opening fully, then re-test the flow in short bursts for consistent output.
<pRemove the aerator and flush both faucet and aerator under running water, clearing hidden debris. Repeat faucet aerator replacement if the pressure returns only after cleaning or another flush.
<pDocument each troubleshooting step in your maintenance log, noting precise symptoms and effective fixes. This routine helps streamline future faucet aerator replacement or repair with clear action paths.
Maintaining Healthy Water and Sustainable Use With Regular Aerator Changes
<pRoutine faucet aerator replacement not only boosts water flow but also supports healthier, cleaner water delivery for every household, minimizing waste and lowering energy costs when heating water.
Integrating Green Choices Into Your Home Maintenance
<pSwap in water-saving aerators—just 1.0 GPM—for bathroom sinks where hand washing takes center stage. This change alone cuts consumption without sacrificing effective rinsing or convenience.
<pUpgrade to lead-free brass models in homes with older pipes. These limit contaminants in drinking water without extra filtration systems, making faucet aerator replacement part of a healthier lifestyle.
<pChoose models with removable mesh screens for easy rinsing every season, keeping buildup to a minimum and streamlining each round of faucet aerator replacement from month to month.
Everyday Benefits That Compound Over Time
<pReplacing aerators consistently yields compounding rewards. Sharper flow shortens cleaning, speeds up kitchen tasks, and elevates daily comfort one small improvement at a time.
<pLower bills follow sustainable water use. Even small gains in pressure mean less faucet open-time, slashing annual water and energy expenses throughout your home.
<pKeep a record of the steps and aerator choices that worked best. Sharing this system with friends or neighbors equips them for smart DIY upgrades and saves community resources.

Quick Daily Bedroom Reset in Under 15 Minutes
Transform your space fast! Follow this 15-minute daily bedroom reset to keep things tidy, calm, and clutter-free.

