Stepping into your bathroom or kitchen only to spot cracked or stained grout can be frustrating. Many imagine tile grout repair demands a full re-tiling job, but that’s far from true. Luckily, freshening up those grout lines is possible—and genuinely simple—if you follow the right process.

How to Tighten a Loose Stair Railing
Fix wobbly railings fast! Learn how to tighten a loose stair railing safely for secure, lasting results. Read on!
Whether you own or rent, unsightly grout can detract from how polished your home feels. Dirt settles, cracks open up, and unaddressed gaps risk moisture damage. Learning smart tile grout repair techniques ensures your space remains both inviting and structurally sound without disruptive renovations.
This guide brings clarity on updating grout efficiently. Explore what causes grout problems, effective methods for touch-ups, and tips you can put into action today. Let’s get your floors and walls looking their best again—without ripping up tiles.
Assessing Grout Issues to Prioritize Fast Fixes
Sizing up the issue sets you up for a smooth tile grout repair. This prevents wasted effort on areas that don’t need help and targets the repairs with the most impact first.
Before shopping for supplies, examine all grout lines. Look for discoloration, surface cracks, crumbling, or loose segments that flex when pressed. Aim to identify moisture-prone zones, especially in showers, kitchen backsplashes, or entryways exposed to boots and rain.
Spotting Wear and Degradation
Start with a close visual check. If the grout appears chalky, gray, or eroded, pressure applied by hand will reveal any soft sections that chip or shift. Listen for slight crunching sounds—they’re an immediate call to action.
Next, run a fingertip along the joint. Tactile checks show if the grout’s top layer is missing, or the joint feels below tile level. Those areas need attention to stave off deeper issues.
Peculiar odors—especially mustiness—signal hidden moisture. Check between tiles for darker grout colors, which could mean mold or mildew is beginning to form and requires both cleaning and sealing after the repair.
Evaluating Structural Stability in High-Impact Areas
Focus on joints directly in walkways or around sinks. If grout here yields or collapses with gentle pressure, prioritize their repair for both safety and appearance. Sturdy grout should resist a firm push without movement.
Grout bordering external doors or in mudrooms may show cracks from expansion and contraction. Document any joints with visible gaps, as these can quickly worsen, affecting tile adhesion if left unchecked.
For shower wall tiles, run a clean, dry cloth along grout seams; if debris clings or the cloth catches, those lines have worn away their water-resistant surface and should be targeted next.
| Type of Grout Issue | Location Found | Severity Level | Next Step |
|---|---|---|---|
| Cracked Grout | Showers, Entryways | High | Remove loose sections, refill, seal |
| Discoloration | Kitchens, Floors | Medium | Clean, touch up as needed |
| Missing Segments | Between Floor Tiles | High | Reapply grout, allow to cure |
| Mildew Growth | Bathrooms | Medium | Scrub with cleaner, reseal |
| Loose Grout | Exterior Doorways | High | Remove, replace with flexible grout |
Gathering All Materials for Repair Success
When tackling tile grout repair, assembling your materials in advance keeps the process efficient. Each supply on your list serves a clear purpose—there’s nothing extra weighing you down.
Choose a grout that matches your existing color as closely as possible. Check the type: sanded grout is best for wider joints, while unsanded works for narrow ones and walls exposed to moisture.
Essential Tools List
Include a grout saw to remove damaged sections, a rubber float for spreading new grout, and a sponge for cleanup. Tape off protected edges to keep your lines neat and prevent excess on nearby tiles.
- Pick a grout saw for precise removal of cracked or loose grout along tile lines. This hand tool offers controlled scraping that minimizes tile damage and keeps joints the right width.
- Select a mixing bucket and paddle for thoroughly blending new grout. Proper mixing ensures smooth, consistent application and the right texture for effective adhesion.
- Grab a grout float—this flat, rubber-faced tool pushes grout deeply into gaps. Smooth the surface as you move, using a gentle diagonal sweep across tiles.
- Keep a cellulose grout sponge ready for wiping away excess mixture immediately after application. Rinse and wring it out frequently to avoid smearing residue back onto tiles.
- Have detail brushes and painter’s tape in your kit. Brush away final debris, and mask off any delicate trim or adjoining surfaces for a professional finish with sharp lines.
Store all tools within arm’s reach before mixing starts. This streamlines transitions between each repair stage, ensuring your tile grout repair blends seamlessly into your daily routine.
Supplies Checklist for a Flawless Finish
Review the condition of each tool before you start, and double-check that your chosen grout matches tile joints. Add a pair of gloves for skin protection and a drop cloth to keep the workspace tidy.
- Lay down a plastic or canvas drop cloth to catch debris and splatters. Protecting flooring saves time on cleanup after your tile grout repair is complete.
- Use nitrile or latex gloves to prevent irritation during mixing and cleanup. Grout can be abrasive or drying, so skin protection is key for longer repairs.
- Wrap painter’s tape along the tile edges adjacent to repair sites. Taping ensures lines stay crisp, especially when working with mosaic patterns or irregular shapes.
- Keep paper towels and a spray bottle with water at your side for instant touch-up or softening areas needing adjustment. This simple step avoids accidental premature setting.
- Consider a knee pad or cushion as repairs in low areas require kneeling. Protecting your joints from strain lets you work carefully and efficiently without distraction.
Arranging everything in small bins or a portable caddy creates a “tool station” you can move easily from room to room as you move through your tile grout repair project.
Cleaning Grout Lines for Optimal Adhesion
Preparing grout lines before repair delivers stronger, longer-lasting results. Removing debris and residue ensures new grout bonds tightly to the joint, making this step impossible to skip.
Wipe down the entire area with a pH-neutral cleaner and allow it to dry. Residual dirt or cleaner film can weaken adhesion and leave visible streaks after the job is complete.
Manual Cleaning for Stubborn Dirt
Scrub joints with a stiff nylon brush. Use tight, circular motions to dislodge sandy debris or hardened soap scum. Repeat this process until the grout appears smooth and consistently colored throughout the working area.
If encountering mold stains, apply a paste of baking soda and water, then scrub after five minutes. Rinse thoroughly to ensure no residue remains, which could block the new grout’s contact with the joint.
Dry the tile fully with paper towels or a cloth before proceeding. Moisture trapped below new grout causes weak spots, so persistent drying speeds up the entire tile grout repair timeline.
Prepping Larger Areas Quickly
For wide sections, use a vacuum with a brush attachment before scrubbing. This lifts fine dust and loose particles efficiently, especially in older floors with deep joint valleys between tiles.
Check all corners and seams for debris hiding in shadowed areas. Move light sources or use a flashlight to inspect hard-to-see patches; even a minor missed spot can reduce repair quality.
Finish with a second pass of damp cleaning and drying. Even if lines appear clean after vacuuming, any left-behind soil will show up once new grout is applied. Consistent prep sets the stage for flawless repair results.
Mixing and Applying Grout: Color-Matched, Smooth, and Strong
Achieving durable, even tile grout repair hinges on proper mixing and precise application. Follow package instructions for the grout-to-water ratio, mixing until uniform with no visible lumps or dry patches.
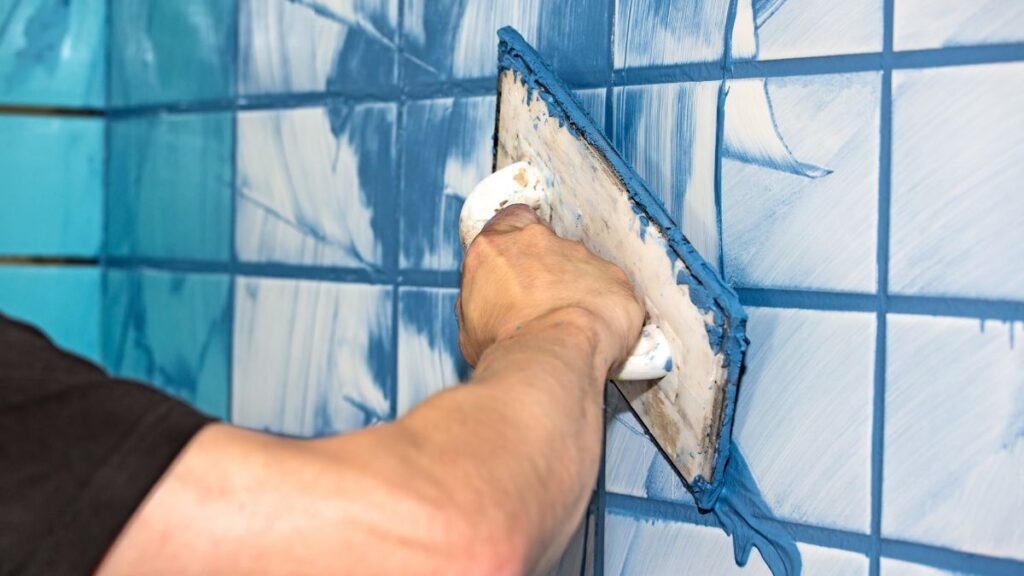
Apply new grout with a float, pushing it firmly into the joints to fill all voids. Hold the float at a 45-degree angle and use diagonal motions to avoid catching the tool on the tile edges.
Consistent Color and Batch Management
If you’re repairing several areas, mix each batch with identical ratios to maintain color uniformity. Small variations in water or powder yield noticeable shade changes as the grout dries.
Keep a small notepad handy to jot down the ratio and mixing time for repeatability. For large rooms or multiple repairs, this consistency keeps the floor or backsplash looking cohesive.
After application, let the grout rest for several minutes as instructed, then lightly sponge away surface residue. Minimal pressure prevents dragging freshly installed grout from the joints and ensures sharp, straight lines.
Finishing Touches for Seamless Repairs
Shape each joint using a rounded grout tool or a gloved finger for a classic “raked” profile. This not only matches the old look but also compacts the grout, reducing future cracking or shrinkage.
Wipe the tile surfaces at intervals to avoid dried residue that may require harsh cleaning later. Continue using clean water and gentle strokes to prevent haze buildup as the grout firms up.
After a final inspection, let all joints cure completely per manufacturer directions before walking on or washing the area. Complete curing eliminates premature wear and preserves the integrity of your tile grout repair for years ahead.
Sealing Grout and Preventing Future Damage
Applying a quality sealant enhances the life and appearance of your tile grout repair. Sealants block moisture, dirt, and oils from seeping in, especially in high-traffic or wet environments.
Wait until the grout is fully cured—usually 48 to 72 hours. Use a dedicated applicator or small brush for precision. Wipe away excess before drying, as sealant left on tiles causes hard-to-remove film.
Zone-Specific Protection Approaches
For shower walls, select a penetrating sealer that bonds below the grout’s surface. It maintains the material’s breathability, preventing water trapping that can trigger mold or swelling behind tiles.
In kitchens and entryways, opt for sealers rated for food zones or heavy-use floors. These create a hydrophobic layer on grout, making spills and splashes bead up for easy cleanup without immediate absorption.
In exterior settings, only use sealants designed for freeze-thaw resistance. These flexible formulas handle expansion and contraction, keeping your tile grout repair in top shape year-round.
Real-Life Scenarios: Repairing Grout in Common Home Areas
Selecting the right process ensures every tile grout repair blends into your home’s style as if it was never touched up. Here are examples you’ll likely encounter.
Imagine standing in your shower, noticing an arm-length crack zigzagging along the floor tile seams. Tackle this right after your next shower ends for the best dry conditions and long-lasting repairs.
Refreshing Kitchen Backsplash Grout
In kitchens, food stains and splashes darken grout. Homeowners say, “I want the white lines to pop again.” Use painter’s tape for crisp results, clean thoroughly first, and match the grout color to preserve the original pattern’s harmony with your counters.
If you have decorative mosaics, don’t rush the removal step. Take your time to ensure only damaged grout gets removed, leaving delicate tile edges untouched for a seamless outcome.
Once cured and sealed, a kitchen grout repair not only looks clean but resists oil and tomato stains, simplifying future wipe-downs and maintenance. Try this approach before budgeting for any major renovations.
Restoring Grout on Aging Bathroom Floors
In older homes, worn grout shows up as crumbs near baseboards. You might notice after stepping barefoot in the morning and spotting gray dust. Focus on joints running along the bathtub edge for water protection first.
Remove just the loosened grout—the rest often remains sound. Reapply with matching color, compact it well, and seal thoroughly to guard against continued moisture, so you won’t need to revisit the same repair months later.
Keep the bathroom off-limits for at least a day post-repair. Quick access, such as for brushing teeth, is okay, but avoid water and heavy use to let your quick tile grout repair deliver peak results.
Bringing It All Together: Smooth, Lasting Grout Lines
Regular tile grout repair keeps bathrooms, kitchens, and other tiled spaces refreshed, protected, and far more attractive. Skipping full re-tiling saves time and money, while targeted touch-ups grant almost instant improvements you can see each day.
Grout lines that are clean, well-applied, and properly sealed prevent deeper moisture problems. This not only prolongs the lifespan of your tile installation but also keeps your living spaces healthier by reducing mold and bacteria risks.
Revitalize your floors and walls by learning these micro-guide skills. Every room you refresh means another peaceful moment at home, free from the eyesore of aging, crumbling grout. Begin your next tile grout repair with confidence and pride.
Frequently Asked Questions
Take a dry sample of your current grout to a hardware store’s tile section. Compare under bright lighting, as grout dries lighter than it appears wet. Test a small hidden area before redoing visible lines for a seamless tile grout repair.
Give freshly applied grout 24 hours to set for light contact, but wait a full 48 to 72 hours before exposing it to regular water use. This prevents premature weakening or washout and ensures your tile grout repair is durable.
Avoid harsh or acidic chemicals during the first week after repair. Stick to pH-neutral products and a damp cloth to gently remove residue. Proper cleaning preserves the integrity of your tile grout repair and keeps lines looking crisp.
If more than half of tiles are loose, cracked, or hollow-sounding, or if movement persists after grout repair, full re-tiling may be needed. For isolated grout cracks or staining, a targeted tile grout repair will restore both function and style.
Seal all repaired joints after curing, keep up regular gentle cleaning, and address spills quickly. For high-traffic areas, inspect grout lines monthly. This proactive tile grout repair approach keeps your surfaces clean and strong longer, saving effort later on.

Preventing Basement Flooding
Keep your basement dry! Discover simple upgrades that stop flooding and protect your home from costly water damage.

