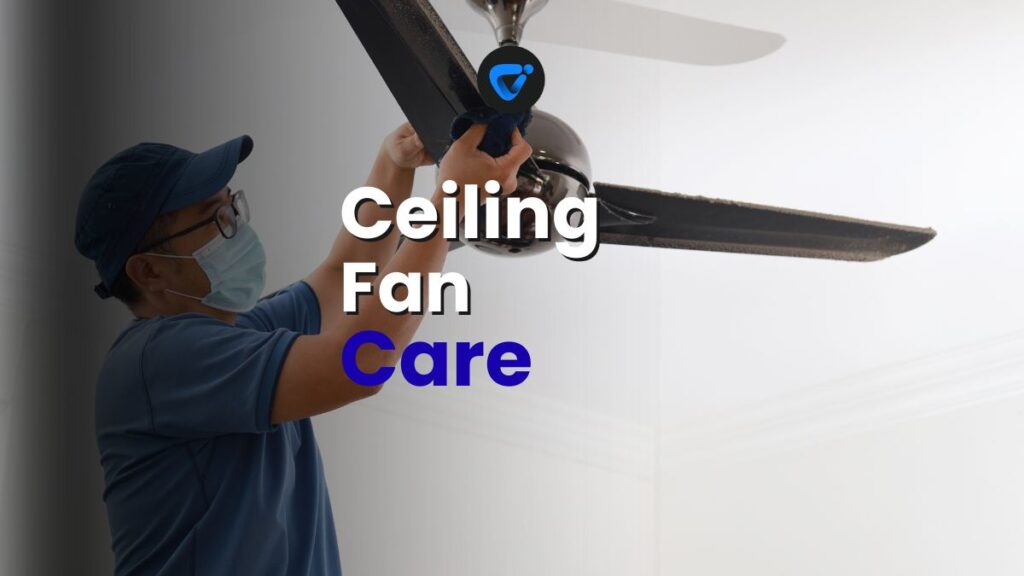
If you’ve ever spotted a wobbly ceiling fan or noticed a layer of dust clinging to the blades, you’re not alone. Midweek chores like ceiling fan maintenance can save you from surprise issues and keep your spaces feeling fresh.
Regularly balancing fan blades and managing dust gives fans a smoother, quieter run and improves indoor air quality.

Simple Lubrication Tips for Sliding Doors
Keep doors gliding smoothly! Follow these simple lubrication tips to fix sticking sliding doors fast. Read on and learn more!
Well-balanced, dust-free ceiling fans don’t just look better—they circulate air more efficiently and quietly. Neglecting ceiling fan maintenance leads to poor airflow, noisy motors, and increased allergens right above your head. These easy-to-overlook details actually impact your entire room’s comfort and cleanliness, day after day.
Let’s take a closer look at what goes into ceiling fan maintenance, quick balancing fixes, and proven dust control. Explore the micro-steps and practical know-how inside this guide to level up your fan hygiene and create a healthier home year round.
Pinpointing Unbalance: Start with Blade Inspection and Testing
The fastest way to spot ceiling fan wobbles is a quick blade check combined with a simple balance test. You’ll instantly know which blades need attention.
Begin by turning the fan off. Gently wipe dust from each blade. Watch for any visual warping, nicks, or visible dirt clusters. If you spot anything unusual, mark it for closer inspection.
Visual Clues Reveal Imbalances in Seconds
If blades look uneven from below, one may be sagging lower than the others. Stand directly beneath the fan and eye the tips, looking for outliers. This method works best in daylight or strong lamp light.
A drooping blade or crooked attachment can signal that screws need tightening or a slight re-bending is in order. Keep a step-stool handy for precision. Rotate blades by hand and listen for clicking or scraping sounds.
If any blade seems looser than the rest, don’t spin the fan until secured. Hand movement should feel smooth. Fix minor misalignments before using an official balancing kit.
Simple Tape Test for Quick Diagnostics
Apply painter’s tape to the middle of each blade and note if weight changes affect the wobble. Try running the fan on low then high. Reduce trial-and-error by starting with light tape weights.
If the vibration lessens with tape on a specific blade, that spot likely needs extra weight—either a balancing clip or a permanent balancing kit tab. Document which blade yields the best result before moving on.
Personalizing the tape method suits households with uneven blade wood or past repair attempts. Trust visible changes in wobble before committing to permanent fixes.
| Blade Issue | Quick Check | Fix Type | Action Next |
|---|---|---|---|
| Loose blade screw | Wiggle test | Tighten with screwdriver | Test fan at low speed |
| Sagging or warped blade | Side view/eye level | Gently bend or replace | Compare with other blades |
| Sound when rotating | Manual spin test | Check mount/grease pivot | Run fan and listen |
| Visible dust build-up | Cloth wipe | Microfiber wiping/cleaning | Repeat weekly |
| Persistent wobble | Tape balancing | Balance clip/tab kit | Document best position |
Proactive Dust Control: Weekly Tasks That Prevent Fan Allergens
Scheduling weekly ceiling fan maintenance for dust removal directly reduces allergens, settling fewer particles onto furniture and into air vents. Use deliberate cleaning motions for long-term ease.
Dry microfiber cloths trap more dust than paper towels or bare hands. Move from blade tip to base, supporting each blade with your free hand for stability. Don’t forget light fixtures and motor housing areas.
Essential Weekly Dust Management
Targeted ceiling fan maintenance starts with gentle strokes using a static-charged duster. Slide the tool along both blade sides in a single, continuous motion to reduce airborne dust clouds.
- Use a microfiber duster: It grabs particles instead of spreading them. Insert beneath each blade and trap dust with light pressure.
- Support fan blades with your other hand: Prevents bends or unintended nicks that create new balance issues during cleaning.
- Wear a mask: Especially important if allergies flare from airborne particles. Breathing mask use cuts down on inhaled dust.
- Cover furniture below: Use a sheet or drop cloth to minimize cleanup. Catching fallout dust eliminates the need to vacuum twice.
- Choose an extending handle: Tools that reach allow you to stand securely on the floor, controlling every swipe for thorough cleaning.
Once the blades are dust-free, wipe motor housing with a damp microfiber cloth. This prevents dust from falling back down onto blades next week.
Strategic Fan Use After Cleaning
Fans draw air upwards when spinning clockwise and push air down when counterclockwise. Reverse settings after dusting to maximize airflow while moving dust away from ceiling fixtures, plus check for new rattles.
- Set fan to counterclockwise mode for cooling: Circulates air downward and increases comfort during warm months.
- Switch to clockwise in cooler months: Recirculates warm air trapped near ceilings, enhancing heating efficiency.
- Lower fan speed post-clean: Reduces scattered dust if trace lint remains after dusting.
- Watch for new sounds: Indicates anything re-loosened during cleaning. Pause to tighten screws or recheck alignment.
- Inspect light fixtures for looseness: Cleaning routines sometimes jar bulbs or fixtures. Twist until snug and glare-free.
A small adjustment in fan direction or speed can highlight fresh dust. This acts as a cue for more consistent ceiling fan maintenance habits.
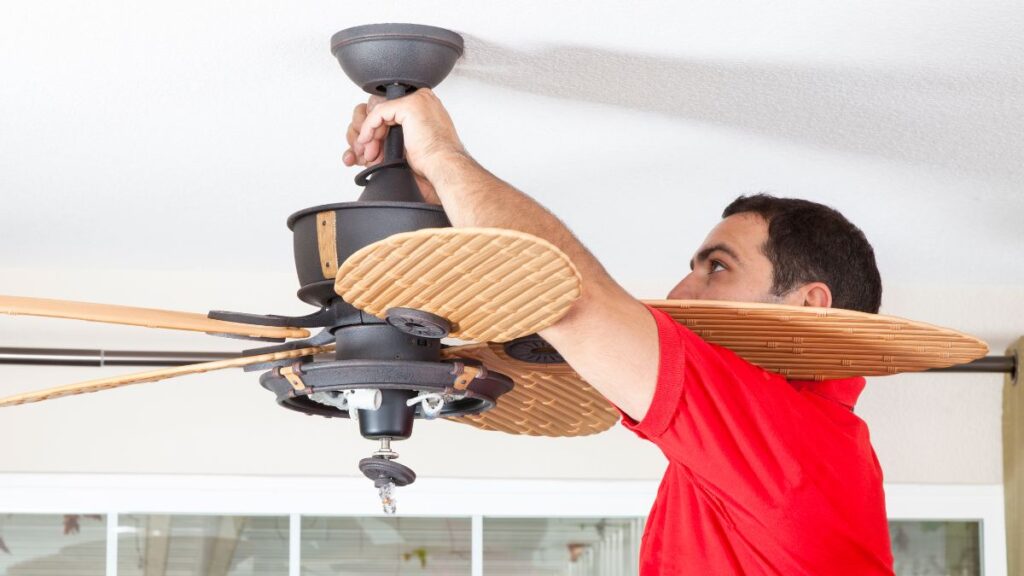
Repairing Stubborn Imbalance: Fast Adjustments and Long-Term Fixes
A fan that rattles or shakes at all speeds means immediate balancing is required to avoid wear damage. Consistency is key throughout ceiling fan maintenance routines to ensure peak operation.
Immediate solutions address the worst wobbles, but permanent fixes make balance last through seasonal changes and extended use.
Installing Blade Balancing Kits for Precision
Most home supply stores offer stick-on weight kits for ceiling fan maintenance. These kits include plastic balancing clips and adhesive weights designed for repeat testing across individual blades.
Snap the clip on one blade and run the fan at increasing speed. Move the clip blade to blade to sense which position significantly reduces the wobble. Once discovered, add a balancing tab at the clip’s spot.
If repeated trials improve but don’t eradicate the shake, consider checking blade length or swapping in a new blade entirely. All blades must be identical and weighted the same to guarantee true balance.
Long-Term Blade Replacement and Upgrading
Heavily damaged, warped, or waterlogged blades should be replaced as a permanent fix. Measure blade length, width, and mounting hole distance to match your fan’s specs before ordering replacements.
Use only exact match replacement blades for ceiling fan maintenance—substitutes rarely balance, even if visually similar. Secure new blades, then test at all fan speeds for silent, steady rotation.
Upgrading to sealed-edge blades or coated finishes creates a dust-resistant surface and boosts lifespan for fans in kitchens, bathrooms, or humid rooms. Consider these upgrades for peace of mind with minimal cleaning required day to day.
Energizing Airflow with Regular Ceiling Fan Maintenance Habits
Routine ceiling fan maintenance includes cleaning blade surfaces, lubricating moving parts, and ensuring all hardware remains tight. These tasks combine for consistent airflow and a more peaceful living environment.
Observe for any odd creaking or scraping as you routinely switch fan speeds. Identifying and responding quickly will avoid long-term mechanical issues or increased dust buildup over time.
Weekly Inspection Checklist for Lasting Performance
Use a checklist placed near your cleaning supplies: inspect for dust, check screw tightness, and run the fan briefly at every speed. This mental habit triggers early detection and faster fixes.
Tracking weekly performance as part of your overall ceiling fan maintenance goes a long way. Even a single neglected screw can create subtle rattles that grow into bigger repair challenges months later. Take five minutes every week for simple checks.
Combining regular cleaning with spot repairs keeps both air and equipment running smoothly. Fans stay reliable and deliver healthy airflow, making upkeep worthwhile for every household.
Scenario: Taking Over Weekly Maintenance
When a new roommate moves in and notices dust rain every time they use the fan, they write a checklist to divide duties. One person wipes blades, while another checks for wobble. Weekly rotations become the norm.
This small division of labor keeps blame off any single person. It also highlights forgotten details—the right screwdriver size, a favorite duster—that accelerate cleaning. Consistent teamwork prevents longer-term buildup or hidden problems between scheduled deep cleans.
Keep this approach going by choosing a recurring day, like every Sunday morning. Maintenance becomes fast, fair, and habit-forming—leaving you with cleaner air and zero fan surprises.
Ensuring Healthier Homes with Proper Dust Collection Techniques
Effective ceiling fan maintenance isn’t complete without dust collection that protects you and your furniture. Focus on safe, user-friendly techniques that minimize disruptive clean-ups and maximize allergen reduction.
Lowering dust exposure is crucial for families with allergies or asthma. Using proper gear and following targeted steps keeps airborne debris away from eyes and lungs, noticeably improving your home’s breathing environment.
Personal Protective Steps to Limit Dust Exposure
Wear a basic dentist-style mask or even a scarf tied over the nose and mouth when performing fan blade ceiling fan maintenance. This simple barrier takes seconds to apply but prevents sneezing fits and eye irritation.
Keep an extra shirt nearby and change out of your cleaning clothes after dusting, especially if you notice powder on sleeves or collars. Avoid touching your face mid-task to keep dust out of your eyes and mouth.
After cleaning, open a window for a few minutes to move lingering particles outdoors. This quick air exchange finishes the job by clearing out what even the best dusters can’t capture directly.
Quick Evaluation: Table of Ceiling Fan Maintenance Tools and Results
| Tool/Material | Action Performed | Results Expected | Best Use Scenario |
|---|---|---|---|
| Microfiber Cloth | Wipe blade surfaces | Removes dust without scratching | General weekly cleaning |
| Painter’s Tape | Tape balance test | Reveals unbalanced blades | Quick diagnostics |
| Blade Balancing Kit | Attach weighted tabs | Corrects persistent wobble | Advanced fixes |
| Vacuum with Brush | Suck dust around base | Removes debris from hard-to-reach areas | Post-dusting clean-up |
| Lubrication Oil | Oil motor bearings | Stops screeching, improves lifespan | Seasonal motor care |
Frequently Asked Questions
Most homes benefit from weekly dusting, screw checks, and a monthly balance inspection. For allergy-prone or high-use rooms, increase ceiling fan maintenance to twice a week during peak seasons.
Avoid harsh chemicals that damage plastic or paint. Instead, opt for gentle cleaners or damp microfiber cloths for ceiling fan maintenance. Always dry blades completely to prevent warping or water stains.
Unbalanced fans typically shake or make irregular clicking sounds, especially at medium speeds. Visual inspection and quick tape tests pinpoint the problem during any ceiling fan maintenance routine.
Most modern residential fans are maintenance-free, but older models may need annual motor oil for smooth operation. Check your manufacturer’s guidelines during seasonal ceiling fan maintenance for clarity.
High room humidity, cooking, or floor traffic can speed up dust accumulation. A strict ceiling fan maintenance schedule combined with regular home cleaning reduces how fast dust returns to blade surfaces.
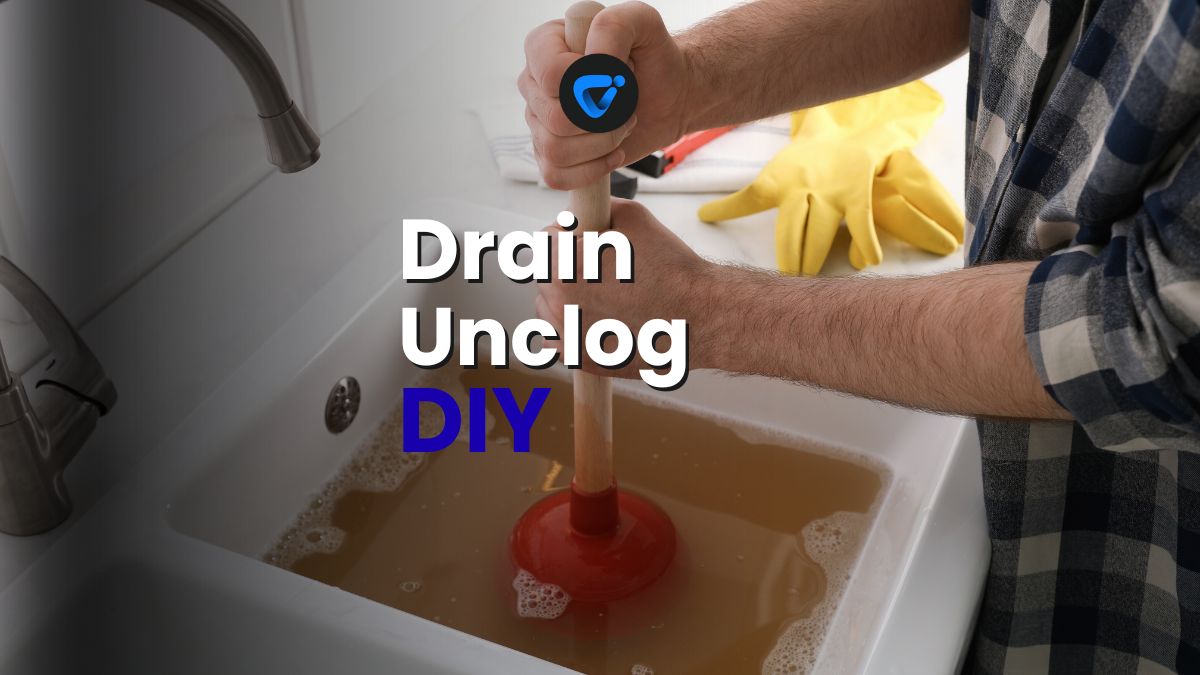
Unclogging Slow Drains
Unclog slow drains naturally! Use simple household methods to clear buildup without harsh chemicals or plumber costs.

