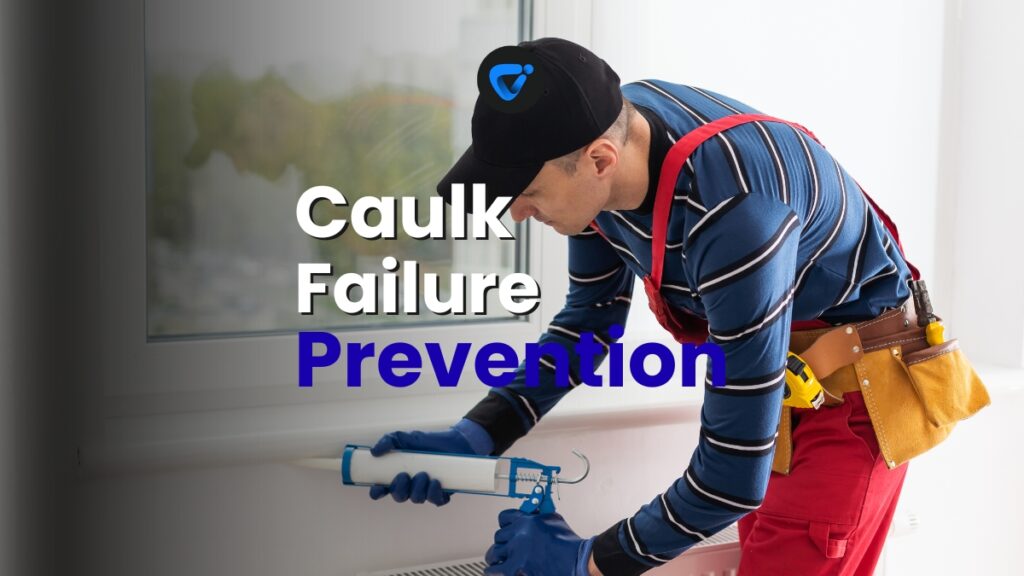
Small gaps around your tub or windows invite moisture trouble before you realize it. That’s why a sharp caulk inspection habit saves time, money, and stress on home projects.
Most homeowners don’t notice split or peeling caulk until water stains or drafts appear. Proactive routines tackle issues early, avoiding surprises and expensive repairs later on.
This guide shares practical advice so you can spot weak caulk, understand early failure signals, and adjust your approach confidently. Let’s dive in for clear, step-by-step solutions.
Pinpointing Caulk Problems: Seeing What Matters First
Learning to identify caulk issues ensures you notice real problems—the outcome is you catch gaps and splits before major headaches emerge.
Begin your caulk inspection by examining high-moisture areas like showers, sinks, and window frames, where wear is most likely to develop quietly over time.
Refining Your Eye for Small Defects
Start with a flashlight along old caulk seams. Look for fine cracks or dull patches that stand out against the shiny, intact sections—these hint at failing sealant.
Run your fingertip gently over seams. Loose sections will flex or even lift—an early warning sign you shouldn’t ignore if you want your caulk inspection to be thorough.
If you find mold lines or yellowing, that usually means water is getting behind or inside the caulk, which is a red flag for quick follow-up action.
Recognizing Color and Texture Changes
Healthy caulk stays a single color and keeps its original firmness. Chalky texture, fading color, or sticky feel show it’s time for closer caulk inspection and likely replacement.
For windows, exterior caulk may show gaps after seasonal shifts. When dabbing a Q-tip in grooves, look for softness or movement—those spots reveal trouble needing attention.
Ridges or curling edges point to shrinking caulk. Address these on your next round of maintenance to avoid deeper water penetration into wood or drywall nearby.
| Caulk Area | Common Defect | Visual Cue | Action Step |
|---|---|---|---|
| Shower Corners | Cracking | Jagged splits, mildew | Remove and recaulk with waterproof formula |
| Baseboards | Shrinkage | Gaps reappear, air drafts | Reapply acrylic caulk and paint to match |
| Exterior Windows | Curling | Edges peel up, color fades | Cut away curled portions, reseal for tight bond |
| Backsplash Joints | Discoloration | Yellow or brown stains | Clean, check for leaks, remove old spots as needed |
| Bathtubs | Mold Growth | Black or pink dots along seam | Remove caulk, treat surface with cleaner, recaulk |
Spotting Early Failures: Tactics for Staying One Step Ahead
By actively checking these warning signs, you’ll catch early caulk failures while repairs remain quick and inexpensive.
Look for visible seams, color changes, mildew smells, and unexpected drafts—don’t wait for leaks to become a repair emergency during your caulk inspection routine.
Interpreting Smells and Drafts
If a musty odor greets you when entering a bathroom or laundry, follow your nose. This scent usually tracks back to failing caulk exposed to repeated moisture.
On breezy days, stand near windows or doors and sense for faint air movement. Subtle drafts along caulk lines often mark places needing your attention right now.
- Scan caulk seams under different lighting at multiple times of day—shadows can reveal dips and cracks invisible in daylight alone, guiding faster repairs.
- Apply light pressure to the edge of suspect beads—if caulk flakes off or sticks to your finger, replace that section promptly to maintain a reliable seal.
- Tap at joints with a soft eraser tip to listen for hollowness, which means the caulk isn’t fully bonded; scrape away and reapply with fresh product immediately.
- Keep photos of any color or surface changes. When the appearance shifts again, you’ll know if trouble is growing, and prioritize caulk inspection more often.
- Test exterior caulk by spraying with water on a dry day. Watch for beading—if water absorbs or streaks, that seal won’t withstand weather for long.
Regular caulk inspection means using these checks as part of your cleaning or seasonal schedule, allowing you to catch issues in their first stages.
Fast Logging to Track Changes
Take three quick photos: one wide, one close-up, and one from an unusual angle. Store these in a folder labeled by date and room or window name.
Write down any changes you spot each time you inspect—”tiny gap left of tub” or “edge at window shifting”. This makes spotting new failures much simpler later.
- Review your log each month. When you see repeat issues in the same area, take action sooner—don’t assume it’s harmless or will fix itself naturally.
- Share highlights with others in your home. Clear notes, like “mold on the faucet side”, make it easy for everyone to assist in the caulk inspection routine.
- Back up your log and photos to the cloud or print out—and store records in a spot you won’t forget. Consistency boosts your confidence and repair timing.
- Simplify your system by using colored stickers or tape on the problem zones. You’ll spot these cues at a glance on your next walk-through checks.
- Practice this log habit monthly—”Anything new or worse since last month?”—and you’ll quickly spot patterns before they cost you a hassle or repair bill.
By weaving this tracking into your regular routine, you ensure every caulk inspection brings sharper focus and longer-lived results at home.
Choosing the Right Materials and Techniques
Matching caulk type and application method to your specific project improves long-term performance. Choosing well ensures your repairs last and need less frequent attention.
Rely on caulk inspection feedback to select formulas: use silicone for kitchens, paintable acrylics for trim, and elastomerics for exterior gaps exposed to heavy weather.
Selecting Materials by Setting and Need
Baths and kitchens benefit most from waterproof silicone. If your past caulk inspection spotted cracking or mildew here, switch to mold-resistant formulas designed for repeated water exposure.
For painted wood or crown molding, latex or acrylic caulk is easier to smooth, dries quickly, and blends well. Match caulk color to trim for a seamless finish.
On brick or siding, pick exterior-grade elastomeric sealant. It expands with temperature swings and resists sunlight—crucial if your windows showed damage during last season’s caulk inspection.
Smoothing and Finishing Tips for a Clean Result
Cut the tube nozzle at a narrow angle. Start with a gentle bead, then smooth with a wet finger or a caulk tool, removing excess for a tidy line without ridges.
If you see bubbles or gaps after smoothing, scrape that area and start again. Neat lines dry stronger and help the seal resist future leaks or mold growth.
Let each section dry fully according to package directions. Mark the date in your caulk inspection log—tracking this helps you spot future failures right on schedule.
Routine Habits: Putting a Maintenance Schedule in Motion
Building a calendar reminder for regular caulk inspection protects your efforts and simplifies seasonal cleaning. Mark these routines alongside other home chores for best results year-round.
Try tying inspection to another habit, like cleaning windows or airing out the bathroom. Anchoring caulk checks to routines makes follow-through simple and stress-free every time.
Practical Scheduling for Every Home Size
If you live in a large house, split up inspections by zone: bathrooms one weekend, windows another, then kitchen surfaces. In a small apartment, check all in one short session.
Add reminders to your phone or fridge. During daylight, walk through with a flashlight for clearer viewing. Keep a caulk kit handy, so even small fixes become fast and easy.
For landlords or frequent travelers, ask for help from a roommate or maintenance partner using your log and highlight priority areas for their next caulk inspection round.
Fine-Tuning Your Caulk Inspection Skills: Beyond the Basics
Improving observation skills strengthens your caulk inspection work. Use analogies from everyday life—much like noticing traffic signals change color, you’ll learn to see and act quickly.
Using Touch and Sound in Inspections
Some gaps aren’t visible but can be felt—run a fingertip lightly along seams. If you feel an unexpected dip or rough patch, note it in your log for quick repair later.
Lightly tapping the surface can reveal hollow spots—these sound dull compared to solid areas. Acting on these subtle cues as part of your caulk inspection extends durability long after the job is done.
If you hear a faint crackling when pressing the caulk, replace that portion before it spreads. Each sense helps build a full picture for accurate, timely fixes.
Expanding Your Toolkit and Approach
Try using a dental mirror to view corners behind faucets or under sills. Gadget-assisted caulk inspection reveals problems hidden by shadows or tight spaces that standard checks might miss.
Add caulk backers or foam strips for wider joints. This gives your seal a firm base and prevents future sagging or cracks in high-traffic or shifting areas.
Practice caulk smoothing on scrap wood or tile before applying in visible spaces. Building skill in a low-risk setting means fewer cleanup headaches when doing the real job.
Carrying Forward a Proactive Home Care Mindset
A strong caulk inspection routine turns small observations into early action. Addressing minor defects early keeps home repairs manageable and boosts confidence for every homeowner or renter.
Checking seams seasonally avoids damage that could disrupt daily routines or finances. Choosing the right materials and sticking with your schedule makes each repair more reliable for the long haul.
Every home ages differently, but regular attention and thoughtful repairs keep spaces healthier and safer for everyone inside. Build the habit, trust your eye, and enjoy peace of mind year after year.

Staircase Cleaning Safety and Effective Techniques
Clean stairs safely and efficiently! Follow our easy techniques to keep every step spotless and slip-free.

