
Dusty blinds or shades can instantly dull a room’s charm. Tackling sticky buildup is real life, but blinds shades cleaning doesn’t require superhero skills or endless hours.
Neglected blinds and shades often collect sticky grime that regular dusting can’t touch. Clean window treatments make spaces healthier and brighter. Effective blinds shades cleaning helps maintain both looks and indoor air quality.
Read on to discover reliable, simple ways to conquer sticky dust on blinds and shades. By the end, you’ll have actionable steps for every kind of window covering and lifestyle.

Quick Daily Bedroom Reset in Under 15 Minutes
Transform your space fast! Follow this 15-minute daily bedroom reset to keep things tidy, calm, and clutter-free.
Creating a Cleaning Routine that Actually Works
A realistic blinds shades cleaning routine stops dirt before it becomes a challenge. Set a simple cadence so sticky buildup never becomes unsightly or unmanageable.
Reviewing routine frequency guarantees you won’t forget. For example, decide, “I’ll clean blinds shades every two weeks right before changing bed linens.” Keep reminders on your phone for better follow-through.
Blocking Out Extra Dust Sources
Windows near vents, kitchens, or pet beds get extra grime. Relocate litter boxes or install longer vent covers to redirect dust away from your window treatments.
If you smoke indoors, residue will land on your blinds. Choose smoke-free zones for clean air and less sticky film on slats or fabrics.
Try using doormats and leave shoes at entryways. This reduces tracked-in particulates that can swirl up—helpful for easier blinds shades cleaning over time.
Designing Habits Around Cleaning Flow
Pair blinds shades cleaning with another chore—like vacuuming the living room. That way, you’re reminded to swipe shades whenever you roll out the vacuum anyway.
It’s easier to maintain this rhythm if you use specific language, such as “After each vacuum session, I check the blinds and shades for dust.” Small habits add up quickly.
If you forget, stick a brightly colored cloth on the handle as a visual cue: once the vacuum’s out, so is the blinds cleaning tool.
| Space Type | Recommended Frequency | Best Tool | Action Step |
|---|---|---|---|
| Kitchen windows | Weekly | Damp microfiber cloth | Prioritize grease-cutting wipes for sticky residue |
| Bedroom blinds | Bi-weekly | Vacuum with soft brush | Dust before changing linens |
| Bathroom shades | Twice monthly | Squeegee | Treat after showers for mildew prevention |
| Living room shades | Monthly | Feather duster | Swipe left to right, top to bottom |
| Pet areas | Weekly | Tape roller | Roll away clingy pet hair and allergens |
Using the Right Tools for Sticky Dust Removal
The correct blinds shades cleaning supplies save energy and get results. Choose tools based on the window covering’s material and the dust’s stubbornness level.
Stiff brushes scratch delicate blinds, while soft cloths won’t budge grease. A practical example: a parent says, “I use a damp sponge on vinyl blinds after my child’s snack time leaves crumbs.”
Avoiding the Wrong Products
Skip harsh chemicals whenever possible. Alcohol and vinegar can damage certain finishes. Try diluted dish soap for blinds with food or adhesive buildup instead.
Don’t use abrasive pads—they’ll scratch painted or faux wood slats. Instead, reach for a non-shedding microfiber mitt that grabs dust without leaving residue.
- Start cleaning with a vacuum’s soft-brush attachment for loose dust. Set the suction at low and use gentle, steady passes along both sides of each slat.
- Reach for damp sponges or microfiber cloths when facing sticky fingerprints. Work in one direction with light pressure to avoid streaks or warped sections.
- Tackle extra grime using diluted dish soap—about one teaspoon in two cups of warm water. Dip a soft cloth, wring it out, then gently wipe each blind surface.
- Pick up lint rollers for homes with pets. Roll firmly along fabric shades to lift fur and dust while leaving the fabric looking refreshed and unscathed.
- Dry every surface with a clean towel before closing blinds or raising shades. This prevents streaking and deters new dust from sticking to lingering moisture.
Always dry your window treatments completely with a towel to prevent mildew and streaks. Consistent blinds shades cleaning here means less stubborn buildup later.
Caring for Delicate Fabrics During Cleaning
Fabric shades demand gentle handling. Shake or snap them gently—never twist or wring—or consult the manufacturer for machine-safe options in severe cases.
If shades are custom or heirloom pieces, use only plain water on a white cloth. Dabbing, not scrubbing, prevents damage to intricate stitching or trim.
- Vacuum with a brush attachment, not a hose; hoses may create snags or leave marks. Go slowly and overlap passes for thorough dust pickup.
- Spot-treat with mild, clear dish soap diluted in water for sticky spots. Pat dry using a second, dry microfiber cloth to avoid moisture stains.
- Nylon fabric options can handle steamers if labeled as safe. Keep the nozzle at least 8 inches away and move constantly to avoid warping or bleaching.
- Sheer or pleated shades can be hand-washed in sinks for major cleaning, but check care tags first. Lay flat to air-dry and keep pleats sharp.
- Consider using a handheld vacuum cleaner for vertical honeycomb shades. A lightweight, easy grip ensures you won’t accidentally crumple the material as you clean.
Keep shades raised until completely dry to maintain their crisp, tailored look. It makes your efforts at blinds shades cleaning more visible and satisfying.
Dealing with Sticky Spots Without Spreading Them Further
Sticky residue on blinds or shades demands targeted action. Rubbing only spreads gluey dust, so use a patting approach for successful blinds shades cleaning.
Always spot-test on an unseen area before working on the entire window covering. This prevents unwanted color changes or weakened slats or threads.
Sticking to the Patting Rule
Pat, don’t scrub, when lifting sticky dust. This keeps the original finish safe and avoids pushing debris deeper into cracks or seams of the window covering.
For example, dab a damp paper towel onto the sticky speck. Wait 15 seconds, then gently lift it away. If it remains, repeat with a fresh towel section.
Finish by drying with a clean, dry towel. Rushing this step leaves room for streaks or even new dust settling while still moist.
Working With Greasy or Food-Based Spots
Grease from adjacent stovetops or food spills clings to vinyl and metal blinds. Squirt a drop of dish soap on a cloth, then dab the spot gently.
Rinse the cloth with plain water and repeat until no soapy bubbles remain on the slat or shade. Absorb any moisture promptly with a towel.
For persistent spots, use a plastic spatula wrapped in cloth—never scrape with metal or fingernails. This preserves your blinds’ surface for the next blinds shades cleaning.
Keeping Allergens and Sticky Debris from Returning
Preventing new dust is key to easy blinds shades cleaning later. A few proactive changes around your home can slow sticky deposits and improve air quality.
Shield your window coverings from airborne particles generated by cooking, pets, or air vents. Changing the environment keeps your cleaning job manageable and blinds healthy longer.
Protect Window Coverings With Barriers
Add mesh screens or window film to external-facing panes. These physical barriers reduce dust entry, offering your blinds and shades longer between cleanings.
In kid- or pet-heavy homes, use washable valances on high-traffic windows. Replace these while laundering, giving your shades a break from the brunt of debris.
- Maintain kitchen exhaust fans and ensure bathroom fans are operational. This reduces humidity and airborne oils that bind dust to blinds and shades.
- Rearrange furniture to avoid sofas or beds directly beneath windows. This limits agitation of floor-bound dust particles that otherwise rise onto coverings.
- Open windows for short periods to create airflow, but keep blinds raised during breezy hours to avoid trapping outside dust right onto sticky surfaces.
- Encourage kids and pets to stay clear of window ledges by setting up alternate play spaces or resting areas elsewhere in the room.
- Choose easy-clean flooring like laminate or hardwood. Vacuum and mop frequently, targeting corners and window sills for the best overall results.
Use HEPA air filters throughout the home for constant airborne dust reduction. Long term, this leads to easier and more successful blinds shades cleaning sessions.
Efficient Solutions for Everyday Cleaning Obstacles
Dealing with high, wide, or oddly-shaped blinds complicates routine cleaning. Adapting tools and workflow to your home’s unique features makes all the difference in achieving great results.
For extra-tall windows, invest in extendable dusters or a lightweight, foldable step ladder. Store supplies nearby to boost the chances of a quick, effective blinds shades cleaning.
Reaching Difficult Spots Above Furniture
Don’t move heavy sofas every time you clean. Long-handled tools squeeze between furniture and windows, letting you swipe blinds without straining your back or damaging upholstery.
Safeguard glass and wood surfaces with soft towels laid beneath your cleaning hand or duster. This catches leftover drips and avoids accidental scratches or stains.
Try cleaning top sills before slats to prevent new dust from falling onto freshly wiped areas below. Repeat this habit each blinds shades cleaning round for best results.
Facing Fatigue with Large Spaces
Break the job into zones: clean one window a day over several days, rather than doing every blind in a marathon session. Stay motivated with visible milestones.
Use a podcast or playlist as a built-in timer. Commit to finishing two windows by the end. When music ends, appreciate the refreshed feel and stop for the day.
Reward progress with a treat after each completed section. This positive association makes regular blinds shades cleaning feel like an achievable, guilt-free ritual.
Outcome-Focused Cleaning: Protecting Blinds for Longevity
Routine blinds shades cleaning isn’t just about appearance. Each small effort secures the value and performance of your coverings, preventing premature wear or costly replacement.
For wood or faux-wood blinds, wax-infused cloths maintain color and texture. Say, “After cleaning, I use a beeswax wipe along each slat to add a protective, dust-repellent finish.”
Preservation Rule for Delicate Materials
Always close slats before spraying products, working from top to bottom. This controls the spread of moisture for vertical and horizontal blinds, keeping strings and tilter mechanisms dry.
Allow full air dry—use fans or open windows, weather permitting. Never use heat guns or direct sunlight, which can warp plastics or fade dyed fabrics during the blinds shades cleaning process.
Check hardware for rust or residue each time you clean. A dab of petroleum jelly on metal joints keeps rotation smooth and prolongs hardware life.
Scenario: Family Living Room with Diverse Coverings
A home with tall vertical blinds, compact honeycomb shades, and lightweight valances needs an agile approach. Each treatment requires a product and technique fit for its unique texture and placement.
Begin with dry dusting—feather duster for verticals, a vacuum brush for shades, and spot cleaning valances as needed. Adjust each tool as you move across styles at blinds shades cleaning time.
Record cleaning dates in a home organizer. It’s satisfying to see progress, troubleshoot recurring issues, and set reminders so sticky dust doesn’t sneak back in any room.
Bringing It All Together: Winning Against Sticky Dust Buildup
Sticky dust buildup saps energy from a living space, but a realistic blinds shades cleaning plan turns frustration into accomplishment. Each technique elevates both appearance and health.
Intentional routines, correct tools, and preventive steps keep cleaning manageable, no matter the window type or household demands. Sticky grime loses its grip when tackled decisively at set intervals.
The path to fresher, brighter rooms is simply a matter of habit. Regular blinds shades cleaning will always reward you with rooms you’re proud to show and atmospheres you truly enjoy.
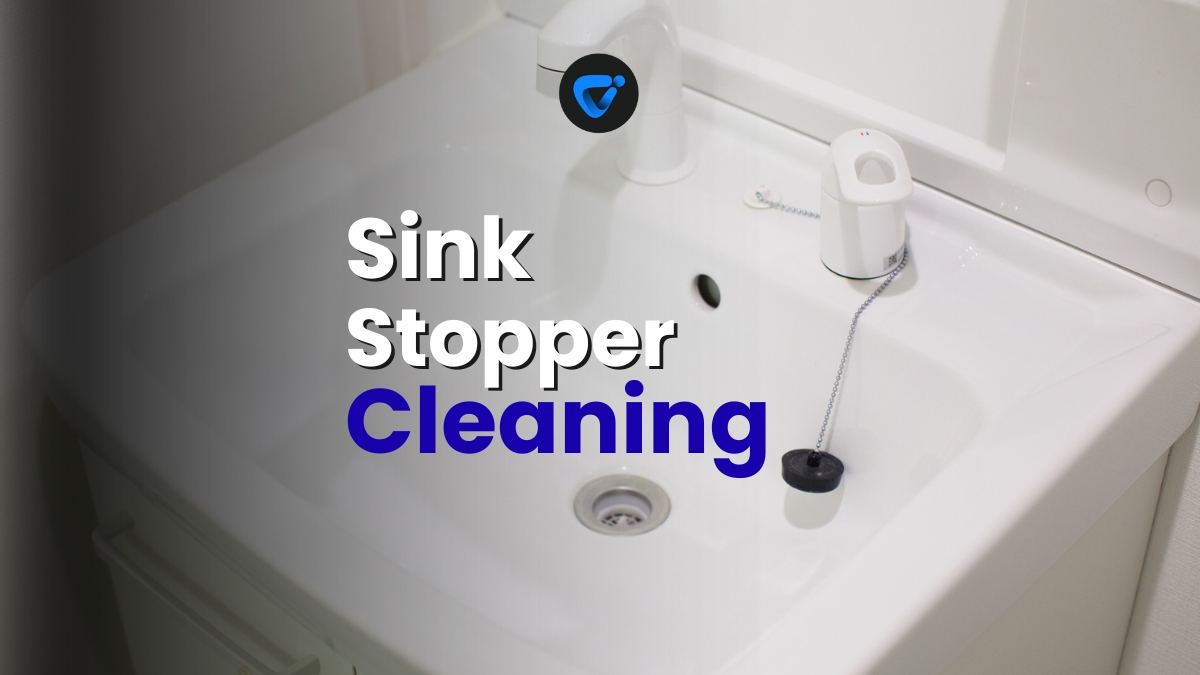
Sink Stopper Cleaning and Seal Check
Conquer slow sinks for good. This guide covers real-world sink stopper cleaning, fast seal inspections, and easy tools. Get a tidier kitchen and bathroom starting today.