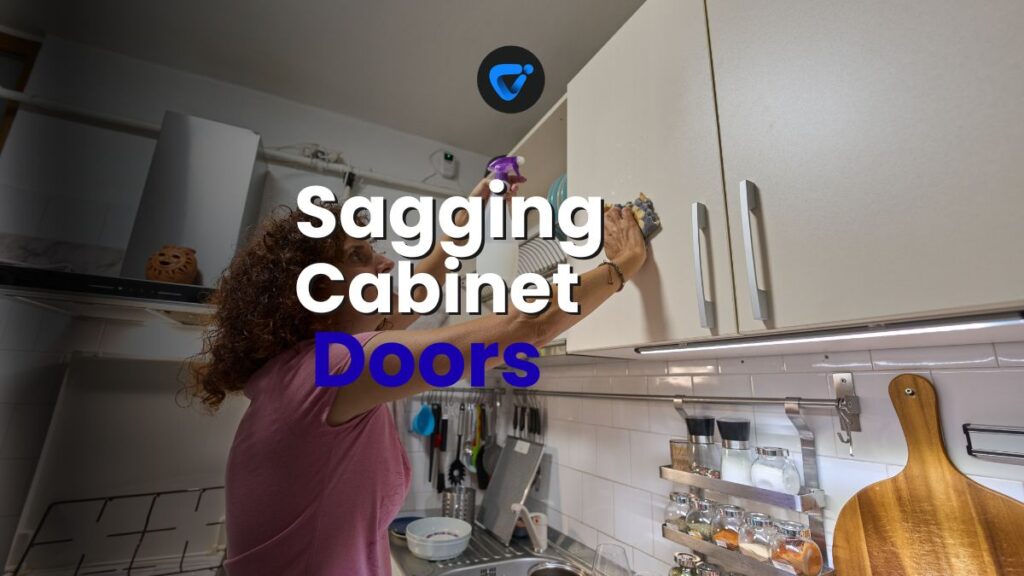
If you’ve noticed a cabinet door dipping or scraping lately, a simple adjustment can restore a smooth swing. Sagging cabinet doors rarely fix themselves, but they’re an easy weekend project.
Getting doors aligned improves how your kitchen looks and feels every day. Even if you aren’t handy, you’ll find that correcting sagging cabinet doors brings satisfying results quickly.
Dive in for hands-on steps, smart fixes, and time-saving tricks for making sagging cabinet doors work like new—without calling for help or replacing your doors.

Water Dispenser and Ice Maker Deep Sanitizing
Follow a step-by-step guide to deep sanitize water dispensers and ice makers, ensuring cleaner water and safer daily use.
Pinpointing the Cause With a Quick Check
To reliably adjust sagging cabinet doors, start by locating the issue—loose screws, warped hinges, or a misaligned frame. Targeting the cause sharpens your repair plan immediately.
Inspecting hinges reveals if they look bent or strained. Touch around for wobbly spots. If hardware shifts, your solution begins with tightening before considering replacement.
Spotting Visible Misalignment or Hardware Gaps
Step back and shut each cabinet. Gaps between cabinet doors or uneven spacing tell you exactly where sagging cabinet doors disrupt your kitchen’s symmetry.
Look for doors that stick, scrape, or hang lower than others. Misaligned doors let light peek through gaps or create annoying catches when closed.
Observing these visible hints guides your adjustment—start where seams, angles, or clearances look off. This saves time compared to adjusting all doors blindly.
Testing Structural Stability by Hand
Press softly at each corner and along the cabinet face. Well-secured doors feel solid, while sagging cabinet doors shift or rattle when moved gently.
Notice if movement comes from the door itself or the hinge attachment. This distinction tells you whether to refasten hardware or tweak hinge adjustment screws.
Door wobbles often signal loose screws; hinge tension issues mean the mounting might need extra support or hardware upgrades to stay square.
| Issue | Typical Symptom | Likely Solution | Takeaway |
|---|---|---|---|
| Loose hinge screws | Wobble or swing out of place | Tighten or replace screws | Start with a screwdriver and test again |
| Warped hinge plate | Scraping or angled closure | Replace or bend hinge as needed | Inspect the hinge’s straightness |
| Stripped screw holes | Screw turns without tightening | Fill with matchstick or dowel, then re-screw | Wood filler makes holes solid again |
| Loose cabinet frame | All doors sag on one side | Secure frame or adjust mounting | Check if cabinet itself shifts |
| Hinge misalignment | Uneven gaps around doors | Adjust hinge plate position | Move hinge plate incrementally |
Tightening and Retrofitting Hinges for Custom Fit
Tightening every hinge brings immediate improvement, while retrofitting outdated hardware gives sagging cabinet doors sturdier support. Expect refreshing results with several quick turns of a screwdriver.
Using everyday tools, you’ll restore snug, silent door movement. If original screws don’t grip, swap in longer ones or fill out loose holes before retrying.
Refastening Existing Screws for Stronger Hold
Grab a quality screwdriver that fits snugly in each screw slot. Firm pressure keeps screw heads from stripping out or slipping right out of position.
Turn each hinge screw clockwise until resistance is felt—avoid overtightening, which could crack the surrounding wood and worsen sagging cabinet doors over time.
- Tighten top hinge first to raise a sagging door and support its weight quickly, ensuring smooth operation after adjustments are made.
- Fill any stripped holes with a wood toothpick or matchstick dipped in glue, then reinsert the screw firmly to regain strong holding power for longer-lasting repairs.
- Replace short or worn screws with longer versions (at least one inch), driven straight in for added grip and reduced future loosening risk during daily use.
- Confirm hinge plates sit flat against both cabinet and door—if not, use a shim or gently tap the plate for better contact and improved durability.
- Evaluate each screw: if the screwdriver spins freely, it needs reinforcement immediately before moving on to hinge adjustments or leveling steps.
Once you’ve firmed up the hardware, open and close the door repeatedly. Confirm that changes translate into better alignment and quieter movement.
Upgrading to Modern Soft-Close Hinges
Soft-close hinges prevent slamming and address sagging cabinet doors with built-in self-leveling features, delivering smooth operation and reducing stress on wood over years of use.
Choose replacement hinges that match your cabinet overlay type. Prioritize models marked as “replacement ready” so you can reuse existing mounting holes for seamless installation.
- Remove old hinges by backing out each screw in order, using a catch tray for screws to prevent loss and simplify reinstallation later.
- Align new hinge plates with original holes, lightly marking new pilot holes if needed for a precise fit and minimal wood damage during upgrades.
- Drive screws in while doors are closed for best realignment. This method checks your fit against the full cabinet face for a perfect finish.
- After mounting, adjust built-in fine-tune screws to raise, lower, or push the door side-to-side, perfecting symmetry while doors remain attached for convenience.
- Test open/close cycles and tweak as needed. Modern hinges typically require fewer force adjustments, reducing sagging and future maintenance tasks significantly.
Switching to new hinges rejuvenates tired kitchens and futureproofs your solution for fully functional, streamlined cabinets—no professional needed.
Dialing in Alignment: Leveling and Spacing Adjustments
Carefully adjusting door position addresses uneven gaps and levels out sagging cabinet doors. Small tweaks create a unified, polished look across your entire cabinet run.
Focus on hinge-depth and side-to-side adjustments, giving you control over every angle and edge where two doors meet or frame lines need refinement.
Fine-Tuning Hinge Screws for Flush Fit
Most hinges feature two or three adjustment screws. The cam screw, usually closest to the centre, shifts the door from side to side—invaluable for precision gaps.
Loosen adjustments slightly while supporting the door’s weight with your hand or a soft block beneath the corner. Tighten incrementally after small shifts to lock in correct placement.
Pay attention to vertical seams between doors and frames, aiming for a gap even enough to slide a business card—with no sticking or overlap at any point.
Shimming Tricks for Older Cabinets
If adjustment range isn’t enough, slip a thin cardboard shim between hinge and cabinet for micro-leveling. This tip is especially useful on vintage units where wear leads to chronic sagging cabinet doors.
Use scissors to cut shims to match your hinge footprint. Tape or a dab of glue keeps the shim in place while reattaching the hinge for added stability.
Shimming works best when physical warping or swelling prevents hinges from sitting flush. Combine with screw tightening for a lasting dual approach.
Quick Solutions for Temporary Fixes and Busy Kitchens
If you need an on-the-spot fix while preparing a big dinner, there are rapid tricks to keep sagging cabinet doors serviceable—no deep repairs required.
Simple wedges, tape, or bumpers stabilize misaligned doors until you have the chance to adjust hinges properly, maintaining order with zero special tools.
- Prop a folded towel between the door and frame. This elevates the corner to stop scraping, protecting surfaces during rush hour at home.
- Stick a small furniture bumper inside the cabinet face, minimizing door swing and creating a temporary buffer against lopsided impacts or catches.
- Secure with painter’s tape from edge to cabinet frame for short-term realignment; lift and reset as needed while you work around the area.
- Use a rubber band twisted around the top hinge for gentle pull-up support. This clever hack improves vertical alignment in seconds without tools.
- Slide a playing card or business card beneath a drooping corner when closed. Easy to remove when repairs are scheduled and it won’t damage paint or woodwork.
While these tricks won’t fix the root problem, they keep sagging cabinet doors from growing worse before a proper repair session.
Coaxing Doors With Quick External Pressure
Gently press upward on the sagging cabinet door while opening and closing several times. This can temporarily restore alignment, especially if a dinner guest arrives soon.
This “lift and swing” mimics some results of hinge tightening, delaying further droop until replacement or retrofit solutions can be implemented without disruption.
Knowing When Replacement Is the Best Move
When repeated fixes don’t last, consider replacing worn hinges, doors, or frames. Recognize when continued adjustment can’t revive a sagging cabinet door’s function or appearance.
If doors never realign, or the cabinet frame is cracked or warped, repairs might be short-term at best. Upgrading key parts saves time down the road.
Recognizing Total Hinge or Door Failure Signs
Check for bent hinges that resist all efforts, deep gouges in screw holes, or frames that flex no matter how tightly they’re fastened. These reveal beyond-repair issues.
Listen for grinding sounds or visible metal fatigue when moving sagging cabinet doors. If hinges snap back into place or stay loose, it’s time for new hardware.
Swapping for sturdy modern replacements is straightforward and cost-effective, keeping your kitchen in top shape for years ahead.
Selecting Quality Replacement Hardware
When buying new hinges or doors, measure overlay and thickness precisely. This avoids mismatched parts or wasted trips. Many home-improvement stores offer sample templates for accuracy.
Look for steel or robust zinc-alloy options, and always check product ratings for durability. The right hardware makes sagging cabinet doors a thing of the past quickly.
Refer to branded installation guides or ask staff for overlay fit advice. Matching the right hinge to your door style ensures a seamless upgrade.
Maintaining Smooth, Sag-Free Doors Long After Adjustments
Regular care minimizes future sagging cabinet doors, protecting your repair investment. Integrate quick checks into your cleaning routine to sustain optimal function month after month.
Monitor for new wobbles or loosening after heavy use or seasonal shifts—especially after high-traffic events or humidity swings in your home’s climate.
Annual Hardware Inspection Routine
Every spring or fall, open and close all cabinet doors while watching hinges. Tighten any loose screws and replace noticeably worn parts before permanent sag develops.
Dust and wipe hinge areas to prevent debris buildup. Clean mounting surfaces let hardware grip tightly, discouraging new movement or future sagging cabinet doors.
Keep a small screwdriver set handy, stored in the kitchen junk drawer for convenience. You’ll spot tiny shifts before they evolve into noticeable door misalignments.
Smoothing Regular Use With Occasional Lubrication
Once a year, apply a drop of silicone or light machine oil to hinges, working the doors open and shut to distribute lubricant. Smoother movement equals less strain.
Wipe away excess oil to avoid stains or attracting dust. Lubricated hinges keep sagging cabinet doors moving smoothly and extend their usable life dramatically.
If hinges groan or squeak, treat sooner—unaddressed friction ages hardware fast and can return doors to a sagging state quickly.
Bringing Confidence Back to Your Cabinets
Putting sagging cabinet doors right transforms both style and daily convenience in the kitchen. Don’t settle for scraping, drooping, or uneven doors.
A methodical approach—tightening, adjusting, shimming, or replacing—means your cabinets regain their true fit and function. Maintain results by including quick checks in your seasonal routine.
The satisfaction of solving a practical problem yourself lingers long after adjustment day. Every time you open a solid, level door, you’ll know exactly how it stays that way.
Fixing Slow-Closing Interior Doors
Fix slow-closing interior doors with a clear step-by-step guide to restore smooth, quiet operation at home.

