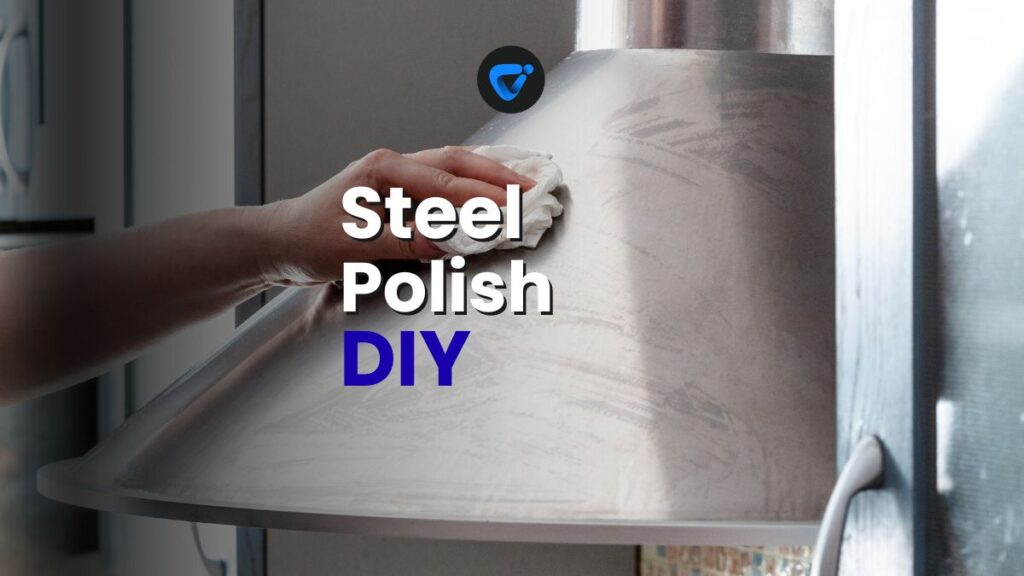

Few kitchen details draw the eye quite like a shining refrigerator or polished toaster. If you’ve experimented with a homemade stainless steel polish, you know the difference a gleaming surface makes after an easy, eco-friendly cleaning.

Reusable Cleaning Cloths
Clean greener and smarter! Discover the best eco fabrics, care tips, and simple wins for reusable cleaning cloths.
Surfaces like sinks, ovens, and appliances demand regular care to stay fingerprint-free—and a DIY polish delivers just that, using ingredients you can trust. It’s about more than shine: it’s about pride in your space every day.
Explore this practical micro-guide for home cleaning enthusiasts looking to keep every inch of stainless steel streak-free. Inside, you’ll find actionable steps, a sample recipe, and a troubleshooting FAQ. Now, let’s get those appliances glowing.
Assembling Your Stainless Steel Polish Toolkit with Ingredients You Own
With the right supplies in hand, you can whip up an effective stainless steel polish anytime. Gather your tools to ensure consistent results and save time hunting for ingredients or equipment.
Prepping for cleanup helps you achieve a streak-free finish faster. Lay out your microfiber cloths, small bowl, and all-purpose spray bottle before mixing your base. Creating a tidy prep space means fewer mishaps later on.
The Pantry Staples Approach
Baking soda and white vinegar go further than baking alone. When mixed thoughtfully, they lift greasy smudges and neutralize odors on stainless steel. Keep both stocked in your cabinet for fast touch-ups.
Olive oil or a light vegetable oil encourages that signature gleam. Used sparingly, it helps polish surfaces and discourage new fingerprints. Pour a little onto a clean cloth—never directly onto appliances—to control application.
Essential oils (like lemon or lavender) give your polish a pleasant background scent. Just one or two drops into the mix refresh your kitchen and make daily cleaning almost enjoyable. Always test a corner first to check for lingering residue.
Understanding the Purpose of Each Ingredient
Baking soda acts as a gentle abrasive. It’s tough on water spots but won’t scratch your surface if applied with a soft cloth. Use circular motions to work it into trouble zones.
Vinegar cuts through calcium deposits and eliminates streaks that water alone leaves behind. Spray it lightly, then buff dry for a consistent shine every time.
A trace of oil locks in shine and repels new dust and prints. Wipe any excess away for a fresh, not slick, finish. Oil proves especially helpful on handles and commonly touched spots.
| Ingredient | Main Purpose | How to Apply | Takeaway Tip |
|---|---|---|---|
| Baking Soda | Scours stains | Sponge or damp cloth, scrub gently | Buff lightly to avoid swirl marks |
| White Vinegar | Removes streaks | Spray lightly, wipe with dry towel | Buff in the direction of the grain |
| Olive Oil | Adds shine | Dot on cloth, rub sparingly | Polish only after surface is dry |
| Essential Oil | Adds scent | Add a drop to your oil mixture | Test for residue on hidden corners |
| Microfiber Cloth | Buffs surfaces | Use clean, dry side for finish | Switch cloths often if tackling big jobs |
Mixing and Applying Homemade Stainless Steel Polish for a Brilliant Finish
Applying homemade stainless steel polish step-by-step makes the difference between a smeared finish and a truly radiant result. These stages deliver results regardless of appliance brand or model.
Mixing in the correct sequence ensures active ingredients do their best work. Measure each item precisely—too much oil or vinegar, and the finish turns streaky or sticky.
Prepping for Polish Application
Remove loose crumbs and dust with a microfiber towel. If sticky residues linger, wipe with plain warm soapy water first. Dry thoroughly before using your polish.
- Measure two tablespoons of baking soda into a small bowl to ensure even distribution and to prevent clumping in your polish.
- Spoon in one teaspoon of olive oil, mixing gently until you reach a soft paste for even spread across stainless steel surfaces.
- Add a tablespoon of white vinegar slowly. This will fizz; wait until medicine-bottle quiet before stirring—it’s proof the cleaning reaction takes place.
- Drop in essential oil last—one or two drops per batch keeps scents fresh without overpowering kitchen smells or causing residue.
- Stir everything until smooth. For best results, always make polish fresh and keep batches small to avoid ingredient separation over time.
Test a small portion on an inconspicuous spot, and wait a minute before buffing. This rule applies whether you’re working on a stovetop, fridge, or smaller gadget surfaces.
Buffing to a High Shine
Apply polish using a small, soft cloth. Rub in circular motions to distribute the mixture, paying close attention to areas around handles and touch interfaces.
- Buff with a clean, dry part of the cloth to remove all traces of paste and leave only the protective oil behind.
- Repeat this sequence weekly for appliances in high-use areas, or whenever you spot streaks or prints frustrating your routine.
- Always wipe in the direction of the grain to avoid dullness or micro-scratches—look closely at the metal to spot its texture lines.
- If streaks remain, mist with a bit of vinegar and rebuff with a fresh microfiber towel. Reapply oil only after the surface dries completely.
- For stubborn spots (like dried drips), pre-soak with a damp cloth then scrub gently with your polish mixture before buffing as usual.
If these methods keep your appliances shiny and inviting, consider writing the recipe on a label and taping it inside your pantry door.
Managing Common Stains and Sticky Build-up on Stainless Steel
Target specific stains with tailored approaches for best results. Whether you’re dealing with sticky fingerprints after meal prep or mineral deposits near a leaky sink, your homemade stainless steel polish has a remedy.
Scrubbing blindly risks spreading grime or scratching the steel. Tackling each issue with a focused solution ensures your efforts lead to lasting, visible improvement instead of recurring frustration.
Battling Grease Splatters with Steady, Gentle Pressure
Sprinkle a pinch of baking soda directly onto greasy patches. Dampen a microfiber towel and apply soft, circular pressure, working until residue loosens without spreading it further around the appliance or sink area.
Afterward, spray lightly with diluted vinegar before your final buff. The slight fizz draws oils away. Always rinse your towel between uses to avoid smearing grime from one section to another.
If heavy buildup remains, repeat the process—rushing will only streak. Clean small sections at a time and keep drying thoroughly with each pass for a polished result.
Troubleshooting Water Spots and Leftover Residue
For water rings, combine equal parts vinegar and distilled water in a spray bottle. Spray and let sit for a minute, then wipe entirely dry with a clean microfiber cloth in the direction of the grain.
In case of hard, chalky spots, dab a soft cloth in your baking soda paste. Spot-treat problem areas, rinse, and dry again. For persistent stains, repeat—a few gentle rounds protect the finish better than one aggressive scrub!
Be patient and consistent. Every swipe builds a habit, making routine cleaning less of a chore over time. Share your method with friends who compliment your effortless shine.
Long-Term Prevention Routines That Keep Stainless Steel Looking New
To keep polished steel appliances fingerprint-free long after the first clean, consistency wins. Set reminders to spot-treat spills and dust bi-weekly for best results, making stainless steel polish a habit like any other household chore.
Track which appliances are used daily—fridge doors, microwave panels, handles—and give those a quick wipe-down. The ritual takes seconds but extends the life of each cleaning session, minimizing buildup between deep cleans.
Checking Your Buffing Cloths Regularly
Clean microfiber towels matter as much as the polish itself. Swap cloths once they’re visibly dirty or streaky. This simple step prevents re-depositing dirt and brings out the steel’s natural shine after every rub.
Label one cloth for polish and another for post-buff drying to avoid cross-contamination. Store them in a designated drawer so they’re always ready. Soft, lint-free towels are worth the investment for longevity.
Wash your towels frequently with unscented detergent, avoiding fabric softener, which leaves residues that dull metal. Air dry or tumble on low to maintain their gentle, effective texture across multiple uses.
Enhancing Shine: Quick-Fix Tips for Busy Days
On rushed mornings or before impromptu guests arrive, spot-polishing delivers instant results. Target high-traffic spots—a single wipe with a well-blended homemade stainless steel polish elevates appliances and boosts kitchen confidence.
Keep a small batch prepared in a labeled container near your usual cleaning supplies, so it’s always handy. A quick spritz and buff are enough to reset your kitchen’s look before work or when you get home tired.
- Wipe fridge handles and control panels first to prevent unsightly smudges from being noticed by guests in brighter lighting.
- Polish drip trays and sink fixtures to maintain uniform shine across all visible metal in one routine sweep.
- Apply polish with cotton swabs in tight appliance corners—this prevents food crumbs or sticky spots from going unnoticed long term.
- Use an old, clean toothbrush for extra-stubborn grime, especially around vent covers or stove knobs with lots of detail.
- Seal up any unused polish in a small glass jar to keep on hand for twice-weekly touch-ups without waste or messiness.
Motivating yourself to restore a bit of sparkle pays off: guests will notice, and you’ll feel a sense of accomplishment every time you walk by.
Customizing Your Stainless Steel Polish for Every Appliance
Different appliances—each with their quirks—benefit from minor polish recipe tweaks. Maybe your stove needs extra degreasing, while your fridge just needs a quick shine touch-up on the handles.
Tailor your approach based on the finish (matte versus gloss), how often you use the appliance, and whether it’s in a moisture-prone area. Personalizing ensures you never mar surfaces or leave unwanted residue.
Tweaking Ingredients for the Best Results
For high-gloss surfaces, dilute your vinegar more to prevent streakiness. On brushed steel, add a little more oil—always massaged in thoroughly—to keep the polish uniform and prevent watermarks from reappearing.
If you notice streaks near stoves, drop the oil content slightly and sprinkle on a touch more baking soda. Adjust until you find the mix that works perfectly for your appliance’s finish and kitchen habits.
Label different polish batches if preparing ahead. Mark jars for “handles,” “oversized pans,” or “fridge exterior” so you can grab what you need without stopping to re-mix or second-guess ingredient ratios.
Varying Application for Unique Surfaces
Try a soft toothbrush for corners of stovetops or around recessed buttons, as those accumulate soils faster. Backup with a wipe using vinegar for a crisp finish each time.
With smaller items like toasters or kettles, apply the polish to a cotton round for controlled coverage, then buff out as usual. Fewer drips means a smoother result on tricky curves or overlapping seams.
For range hoods or outdoor grills, double-check instructions—but homemade stainless steel polish delivers great results when applied weekly, dried thoroughly, and protected from moisture or food splatter each time.
Building a Routine: Stainless Steel Polish for Effortless Maintenance
Cultivating a polish routine takes the stress from deep cleaning. For best results, use your homemade stainless steel polish during regular kitchen wipe-downs, not only after major spills or holidays.
Keep supplies sorted in a caddy beneath your sink: microfiber towels, mixing bowls, and oil-dispensing bottles. This visual reminder helps you remember your commitment to keeping appliances looking their best every week.
Work appliance-by-appliance—don’t rush moving from sink to oven to fridge in one go. This segmentation ensures you give each item the attention needed for a streak-free, glowing surface. Adopt this mini habit today for instant results and long-term satisfaction.
Frequently Asked Questions
Most homemade mixes, when made with gentle ingredients like baking soda and olive oil, are safe. Always test in an inconspicuous area first before applying to the entire surface, especially on brushed or coated finishes.
Too much oil or not buffing dry can cause streaks. Wipe with a clean, dry microfiber towel after polishing, and use less oil next time. Repeat light, circular buffing until all residue disappears.
Make small batches for instant use; the acidic reaction between vinegar and baking soda weakens over time. Store unused polish in a sealed glass jar for up to a week and remix before applying.
Double-check the manufacturer’s manual. For standard stainless steel, the polish is safe, but for specialty finishes, always test first and avoid abrasive ingredients like baking soda if unsure.
Quick daily wipes with a dry microfiber cloth can prevent most prints. For busy homes, keep a small jar of polish and labeled towel in easy reach for minor touch-ups on handles and panels.
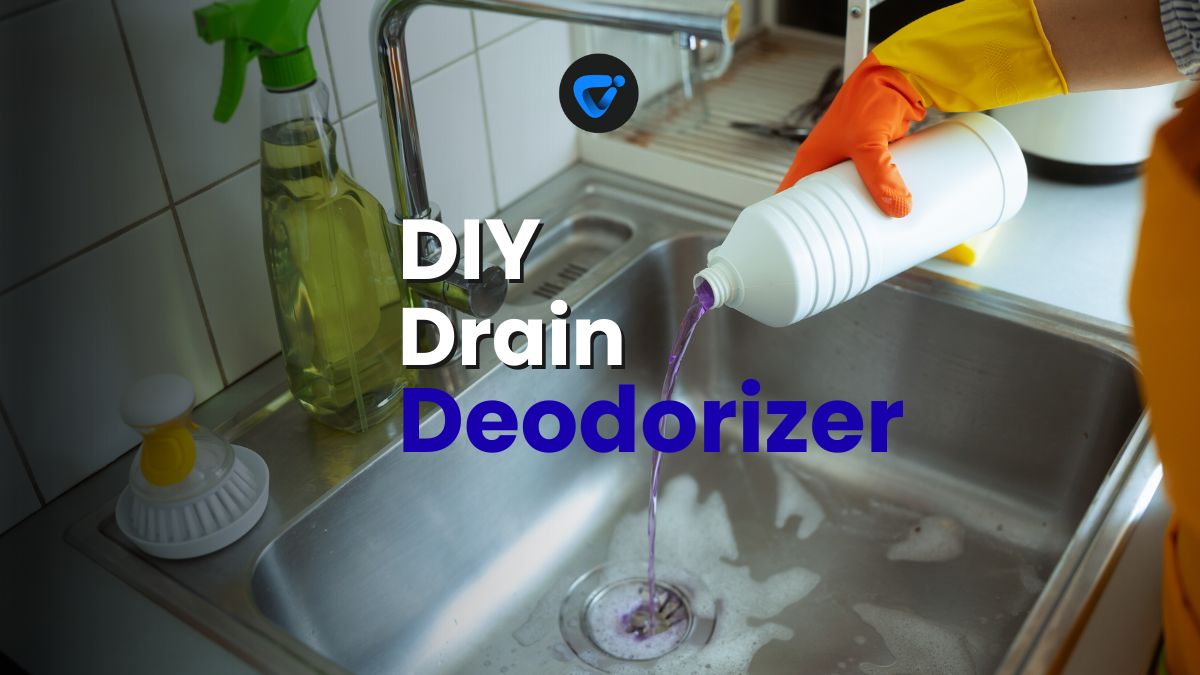
DIY Drain Deodorizer with Everyday Pantry Items
Freshen your sink fast! Make a DIY drain deodorizer with simple pantry items for a clean, odor-free kitchen.