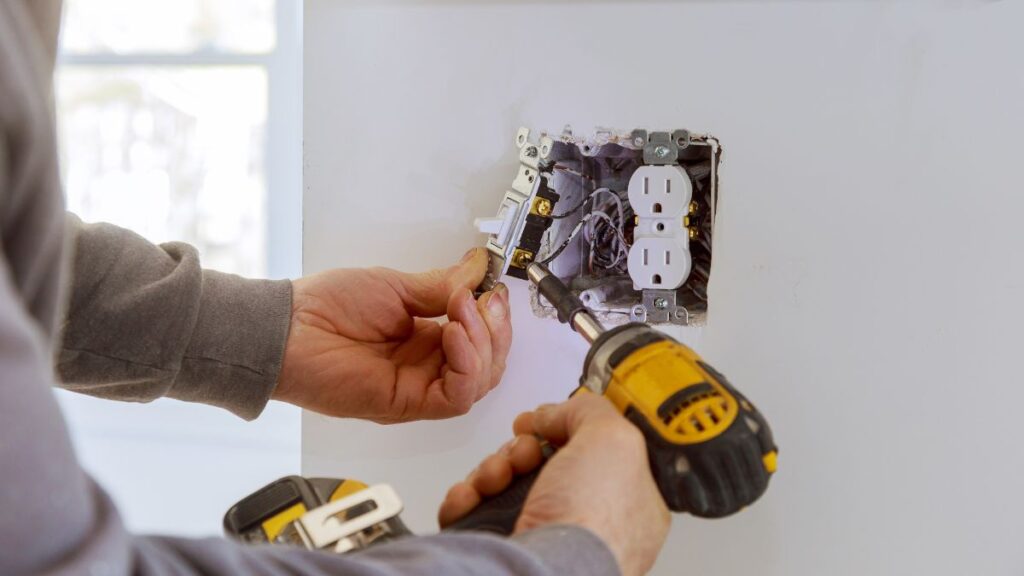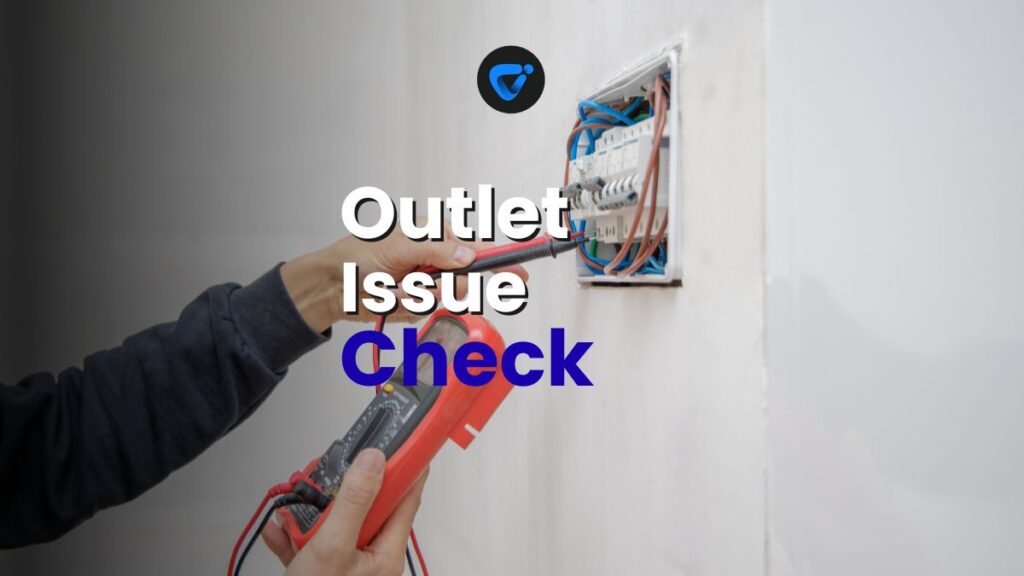
Flickering lamps or an unresponsive outlet can unsettle any routine. Even minor electrical outlet issues disrupt your day, and the right electrical outlet repair can restore peace swiftly and safely—no need to wait for a pro if you know what to look for.

How to Tighten a Loose Stair Railing
Fix wobbly railings fast! Learn how to tighten a loose stair railing safely for secure, lasting results. Read on!
Addressing small problems early prevents larger repairs down the road. Electrical outlet repair isn’t just about saving money—it’s about keeping your home safe and your life moving smoothly. Unattended faults risk unnecessary wear and introduce hazards.
This guide dives into the most common minor electrical outlet issues, bringing you step-by-step clarity for each task. Stick around to discover quick diagnostics, when to act, and the best micro-fixes to keep your home in top working order.
Spotting Small Outlet Faults Before They Escalate
You’ll notice warning signs first: a loose plug, mild buzzing, or discoloration around the outlet. Early detection sets the stage for a quick electrical outlet repair, and this section walks through what to observe before larger risks develop.
Examining your outlets regularly, just as you’d wipe dust from a shelf, keeps future headaches away. Solid habits rely on quick routines anyone can fold into a cleaning checklist—no expertise required.
Recognizing Hot Outlets and Switches
When you press a hand to the wall plate and feel warmth, stop using the outlet immediately. Excessive heat signals a problem below the surface, and electrical outlet repair takes priority before further use to prevent damage or fire risk.
Check appliances plugged into the outlet for unusual odor or heat. Warmth around a power brick or light plug can indicate a fault in your device, not just the wall’s wiring. Remove all plugs and retest after cooling.
If the outlet remains warm empty, use a plug-in tester to check basics—miswire, overload, or grounding fault. Chronic heat means skip usage and schedule repair without delay.
Identifying Loose Fittings and Plugs
Notice if plugs slip out easily or wiggle with slight movement. Reliable contact helps appliances run safely; a loose grip is both a hazard and an inconvenience, demanding prompt electrical outlet repair to avoid further internal damage.
Mark outlets on a sticky note or checklist during your walk-through. Observing plug stability with common devices—phone chargers, lamps—offers a simple reality check anyone can do weekly.
Fixing looseness sometimes involves tightening a mounting screw rather than a full replacement. However, worn contacts necessitate replacing the outlet entirely to ensure a lasting repair you can trust.
Using a Table to Compare Common Problem Signs
| Symptom | Typical Cause | Immediate Risk | Takeaway Action |
|---|---|---|---|
| Warm Wall Plate | Overload/Loose contacts | Fire Hazard | Unplug all devices and arrange repair |
| Buzzing Sound | Worn wiring | Shock Risk | Avoid using and schedule inspection |
| Sparking | Short circuit | Severe Fire Risk | Stop use and shut off breaker |
| Plug Slides Out Easily | Worn contacts | Device Failure | Replace outlet for safe usage |
| Discoloration | Melting/burning | Fire/Health Risk | Immediate replacement needed |
Safe Steps for Everyday Troubleshooting
A reliable plan gives clarity before you touch a single wire. Follow these precise steps to troubleshoot outlets, and your electrical outlet repair work will be safer and more effective—no guesswork or risky improv needed.
Start by switching off the circuit. Even confident DIYers double-check breaker positions. Treating each outlet as a live device keeps your mind sharp and fingers safe, especially when routines set in.
Sequential Checklist for Outlet Safety
Begin by locating the correct circuit breaker based on the room. Turn it to the off position and use a plug-in tester to verify power is down. Trust but verify—mismarked panels happen, and safety comes first during any electrical outlet repair.
- Test all nearby switches even when the outlet looks powerless. This step catches any shared wiring that might otherwise surprise you during electrical outlet repair.
- Keep one hand in your pocket when poking inside wall boxes. Minimizing contact area in tight spaces reduces risk of accidental shock.
- Wear rubber-soled shoes on dry floors. An extra layer between you and the ground is good practice during outlet work of any kind.
- Have a phone nearby but away from water and the workspace. Emergencies rarely announce themselves in advance; preparation matters.
- Label tested panels with sticky notes for next time. You’ll breeze through electrical outlet repair later, saving time and confusion if the issue recurs.
Finishing the physical inspection, reconnect power and test devices. If outlets behave as expected, you’re ready for regular cleaning or further micro-repair as needed.
Practical Tool List for Reliable Results
Successful electrical outlet repair relies on the right tools, cleanly organized. Equip yourself before you begin to avoid frustration—and keep every step under control. Here’s exactly what to reach for before you start the job.
- Plug-in tester: Quickly signals wiring faults. Plug and read codes before and after every repair to track progress or persistent issues.
- Non-contact voltage tester: Flashes or beeps near live wires. Build confidence any time you swap wires, especially if panels aren’t well-marked.
- Flathead and Phillips screwdrivers: Remove plates and outlet screws. Select insulated handles when available for that extra level of safety.
- Needle-nose pliers: Grip wires securely. Straightening or shaping leads with pliers prevents strain at the connection points in tight boxes.
- Flashlight or headlamp: See clearly in low light. Good lighting exposes loose wires and faded labels—details that make or break success.
Each tool on this list isn’t just “nice to have”—it makes electrical outlet repair more accurate, organized, and less frustrating, even for quick micro-jobs.
Recognizing When a Micro-Fix Is Enough
You’ll save time and money by mastering the difference between repairs you can handle and those needing professional help. This section narrows down what you can fix on your own for peace of mind during electrical outlet repair.
Micro-fixes include swapping wall plates, tightening screws, or reseating wires. Anything more advanced, such as burnt insulation or dead circuits, means it’s time to call for backup—don’t gamble with hidden faults.
Simple Outlet Cleaning for Better Connections
Sometimes, dust or debris interrupts power, just like crumbs in a sticky keyboard. Remove the outlet plate with a screwdriver, and wipe all surfaces clean. Reattach firmly—your next device test will confirm electrical outlet repair was truly successful.
If childproofing covers or paint block plug insertion, use a plastic scraper gently—never force, as this can damage contacts. A clean, unobstructed connection makes future issues far less likely.
Analogous to cleaning a lens for sharper photos, maintaining outlet surfaces ensures devices run smoothly day to day. Make this step a part of your regular maintenance routine for lasting results.
Tightening Terminal Screws the Safe Way
Loose connections inside the box cause flickering and unreliable service. To address this, switch off power, then tighten terminal screws one at a time—just enough to keep wires secure, never crushing them.
Wiggle the connected wires gently to test firmness. Movement at this stage means revisit the screw for another quarter turn. Consistent snugness translates into improved device performance and longer-lasting safety with every electrical outlet repair.
Copy this process at each outlet when moving furniture or after a sudden malfunction. Maintenance is both correction and prevention rolled into a five-minute check anyone can master.
Replacing Damaged Wall Plates Without Delay
Cracked or scorched wall plates demand immediate attention. A simple swap—just four screws—is an underrated yet crucial part of effective electrical outlet repair. Choose plates rated for your voltage, and avoid over-tightening to keep stress off the underlying box.
If you spot any browning or melting, don’t reinstall; remove the outlet and inspect further. Wall plates aren’t merely aesthetic—they’re an early warning system for hazardous buildup, and treating replacement as routine extends outlet life and family safety.
Check your home after moving large furniture or for “mystery dents.” Consistency with plate replacement is both cosmetic and functional, leading to easier, safer cleaning long-term.
Preventive Tactics to Sidestep Outlet Problems
A strategic routine keeps electrical outlet repair quick and rare. Here’s the best set of preventive habits to extend lifespan and minimize emergency calls. Every tip ties directly to actionable steps tailored for everyday living.
Focus on awareness and care rather than endless fixes. Integrating these tasks with household chores ensures every outlet stays in top shape—just like adding batteries to a smoke alarm during spring cleaning.
Rotation and Visual Inspection Calendar
Schedule a monthly visual check of all bedroom and living room outlets. Spotting loose plates or faded edges during ordinary cleaning makes electrical outlet repair a natural next step rather than a headache.
Building a reminder into your phone or planner minimizes missed checks. For rented homes, complete this before and after each tenancy to document safety for everyone involved.
Share your calendar with family or roommates. A communal approach helps catch more issues and ensures you’re not alone if you need a quick second pair of hands during checks.
Safe Designs for Heavy-Use Outlets
Go for tamper-resistant or GFCI outlets in high-traffic spaces and near water. These models add a layer of built-in safety—self-testing with buttons or shutters protects little fingers and keeps your mind at ease, reducing need for electrical outlet repair.
Label GFCI outlets and test buttons each quarter. A failed self-test is your signal to plan a replacement or troubleshoot connections. Safety devices lose effectiveness over time—don’t let familiarity lull you into skipping checks.
Create a simple log on the inside door of your electrical panel with install dates and outcomes. This tiny investment of time avoids guesswork months or years later.
Troubleshooting Power Loss and GFCI Resets
Tracing power loss teaches you to separate simple fixes from large-scale electrical outlet repair needs. Use this logical order to restore service or decide when to close the panel and wait for professional help instead.
Start at the main panel and look for tripped breakers. Rock each switch firmly off and back on—power interruptions sometimes “float” between positions. Breaker resets fix a surprisingly high percentage of minor outages with no tools required.
Pinpointing GFCI Connections When Outlets Aren’t Labeled
Outlets in kitchens, bathrooms, and exterior spaces are often downstream from a single GFCI device. If power’s down in several locations, hunt for the “TEST” and “RESET” buttons nearby—restoring one outlet could revive an entire circuit.
Unplug all devices before resetting a GFCI. Plug-in testers confirm when the restoration is successful; if the outlet fails again after reset, schedule further electrical outlet repair or evaluation to trace persistent faults.
Nudge loose covers to see if outlets are well-secured. Loose boxes can tug at GFCI wiring, causing intermittent faults that worsen over time. Consistent tension and snug fit are cornerstones of reliable electrical outlet repair, from GFCIs to regular receptacles.
Dealing with Breakers That Trip Frequently
If a breaker trips repeatedly, record the timing and devices in use. This information aids diagnosis later, showing patterns—such as high-demand appliances or times of day—that suggest overload rather than true outlet malfunction.
Once you’ve confirmed a breaker isn’t faulty, survey for extension cords or power strips clustering devices. These accessories draw more current than a single outlet is rated for, raising the risk of chronic tripping and frustrated electrical outlet repair.
Solve persistent trips by reducing total load, redistributing high-wattage items, or upgrading the outlet with the help of a professional. Think of the panel as a traffic manager—smooth results come from balanced networks rather than overcrowded lanes.
When to Call a Professional for Outlet Repairs
Some issues move beyond micro-repair—and that’s okay. Recognizing red flags preserves safety. See visible sparking, burning smell, major discoloration, or hot outlets with no clear device cause? Stop DIY work and contact an electrician for professional electrical outlet repair immediately.
Trust your senses. If a fix “feels wrong”—like stiff wires, hidden burn marks, buzzing behind the wall, or repeated trips—press pause. Risking injury outweighs any advantage gained from home troubleshooting, and professional assessment is worth every dollar.
Understanding Permits and Local Code for Larger Changes
Replacing standard outlets with specialty devices—like USB or smart outlets—sometimes requires a permit or inspection. Codes exist to ensure work isn’t just functional, but genuinely safe throughout your home.
Before expanding or combining circuits, consult local rules. Even small upgrades can affect insurance or resale value. Never skip proper documentation in the pursuit of quick repairs.
If you’re renting or part of a homeowners’ association, confirm you’re allowed to make changes. Some agreements specify authorized contractors or notification requirements—ignore them at your own risk and wallet.
Long-Term Upgrades to Prevent Chronic Issues
If you find yourself making repeated electrical outlet repair calls, it may be time for broader electrical upgrades. Ask a professional about replacing aged wiring, updating panels, or adding new circuits for modern load demands.
Chronic issues sap productivity and raise stress. Investing in whole-home improvements actively lowers maintenance needs. The result: a safer, lower-drama home, and fewer interruptions to your day-to-day life.
A journey from flickering lights to consistently reliable power isn’t made in a single leap. Yet, every informed micro-repair brings you closer to a future where disruptions are rare and short-lived.
Keen Habits for a Safer, Trouble-Free Home
Quick detection and simple electrical outlet repair routines—spotting heat, fixing looseness, swapping plates—sum up a powerful home maintenance plan. Consistency, more than expert skill, will shield you from most disruptive breakdowns.
Reliable power anchors nearly every home routine. Regular outlet checks, paired with the right preventive habits, keep everything from your morning coffee to evening wind down flowing uninterrupted. That peace of mind is entirely attainable, no matter your DIY skill level.
Investing in outlet care—cleaning, tightening, or replacing as needed—pays off in lowered risk and smooth daily living. Stay curious and proactive; the confidence you build pays out every time the lights turn on without a hitch.
Frequently Asked Questions
This usually signals a loose wire, tripped GFCI, or internal contact failure. Check nearby GFCI outlets and breakers first. If basic electrical outlet repair doesn’t restore power, consult a licensed electrician for advanced diagnosis.
Yes. A warm outlet points to excessive load or internal wear and increases fire and shock risk. Discontinue use, unplug all devices, and prioritize electrical outlet repair or replacement before further plugging in anything.
Include a visual and touch check monthly with cleaning, and do a detailed inspection at least every six months. Quickly catching looseness or changes is as effective as scheduled electrical outlet repair for high-traffic areas.
Paint can block plug entry or hide early damage. Never paint the outlet itself; paint only the wall plate, and always remove it first. Electrical outlet repair becomes tougher with covered up labels or debris inside the contacts.
Plug-in testers identify basic wiring faults, but don’t reveal all hidden issues or confirm perfect long-term safety. Always test comprehensively after electrical outlet repair and err on the side of caution for unfamiliar or repeated faults.

Pre-Holiday Cleaning Schedule to Beat the Seasonal
Discover a practical holiday cleaning schedule with checklists, room-by-room tips, and realistic micro-habits for a stress-free, inviting home all season long.


