

Water finds its path, so even a tiny leak can spiral into major repairs. Homeowners know roof leak repair becomes urgent when a little drip morphs into water stains and ceiling woes.
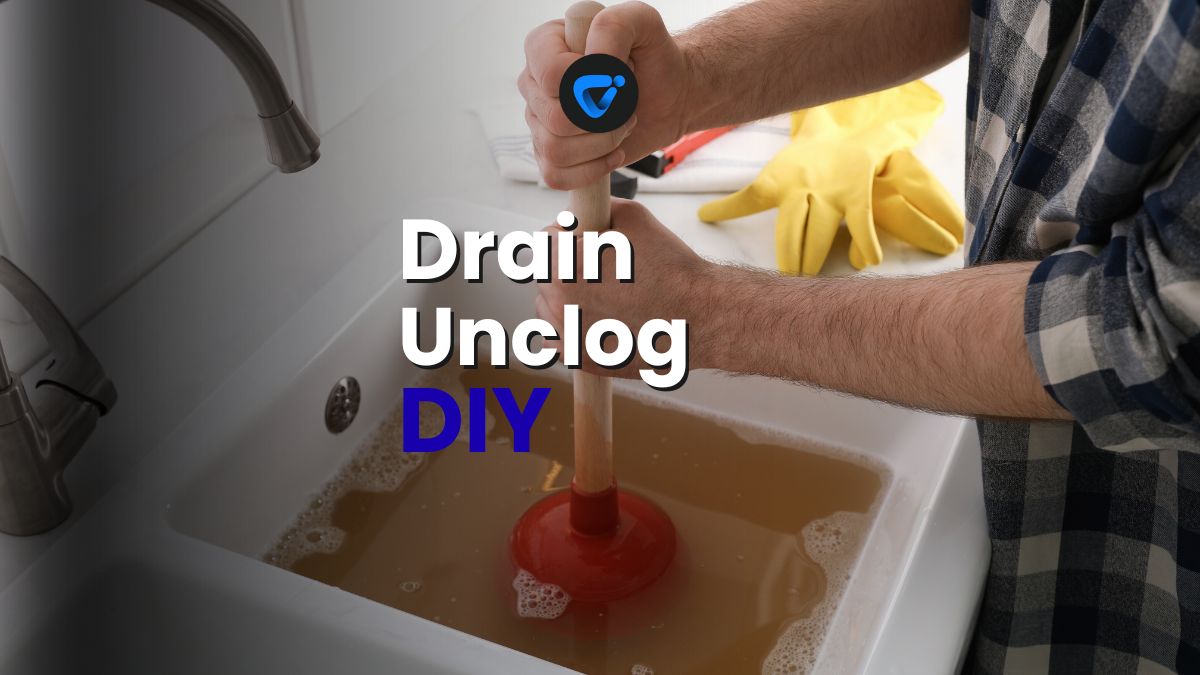
Unclogging Slow Drains
Unclog slow drains naturally! Use simple household methods to clear buildup without harsh chemicals or plumber costs.
No one enjoys surprise puddles in the attic after a rainstorm. Leaks cause insulation damage, trigger mold growth, and quietly eat away at a home’s structure—making early attention to maintenance a money-saving habit.
Here, you’ll discover practical guidance for spotting subtle roof leaks, checking common trouble spots, and tackling repairs before minor moisture turns into a big-budget headache.
Pinpoint Early Warning Signs with This Visual Checklist
Recognizing the first evidence of a leak allows for a quick roof leak repair, often before there’s visible damage. You’ll use a combo of indoor and outdoor checks for thorough detection.
Once you’re familiar with these early signs, performing regular inspections after every heavy rain will feel like second nature, and your home will thank you in long-term savings.
Ceiling and Wall Stains: Spotting the Subtle Clues Indoors
Faint yellow or brown discoloration forming on ceilings is one of the most detectable signs that moisture is collecting overhead. These stains expand slowly along seams or near attic hatches—areas that typically hide leaks.
Bubbling and peeling paint along upper walls or around skylights can flag trouble. Pressing gently to check for softness helps confirm water intrusion. Addressing it with roof leak repair right away prevents further spread or mold.
When attic insulation feels damp, that’s a red flag that the leak may be ongoing. Noticing slight musty smells around upper rooms also supports suspicions that water is getting in from above.
Shingle, Flashing, and Gutter Clues Outside
Missing or curled shingles disrupt the roof’s barrier, especially after a windstorm. Observing these areas closely with binoculars before climbing up is a smart, safety-first step.
Gaps or rust at vent boots, chimney flashing, or where roof planes meet are hot spots for leaks. Running your hand along suspicious seams can reveal dampness or soft wood underneath the surface.
Clogged gutters channel rainwater back under shingles, leading to leaks during downpours. Check for plant growth, standing water, and uneven sagging every few weeks, especially in spring and fall.
| Warning Sign | Location | Consequence | What To Do Next |
|---|---|---|---|
| Ceiling stains | Indoors, upper floors | Spreads and causes mold | Trace source, begin roof leak repair |
| Curled shingles | Rooftop edges | Water seeps beneath | Replace section promptly |
| Rusty flashing | Chimneys/vents | Gap allows drips | Patch or replace flashing |
| Gutter overflow | Eaves/edges | Water under shingles | Clear debris, realign gutter |
| Bubbling paint | Ceilings/walls | Hides ongoing leak | Inspect attic, fix moisture route |
Respond Quickly with These Targeted Leak-Repair Actions
Addressing leaks right away means you prevent structural rot and avoid expensive roof leak repair later. Even if the issue seems minor, immediate steps can stop permanent damage to insulation or framing.
Here’s what success looks like: you catch a leak during your post-storm inspection, trace it to a cracked vent boot, and complete a quick DIY patch before water invades untouched drywall.
Performing a Safe and Thorough Inspection After Every Storm
Get a headlamp, sturdy shoes, and a partner before you climb up. Examine the attic by following the moisture trail from the stain backward, looking for drips, rusty nails, or damp insulation.
- Begin inspections after rain stops: This timing makes fresh leaks easiest to spot, and you’ll see damp trails before they dry.
- Trace stains to the highest point: Water usually travels down beams; starting at the stain and working upward brings you straight to the source for accurate roof leak repair.
- Check for daylight in the attic: Pinpoints where holes or missing shingles are letting water in, especially around roof valleys or skylight wells.
- Test suspect areas from above: Use a hose and a helper to simulate rain, then observe where water enters from the attic for confirmation.
- Document what you find: Photos and notes help you or a professional return to the exact location for further repairs in the future.
Once the wettest area’s pinpointed, shutting off attic lights and looking for pinholes of daylight from beneath often reveals hidden entry points for moisture.
Assembling the Best DIY Repair Materials for Quick Fixes
Before attempting minor fixes, gather essential supplies so repairs happen in one go. Most leaks—like popped nails, small flashing gaps, or missing shingle tabs—respond to immediate interventions with these materials.
- Keep roofing cement on hand: Use it to fill minor shingle cracks, reseal joints, or coat rusty nail heads to block water paths quickly.
- Apply waterproof tape for emergencies: Especially handy when a storm is coming, this provides a temporary shield until you can do a more permanent roof leak repair.
- Use replacement shingles: Swapping out broken or curled shingles instantly restores the roof’s surface and halts water intrusion at the spot.
- Pack aluminum flashing patches: Bend and tuck them under loose shingles or damaged vents, then seal edges with roofing cement for best effect.
- Outfit with a caulking gun: Apply silicone or specialized roof sealant to close hairline gaps around vents, chimneys, or skylights fast.
Being proactive by assembling a leak-repair kit at home streamlines emergency fixes. It’s less stressful when you’re prepared, and small repairs rarely become expensive projects later.
Apply Homeowner-Ready Leak Repair: Practical Sealing and Patching Rules
You don’t have to be a contractor to do an effective roof leak repair for minor issues. Following step-by-step techniques with clear protocols ensures consistent results every time you spot trouble.
Sealing Shingle Cracks and Small Punctures with Confidence
Clean the affected area gently using a soft brush, removing all debris and dirt around cracks. A clean surface ensures that your patch and roofing cement form a watertight seal instead of peeling off later.
Apply roofing cement under raised shingle corners using a putty knife, press down, and add a bead of cement on top. Let it dry for 24 hours before testing with a hose, confirming that water no longer seeps in.
If you find small punctures around nail heads or exposed fasteners, dab a nickel-sized patch of cement and cover with a shingle scrap for invisible repairs. Even as you work, remind yourself that patient, careful moves guarantee lasting protection.
Proper Flashing Repairs: Preventing Persistent Leaks at Joints
Flashing failures are common causes of leaks at roof joints, vent boots, and chimneys. Pry up the surrounding shingles gently and lift the metal flashing. If rusted, swap with a replacement piece cut to match shape and size.
Secure the new flashing using galvanized roofing nails along the edges. Liberally apply sealant under and over nail heads to ensure a waterproof barrier. Press adjacent shingles firmly into the wet sealant to keep wind from lifting the edges.
Regular checks of all flashed sections—especially after storms—keep small issues from becoming chronic. When done right, this repair becomes nearly invisible to casual observers and reinforces your roof’s overall weather resistance long term.
Prevention by Design: Planning Ongoing Roof Health Checks
Scheduling roof inspections each season extends the lifespan of materials and reduces the risk of future roof leak repair by catching damage while it’s still affordable or manageable.
Set reminders at the start of spring and before winter. Clear debris, scan for wear around skylights and valleys, and check that all flashing remains sealed tight to the roof deck.
Integrating Roof Checks Into Home Maintenance Routines
Team your roof inspection with annual gutter cleaning and siding checks for a full weatherproofing day. This one-day sweep means you’ll never skip details that can reveal hidden leaks before they expand into costly issues.
Keep a simple checklist in a home binder or on your phone. Tracking maintenance gives you reference points for when changes first appear, making recurring issues clear and fast to locate in the future.
If using a contractor for annual inspections, ask for photos of all problem areas—this record helps you confirm repairs and track the effectiveness of your ongoing roof leak repair techniques each year you live in the home.
Safeguarding Your Home with Consistent Leak-Prevention Efforts
Spotting leaks early lets you address them on your timetable—not an emergency’s. You’ve learned which signs to watch, where to look, and effective steps to keep your roof sealed and functional.
Being hands-on with roof leak repair builds not just property value, but also confidence in your home maintenance skills. Acting before trouble becomes overwhelming is the mark of responsible, resourceful ownership.
With these simple, stepwise guides, you’ll transform minor leaks from a lurking threat into a predictable maintenance task, freeing your budget and your schedule from worry.
Frequently Asked Questions
The most reliable way is to inspect the attic after a good rain, following wet stains or drips upward to their highest point. If needed, use a garden hose on the roof and have someone check inside for fresh leaks at the same spots.
Minor leaks from cracked shingles, small holes, or loose flashing can be repaired using roofing cement, sealant, and patch kits with basic DIY skills. However, steep or high roofs, or widespread damage, are usually best handled by a professional for safety.
Use a high-grade waterproof tarp or roof patch tape to temporarily seal the area from outside. Indoors, place buckets to catch water and cover furniture with plastic until permanent roof leak repair can be done in better weather.
Homeowners should inspect their roof every spring and fall, plus after strong storms or wind events. Looking for new stains, missing shingles, gutter blockages, or flashing gaps ensures small problems don’t grow unchecked.
Most upper-level stains and peeling paint are, but sometimes plumbing leaks or condensation cause similar marks. Always double-check by tracing the moisture source upward, and confirm by observing during or right after rainfall. If unsure, a professional assessment is wise.
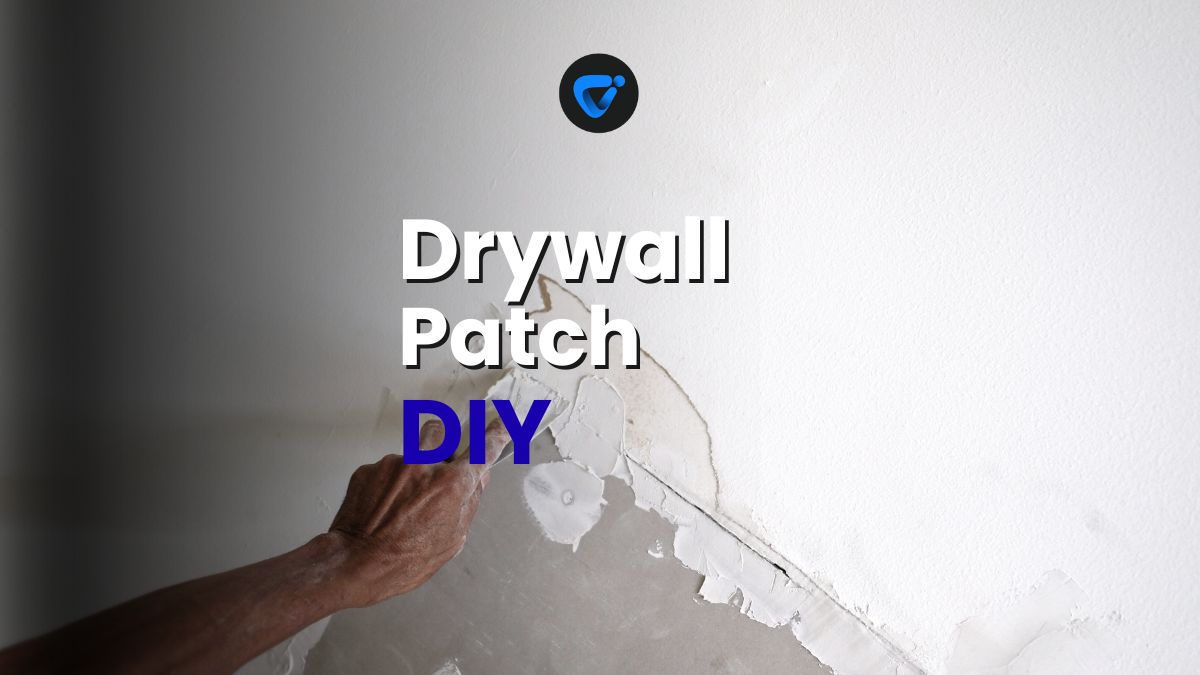
DIY Patching for Small Drywall Holes at Home
Fix wall damage fast! Follow our DIY guide to patch small drywall holes easily and get smooth, lasting results.

