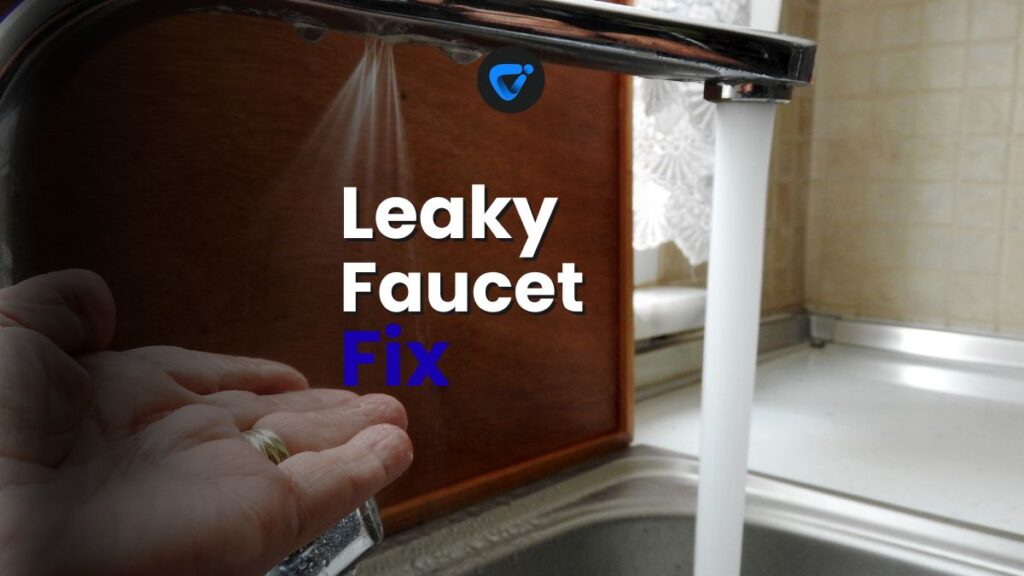

Few things interrupt a morning more than the insistent drip of a leaky faucet. Tackling leaky faucet repair can quickly restore your daily routine and help keep water bills low. With the right approach, anyone can address this common maintenance micro-task and enjoy a quieter home.
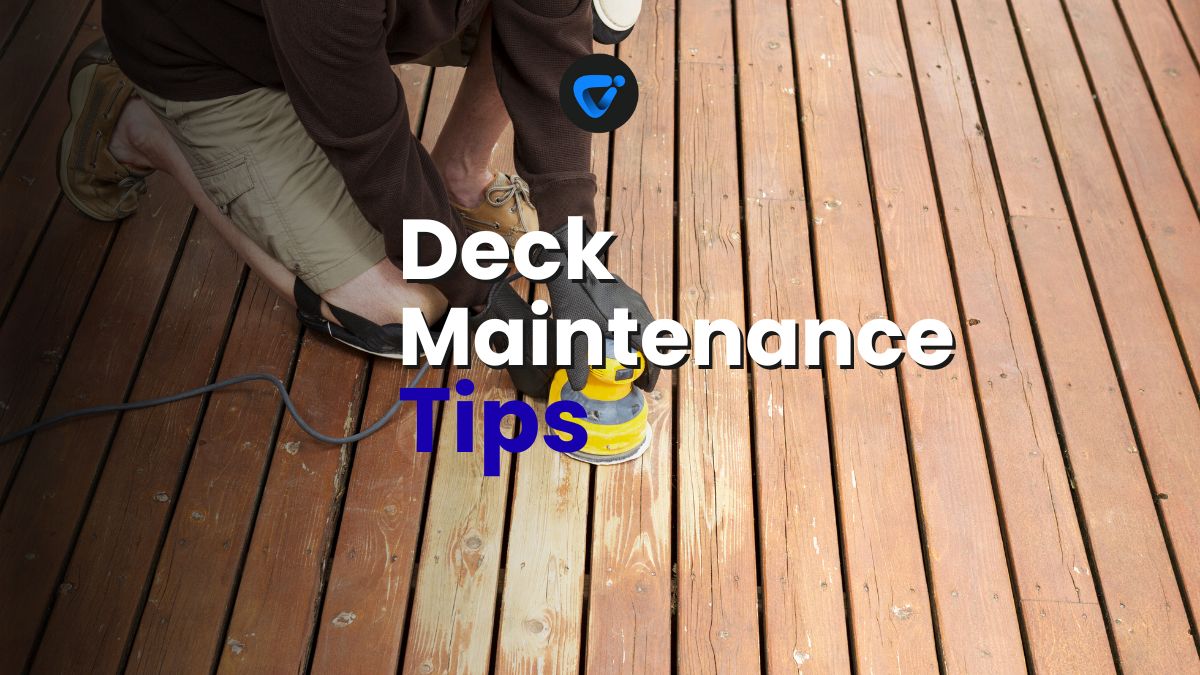
Maintaining Outdoor Decks
Protect your deck from rot! Follow our quick maintenance guide to keep outdoor wood strong, safe, and beautiful.
A constant drip doesn’t just waste water; it can stain sinks, wear fixtures, and signal a bigger plumbing issue. Leaky faucet repair matters for your wallet, your home’s long-term health, and your peace of mind. Small, regular upkeep keeps your plumbing in top shape and prevents bigger headaches.
If you’ve ever wondered whether fixing a faucet is worth your time, keep reading. This guide covers every step, explains what tools you’ll need, and shows how leaky faucet repair empowers confident DIY home care. Let’s get right into the details below.
Pinpointing the Leak for Fast, Accurate Repairs
Finding the source of a faucet leak lets you plan the right fix and avoid wasted effort. Before reaching for any tools, look closely and observe the faucet in use.
Leaks can come from the spout, handles, or base. Pin down whether water only drips when the tap is on or continues after shutting it off. This narrows down your likely leaky faucet repair strategy.
Recognizing Faucet Types for the Right Solution
Not all faucets use the same repair method. Compression, cartridge, ball, and ceramic disk faucets all show leaks in different ways. Try moving the handle; does it spin, lift, or turn?
If you hear a squeak or see water pooling around the handle, note this detail. Each observation is a clue for choosing the right parts before you disassemble anything.
Older homes often have compression faucets that use washers, while modern sinks lean toward cartridge or ceramic disk designs. Identifying this early makes finding leaky faucet repair parts easier later.
Using Color or Water Trails as Leak Clues
If you spot green or white chalky build-up, that usually means a slow leak for some time. Touch the area to feel for moisture right after shutting off the faucet.
Drop a paper towel at the faucet base and watch for immediate wet spots. This helps confirm if water travels only when the tap is on or all the time—useful for narrowing repair focus.
Color, sediment, or soft corrosion on the spout indicates a long-term leak. Log these signs so you can target your leaky faucet repair and buy suitable replacement parts.
Comparing Common Leak Sources and Their Fixes
| Leak Location | Common Cause | Tool Needed | Action Step |
|---|---|---|---|
| Spout | Worn O-rings | Allen wrench | Remove spout and replace O-rings |
| Handle Base | Loose packing nut | Adjustable wrench | Tighten or re-pack nut |
| Under Sink | Loose supply line | Pliers | Tighten or replace line |
| Base Plate | Damaged gasket | Screwdriver | Replace gasket under plate |
| Cartridge/Core | Cracked cartridge | Cartridge puller | Replace with matching cartridge |
Gather Tools and Materials for Efficient Faucet Work
Laying out the proper tools makes leaky faucet repair smooth and avoids mid-job delays. Double-check supplies before starting so you don’t scramble for missing parts.
Place towels under the sink and on the counter for an easy cleanup. Having all key items within arm’s reach helps you work efficiently and keep your workspace tidy.
Inventory for Basic Repairs
Most leaky faucet repair jobs use an adjustable wrench, Phillips and flat-head screwdrivers, and needle-nose pliers. For cartridge or ceramic disk models, get a specialty puller at a hardware store.
- Grab an Allen wrench or hex key for set screws hidden under faucet handles. This step matters—some models won’t come apart without these small tools in hand.
- Keep replacement washers and O-rings on hand. Store these in a small bag to prevent loss and save time mid-repair when the old ones break or flatten.
- Stock a roll of plumber’s tape (thread seal tape) for reconnecting water supply lines. Wrapping threads prevents drips from fittings after you finish.
- Choose a mild cleaning solution to scrub built-up minerals or grime before reassembly. A damp rag cleans faucet parts and workspace with little residue left behind.
- Set aside a container for holding screws, nuts, and parts. This simple trick avoids lost pieces and confusion during reassembly.
Trust your toolkit; gather supplies before diving into your leaky faucet repair so every step flows smoothly from start to finish.
Checking Faucet Model for Accurate Parts
Before shopping for parts, snap a photo or jot down the make and model from the faucet body, handle, or manual. This cuts down confusion once you’re in the store.
- Compare handle shapes and spout height to available kits
- Use your phone to show staff at the plumbing aisle
- Match cartridges by measuring length and diameter
- Inspect packaging for alignment tabs or orientation marks
- Don’t mix washer sizes—pick the exact type for your faucet
Accurate parts selection keeps your leaky faucet repair from turning into a guessing game.
Turning Off Water and Preparing for Repair
Shutting off the water supply ensures no gush or mess as you begin. Always close the valve completely before taking the faucet apart—most are found under the sink or near the wall.
This step is crucial even if a drip seems harmless. Turning valves clockwise cuts off flow, letting you proceed confidently with leaky faucet repair. Confirm faucet handles spin without delivering water before you continue.
Draining Excess Water from the Lines
Open the faucet fully (hot and cold) and let remaining water drain out. This relieves built-up pressure, making it safer to disassemble the fixture and helping avoid accidental sprays.
If your sink sits above a bucket or towel, minor spills won’t cause damage. Once water drips stop entirely, you know it’s safe to start the actual repair process.
Some homeowners check for shut-off by listening for silence in the pipes or feeling the faucet for slight vibrations. If the valve resists turning, use pliers gently to avoid breaking the handle.
Keeping Parts and Work Area Organized
Lay out each part as you remove them—handles, screws, nuts—in the same order you’ll use to reassemble later. This simple practice prevents lost parts and saves guesswork at the end of your repair.
Take quick photos with your phone to remember step sequences. One snapshot at each disassembly stage makes reverse assembly clear and minimizes confusion for any leaky faucet repair.
Clear work surfaces of clutter. A tidy area helps you spot dropped screws, maintain focus, and finish the job efficiently.
Disassembling the Faucet for Access
Taking apart a faucet starts your fix. Remove decorative caps with a gentle pry and inspect the handle for set screws. Use the correct tool for each fixture to avoid scratches or stripped hardware.
Loosen the mounting nut and lift off the handle slowly. Underneath, you may find a retaining nut, cartridge, or washer depending on the faucet model. Document the arrangement for smooth leaky faucet repair later.
Removing Old Washers, Cartridges, or Seals
Carefully pull out any rubber washers, ceramic disks, or cartridges. Use needle-nose pliers if a washer sticks or crumbles. Stuck parts sometimes need a light tap to free them without bending the faucet body.
Worn washers show cracks, flattening, or thinning. Cartridge stems sometimes have blackened ends or rough movement. Removing them promptly gets your faucet closer to a drip-free future.
If seals or O-rings feel brittle or look discolored, always replace them rather than reuse. Fresh parts make the biggest difference in lasting leaky faucet repair.
Inspecting Every Component Before Replacement
Give each removed part a quick inspection under a light. Any sign of warping, slow springiness, or stuck debris deserves a full clean or replacement. Don’t rush this check—it prevents repeat leaks.
Even if just one washer seems worn, swap all similar-age parts. Consistent maintenance reduces headaches and extends your fix. This habit keeps future leaky faucet repair quick and affordable.
Clean out old plumber’s tape, buildup, and debris before popping in new parts. Wipe surfaces so seals seat properly—a little effort here locks in better results.
Reassembling and Testing for Leak-Free Results
Putting the faucet back together confirms your work. Insert the new washer, cartridge, or O-ring in reverse order from removal. Double-check that all seating is snug and parts align smoothly.
Return the handle by tightening set screws without overtightening. Replace caps or trim, securing every part. Testing each step lets you spot minor misalignments before finishing your leaky faucet repair.
Restoring Water Flow and Checking for Drips
With everything in place, slowly turn on the water valve beneath the sink. Listen for any hissing or burbling—signs water pressure is returning and clearing air from the line.
Run the faucet for 10 to 30 seconds. Look and feel for water drops at every seam, especially around the spout base and handle. Run both hot and cold sides separately for a thorough test.
If you see no drips and all parts move smoothly, you’ve successfully finished your leaky faucet repair. Small leaks after reassembly might need a quick nut tightening or runner adjustment.
Troubleshooting Persistent Faucet Drips
If a drip continues, confirm the exact spot. Check seating of the washer, cartridge orientation, and the tightness of all nuts. Old threads or scratched assemblies sometimes need another wrap of plumber’s tape.
Persistent leaks at the spout mean an O-ring or seal wasn’t seated correctly. Inspect, realign, and gently press back into place. Avoid using force to prevent bending metal or breaking porcelain.
Handle leaks often come from over-tightening or misaligned packing nuts. Loosen slightly if motion feels stiff or parts squeal. Consistent careful tweaking delivers the best results for leaky faucet repair.
Maintaining Faucets After a Successful Repair
Regular upkeep protects your fix and keeps faucets running smoothly. Clean aerators every few months with a brush and mild solution to remove mineral buildup. This prevents back-pressure and preserves leaky faucet repair results.
Inspect handles, spouts, and under-sink connections twice a year. Watch for any early signs of slow drips or corrosion—the earlier you spot them, the easier future repairs will be.
Creating a Simple Preventative Maintenance Routine
Set reminders seasonally for a quick faucet check. Write a log or use an app to track repairs, part replacements, and symptoms noticed over time for consistent upkeep and easier troubleshooting later.
Keep a basic faucet repair kit with washers, O-rings, and a small wrench in your utility drawer. This simplifies emergency fixes and reinforces your confidence with every leaky faucet repair attempt.
Include faucet inspection when cleaning sink areas or organizing cabinets. A five-minute check prevents long-term water waste and major under-sink messes.
Signs That Call for Professional Help Instead
Some problems, like deep corrosion, stubborn leaks despite new parts, or water pooling underneath, call for a plumber. Recognizing these boundaries saves time and prevents unnecessary frustration from prolonged leaky faucet repair efforts.
If water pressure suddenly drops, the faucet vibrates or rattles, or pipes emit banging noises, consult a pro. Prioritize safety and long-term function by knowing when DIY becomes unsafe or unwise.
Document the steps you’ve attempted so you can describe the full issue to a technician. This practical communication speeds up professional service and prevents repeated work.
Frequently Asked Questions
If you’ve changed the washer and the faucet still drips, check for scratches or mineral build-up inside the valve seat or for a damaged cartridge. Both issues frequently require cleaning the area thoroughly or swapping in new internal parts to fully stop leaks.
Most leaky faucet repair cases involve worn-out washers or O-rings. Over time, these elastics harden or flatten, making it impossible to seal out water. Replacing these parts nearly always restores proper function for compression, cartridge, or ball faucets.
During disassembly, examine every washer, seal, and cartridge. Look for cracks, thinning, brittleness, or discoloration. Any part with visible wear or marks should be replaced during your leaky faucet repair to guarantee a long-lasting result.
No—each faucet model takes specific sizes and shapes for washers or O-rings. Always match replacements exactly by bringing the old part to the store or checking the faucet’s manual or manufacturer for compatibility before purchasing, to ensure a leak-free seal.
If leaks persist after multiple repair attempts, rust bathes surrounding pipes, or there’s water damage near the fixture, consult a professional. Extensive corrosion, unknown fixture models, or complex under-sink layouts are best handled by someone with advanced plumbing experience.

Quick Tile Grout Repair Without Full Re-Tiling
Fix cracked grout fast! Learn how to repair tile grout without re-tiling for a fresh, durable finish. Read on and learn more!

