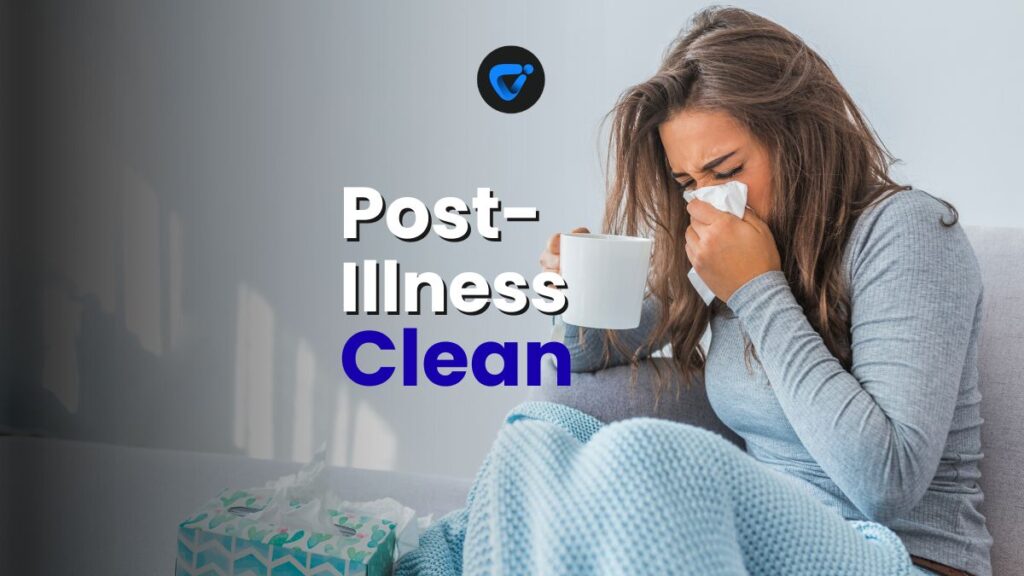
After someone’s finally on the mend, that urge to toss open the windows and scrub every surface sets in fast. Household recovery isn’t only about comfort; it’s about stopping the invisible germs left behind. That’s where post illness cleaning comes in—it’s a real system, not a hunch.
Post-Party Cleanup: Fast Track to Normalcy at Home
Party’s over? Get your home spotless fast! Follow our post-party cleanup guide to restore order and freshness in no time.
When illness passes through, it leaves a wake of germs on doorknobs, bedding, and hard-to-reach corners. These lingering microbes can put others at risk if post illness cleaning is overlooked, making the return to normal life much slower for everyone.
If you’re eager to reclaim your healthy home and wonder where to start, this guide breaks down post illness cleaning into simple, reliable steps. Dive in, discover practical routines, and see how expert-level sanitizing supports ongoing wellness.
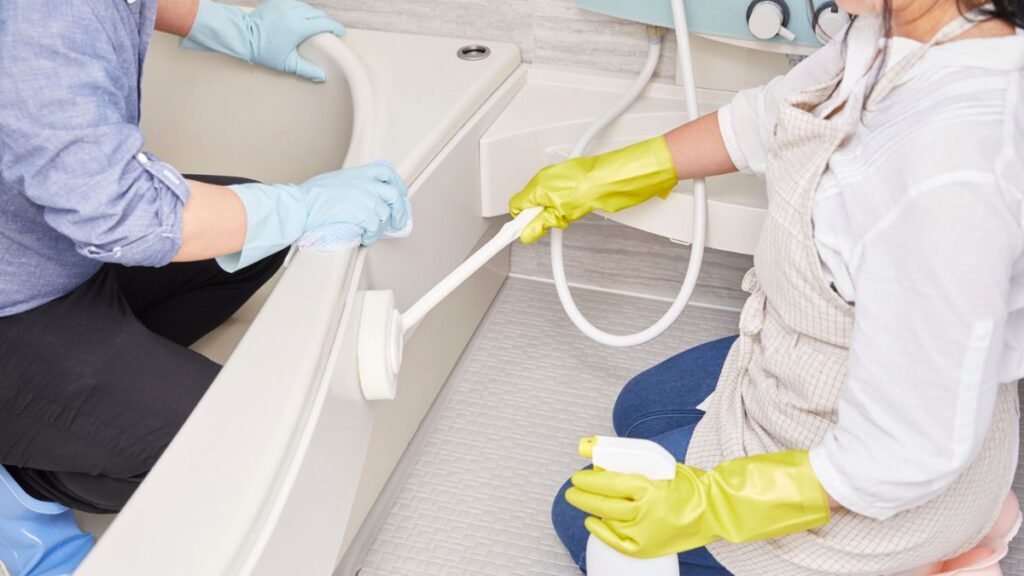
Sanitizing High-Touch Surfaces Ensures Lasting Protection
Focus on high-touch items first: light switches, remotes, and handles see constant hands and harbor hidden germs. Immediate action keeps reinfection risks low and helps your cleaned home feel cozy again.
Post illness cleaning means going beyond usual routines—use EPA-approved disinfectants or diluted bleach solutions on these zones. Consistency, not force, matters. Every swipe reduces the pool of remaining germs, creating true, lasting peace of mind.
Creating a Step-by-Step Checklist for Daily Hotspots
Open a notebook or phone notes: list every surface you, your family, or sick members touched recently. Let no switch or remote escape your list. Mark each after cleaning so you won’t forget.
Picture saying aloud, “Okay, cleaned fridge handles and faucet!” This method turns the abstract task of post illness cleaning into a finishable job—concrete steps you can actually check off during sanitizing sessions.
Analogies help: think of high-touch surfaces like turnstiles in a subway. Cleanliness depends on frequency, not intensity. Check them daily for a week after illness, then return to weekly cleaning protocols.
Choosing and Using Disinfectants Correctly
Phrases like “kills 99.9% of germs” can confuse; check EPA listings for infection-specific effectiveness. Choose wipes or sprays suitable for both hard and soft surfaces. Read the label—contact time matters more than pretty scents.
Post illness cleaning gets results with patience: spray, let the chemical dwell as recommended—usually three to five minutes—before you wipe dry. Rushing wastes effort. Every minute counts in real disinfection.
Store disinfectants away from kids and pets after you finish, airing out spaces as needed. This way, every cleaning round ends safely, not just effectively—meeting both health and household priorities with care.
| Surface | Best Disinfectant | Contact Time | What To Do Next |
|---|---|---|---|
| Doorknobs | EPA-registered spray | 5 min | Wipe dry, repeat daily after illness for one week |
| Remote Controls | Alcohol wipes | 2 min | Allow air-dry; clean each night during recovery |
| Light Switches | Bleach solution (1:10 dilution) | 3 min | Use gloves, rinse after drying |
| Countertops | Multi-surface spray | 3–5 min | Dry with disposable towel and toss immediately |
| Bedsides | Hydrogen peroxide wipes | 5 min | Avoid direct contact until dry |
Laundry Protocols Break Germ Cycles in Linens and Clothing
Gather all linens, towels, and recently worn clothing from sick rooms before other loads. Sealed baskets prevent air dispersal of germs, making post illness cleaning more than just a visual fix.
Choose the hottest water temperature safe for your fabrics. Use a heavy-duty detergent and, if needed, add color-safe bleach or a sanitizing booster to maximize the effectiveness of each wash.
Sorting for Targeted Cleaning Success
Sorting laundry isn’t just about colors—after sickness, separate by function: bedding, towels, and clothes. This post illness cleaning method ensures nothing is missed in the shuffle and high-use items get intensive treatment.
- Wash bedding separately to eliminate viral particles clinging from nightly contact. Launder pillowcases, sheets, and blankets together for proper agitation and coverage during the post illness cleaning cycle.
- Use gloves when loading machines, then discard or wash immediately. Gloves keep hands from touching contaminated fabric, maintaining cleaner workflow throughout your cleaning routine.
- Transfer washed items to the dryer without touching unwashed clothes. High heat further destroys lingering germs and helps linens feel fully refreshed after each post illness cleaning round.
- Wipe down baskets after use, focusing on handles and lids. Always finish laundry sessions by disinfecting tools for future loads—don’t let cross-contamination undo your efforts.
- Designate one basket for sick-room items to avoid accidental mixing in the future. This habit streamlines subsequent post illness cleaning, building safer routines for everyone at home.
Once cleaned and dried, fold linens in a clean space—not in the laundry room. Place fresh items immediately in storage or back onto beds to limit post-laundry contact and keep the clean cycle going strong.
Handling Specialty Items and Delicate Fabrics
Focus on hand-wash only and delicate items like plush toys or specialty bedding. These need extra care: use a sanitizing soak, not just laundry detergent, whenever possible during post illness cleaning.
- Perform pre-wash soaks for mildew-prone items, using a mixture of hot water and gentle disinfectant. Address odors and spots to prolong freshness and safety after each illness passes.
- Spot-clean stains promptly with a diluted solution, ensuring effective post illness cleaning that doesn’t damage materials. Avoid harsh scrubbing to preserve fabric quality for repeated use.
- Rinse toys twice to remove soap residue, then tumble dry or air dry in direct sunlight. Sunlight naturally neutralizes microbes, an old-school step that still works best for toy safety.
- Rotate clean toys in and return favorites after a few days; this reduces new germ settling on freshly sanitized items and keeps kids’ belongings safer for longer periods.
- Store delicate items in dustproof containers until your next full-house post illness cleaning session. Preventing buildup between washings simplifies ongoing efforts and saves time.
Specialty care proves that post illness cleaning isn’t just about immediate appearance. Longevity and ongoing safety hinge on mindful handling during every cleaning session—even the small stuff matters.
Improving Air Quality and Ventilation Minimizes Germ Persistence
Air movement is central to post illness cleaning routines—opening windows and running exhaust fans speed up germ removal. This practice complements surface cleaning and ensures lasting results throughout recovery periods.
Pairing air filtration with rigorous post illness cleaning habits truly breaks the chain of reinfection at home. Modern air purifiers and HEPA filters trap airborne particles, giving families an added layer of daily protection.
Window Venting and Fan Placement for Whole-Home Refresh
Routine window opening, even just ten minutes a day, sweeps out stale air and airborne germs. This simple post illness cleaning adjustment boosts recovery and keeps stuffy spaces feeling welcoming.
Place fans in opposite-facing windows or in corridors to direct airflow outdoors. Imagine standing in a gentle breeze—this intentional circulation prevents pockets of old air from lingering in bedrooms or main areas.
For smaller spaces, focus on bathroom or kitchen vent fans. Leave them running after showers or cooking sessions—these small post illness cleaning tweaks disrupt germ movement and restore freshness quickly.
Integrating Air Filtration into Daily Routines
Set HEPA-filter air purifiers in living rooms and bedrooms, especially after someone’s sick. Track filter changes on your calendar as part of recurring post illness cleaning duties for all major appliances.
Limit open-door traffic to contaminated rooms during illness, then run an air purifier continuously for two to three days immediately after. This timeframe matches how long airborne droplets can hang around after visible symptoms disappear.
Vacuum floors and vents with a HEPA-equipped vacuum. This removes dust and germs simultaneously, amplifying the effectiveness of post illness cleaning efforts and supporting cleaner airflow throughout your home.
Bringing It Together: Ongoing Habits Build Lasting Wellness
Staying diligent with post illness cleaning habits builds comfort and minimizes sick days for everyone at home. Each step—from surface wiping to targeted laundry—quickly creates a safer recovery space.
Households benefit from the peace of mind that comes with knowing every touchpoint, fabric, and corner has been addressed. Consistent post illness cleaning transforms routines into reliable protection, supporting ongoing health for both guests and family alike.
Next time illness visits, use these actionable micro-guides to respond swiftly and confidently. Empower yourself to prevent germs from gaining another foothold, and turn post illness cleaning into a lasting, achievable habit.
Frequently Asked Questions
Start as soon as it’s safe, usually the same day symptoms end. Early action captures lingering germs before they multiply or spread, making recovery more effective for everyone in your home.
Wipe electronics with alcohol-based wipes or sprays, allowing at least two minutes of contact time. Avoid soaking; always let items air-dry completely to ensure safety and effectiveness.
Homemade cleaners like diluted bleach work, provided you blend them correctly and apply proper contact times. Stick with trusted recipes—1:10 bleach and water—when EPA-registered products aren’t available.
Soft surfaces—pillows, stuffed animals, upholstered furniture—need focused attention. Use a fabric-safe disinfectant spray, and where possible, launder or expose items to direct sunlight for germ neutralization.
Turn tasks into small checklists or games, like “Who can find five handles to wipe next?” Supervise their work and stick to non-toxic products for safety, keeping it practical and fun.
Autumn Leaf and Gutter Cleaning Made Simple
Prepare your home with our autumn leaf and gutter cleaning guide. Learn time-saving routines, gear tips, and leaf removal tricks for safer, cleaner fall living. Stop wate