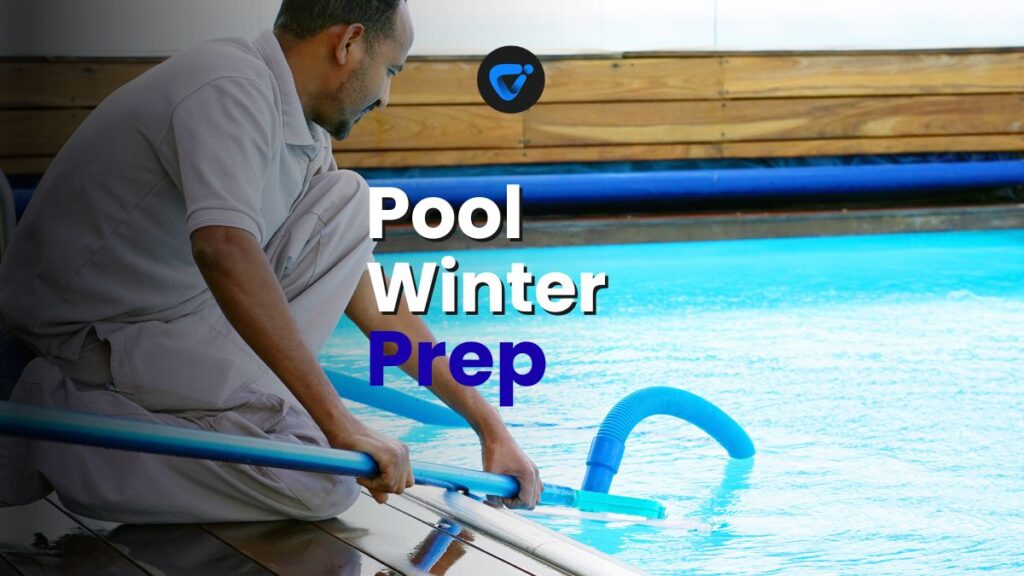
Shutting down your pool before the first frost can transform a dreaded seasonal chore into a satisfying home maintenance win. Squeeze in time for thoughtful pool cleaning now, and you’ll dodge future headaches. Those who prepare early rarely face frozen surprises.
End-of-Lease Deep Clean for a Full Deposit Return
Get your full deposit back with a proper end-of-lease deep clean. Follow our quick guide and move out stress-free!
Completing pool cleaning and closing steps as fall settles in shields surfaces, protects plumbing, and sets up a smooth spring opening. Planning matters because cold snaps have a way of sneaking up unexpectedly. Getting it right means every detail—from the water’s pH balance to vacuuming debris—builds a smarter start next season.
Curious about which steps make the most difference—or how to create a checklist even the pros use? This friendly micro-guide walks you step-by-step through home pool closing and cleaning before frost, unlocking practical tips and clear examples for consistent results.
Know When to Schedule Pool Cleaning and Closing for Summer’s End
Backyard pools need thoughtful timing for closing—wait for water below 65 Fahrenheit but don’t gamble on those first chilly nights. Pool cleaning before closing should become a yearly ritual by mid-fall for most climates.
Confirming the pool’s water is clear, surfaces brushed, and debris removed builds the foundation for your winter cover to do its job. Accept that shortcuts will mean more work come spring.
Consider the Signs Your Pool Is Ready for End-of-Season Maintenance
When you notice leaf piles sticking to your skimmer more than swimmers ever do, mark that as a cue for pool cleaning and closing. Say: “There’s no one in the water, but the trees keep dropping in.” Take immediate action.
If the nights start dipping into the 40s, pool cleaning can’t be put off. Closing too late risks freeze damage to equipment or surfaces. Tie reminders to routines: as you rake leaves, check the pool’s clarity and water temperature too.
Analogize the transition: if you grab a jacket every morning, imagine your pool needing a “blanket” of protection as well. Covering up doesn’t just insulate—it keeps new dirt from sneaking in.
Plan Your Pool Closing on a Weekend Afternoon
Choose a clear weekend with a forecast that avoids rain or early frost. Pool cleaning and closing often take several hours if you include brushing, vacuuming, and equipment prep.
Give each task a dedicated block: one hour for brushing walls, thirty minutes for deep skimming, another hour to concentrate on chemicals. Write the schedule on a sticky note visible from the pool deck.
Have tools and chemicals within reach to keep your workflow smooth. Interruptions open up opportunities to miss a cleaning step—so finish in one focused window before sundown.
| Timing Trigger | What to Check | Action to Take | Result/Next Step |
|---|---|---|---|
| Water below 65F | Temperature with digital or floating thermometer | Plan for pool cleaning and closing that weekend | Prevents algae growth before cover goes on |
| Overnight frost predicted | Local weather alert or app notification | Start closing steps that same day | Nets out last debris, protects pipes from freezing |
| Debris accumulation increases | Visual check after wind or rain | Ramp up skimming and vacuuming sessions | Reduces the risk of stains and clogs |
| Regular swimmers disappear | Pool use diary or guest log | Transition to closure even if the calendar says early fall | Saves money on chemical use |
| Lower water clarity or greenish tint | Test kit and daily visual inspection | Run full pool cleaning and shock | Allows closing with clean, chemical-balanced water |
Prepare Equipment and Clean Surfaces: Rule of Layers and Seams
Pool cleaning before winterizing tackles every surface—walls, steps, skimmers, and drain covers. Touch every layer, just like you’d check seams when folding up outdoor furniture for storage.
Brush from top to bottom, focusing on steps and returns where dirt sneaks into corners. Run a pool vacuum for at least 30 minutes to pull out deep-set debris.
Use Smart Steps for Brush and Vacuum Technique
Stiff pool brushes work best for plaster or gunite pools; soft ones for vinyl liners. Move methodically along walls, then across the floor—never random swipes. Aim for slow overlapping passes, working sediment toward the main drain.
Follow brushing with thorough vacuuming. For visible stains, finish with targeted spot treatments and let them soak before final rinse. Reward yourself with a glance at the sparkling bottom before moving on.
Pool cleaning details: focus on grates and skimmer baskets, where organic debris causes winter stains. Catch every corner—think of hunting crumbs under cushions so nothing lingers to fester later.
- Gather all pool cleaning tools before you start: sweep net, wall brush, vacuum hose, and telescoping pole to streamline workflow and avoid stopping mid-task
- Scrub tile grout lines firmly, since lingering scum can calcify and create hard-to-remove stains by spring’s opening
- Brush entry steps and behind ladders where algae clings—work in sections and rinse off each area as you go
- Spend extra time on seams at waterline tiles, as this strip traps sunscreen, oils, and dust unnoticed by the filtering system
- Open and empty both skimmer baskets fully, checking gaskets for tears so trapped leaves don’t rot over winter
Inspecting seams and layers lets you spot maintenance issues—tiny rips or loose tiles now prevent bigger, messier repairs later. Practice this checklist each closing for consistent results.
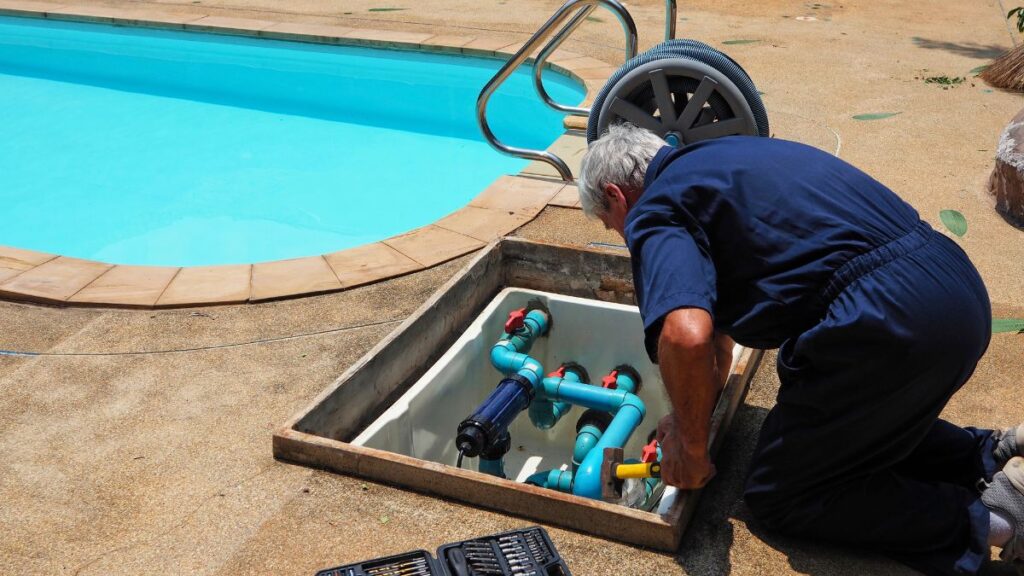
Apply the Layer Rule to Filtration Equipment
Your filter and pump system needs a hands-on approach at closing. Pool cleaning here means backwashing sand filters or removing DE grids for deep rinsing. Manual rinsing beats relying on “auto-clean” cycles for peace of mind.
- Turn off power to all equipment, then relieve pressure at the release valve for safety before opening any unit
- Hose down filter cartridges, spinning them gently to flush out built-up silt and contaminants, aiming for clear rinse water as your indicator of success
- Use a small brush or bottle brush to gently scrub corner joints inside the filter for a thorough deep clean—not just a surface rinse
- Treat O-rings and seals with a silicone lubricant to prevent cracking, making next year’s pool cleaning smoother and leak-free
- Check for leaks or worn gaskets and swap them out immediately—old seals that get brittle lead to costly repairs after a hard freeze
Finishing all equipment cleaning steps gives you confidence when storing components for winter. Store parts in a clean, dry tub near your pool gear bench for easy retrieval.
Balance Pool Water Chemistry Before the Cover Goes On
Balancing water chemistry is a non-negotiable step in pool cleaning routines before closing. Start by adjusting pH, alkalinity, calcium hardness, and sanitizer levels—follow your kit’s chart for exact numbers.
Properly balanced water staves off corrosion, prevents scale buildup, and keeps winter algae from gaining a foothold beneath covers or in plumbing lines.
Test the Water and Record the Results
Use a liquid test kit—you’ll get sharper results than strips. Take samples elbow-deep for accuracy. Document each reading on a note near your chemical bench for future reference at spring opening.
Invite help—let a second person double-check math before adding chemicals. Record the final levels in a pool maintenance log labeled with this season’s closure date: “Final test before cover, Oct 12.”
Don’t skip sanitizer: shock the pool with the right dose, then run the pump overnight before closing valves. If neighbors ask, explain, “Pool cleaning isn’t finished until the water is chemistry-balanced and clear.”
Use Correct Dosing and Timing for Chemicals
Always read labels and measure precisely—never estimate by handfuls. Add chemicals one at a time with the pump running, pausing 4–6 hours between steps to mix fully and prevent reactions.
A good rule: adjust alkalinity first, then pH, followed by calcium, and finally add sanitizer or shock last. This reduces chance of cloudy water or hard deposits during downtime.
Finish by testing again before covering up. Snap a photo of the readings—future-you will thank you for the pool cleaning precision next spring.
Drain, Lower, and Store: A Sequence for Freezing Nights
Proper draining is a safeguard against freeze damage—lower the waterline beneath skimmers and return jets before temperatures plummet. Never empty a pool entirely unless directed by a structural pro.
Clean, drain, and dry all hoses and accessories, storing them in a shed or garage away from UV rays that make plastic brittle.
Winterize Plumbing Lines to Block Freeze Breaks
Using a shop vac on blower mode, force water out of plumbing lines. Insert winter plugs at return jets and skimmers to seal out moisture. Say, “We get every drop out so pipes stay safe.”
Disconnect, drain, and store the pump, heater, and filter components in a dry area. Place small signs, like “Closed for Winter—do not turn on,” in the equipment area as reminders.
Backwash the sand or DE filter one last time before bringing it inside. A dry filter in storage means less work come spring pool cleaning.
Sequence for Draining and Storing Pool Gear
Lay out a tarp for coiled hoses and vacuum heads to air-dry fully. Inspect each for cracks or mildew, wiping them before storage. Rewards that “one last check” feeling—like folding away patio cushions for the year.
Store skimmer baskets and cleaner robots in labeled bins out of sunlight. Avoid tucking them under the winter cover—use a separate storage spot. This keeps debris out and makes opening faster next time.
Label every plug, basket, and hose with a masking tape tag. Mark with black Sharpie: “Main drain,” “Shallow return,” and “Skimmer hose.” Future retrieval is quick—no guessing which part goes where.
Choose and Fit the Winter Pool Cover with Confidence
Picking and installing a winter cover needs as much attention as any pool cleaning step. Options range from simple tarps to custom-fit safety covers—you want coverage tight enough to stop wind from slipping underneath.
Lay out the cover poolside before the first frost, smoothing out every wrinkle for a snug fit. Have a broom handy for a final brush-off of stray leaves.
Inspect Anchors and Tie-Downs for Long-Term Security
Walk the pool deck to test all anchors and straps, looking for tension or looseness. Adjust tie-downs so the cover hugs the pool but doesn’t strain fittings. Replace missing or rusted hardware before winter starts.
Press the perimeter to ensure no gaps or sagging spots. If you find a problem area, use patch tape or an extra water weight as a short-term fix—then schedule a replacement liner for next season.
Each firm tug should feel like securing a tent before a storm: better too snug than let a breeze sneak in. Finished install means peace of mind until spring pool cleaning begins again.
Keep Water Bags and Cover Tools Ready
Group water bags into pairs and fill them three-quarters full—this allows room for freezing to expand. Space them evenly around the cover’s edge, pressing out air before sealing. Double-check caps and handles for cracks prior to placing them.
Store extra tools (cover pump, leaf blower, cleaning gloves) in a weatherproof bin right near your pool’s entrance. A labeled tote keeps supplies in one place, reduces hunting time, and signals family the cover is officially in place.
Set a reminder to brush off snow or excess rain periodically, using a pool brush or leaf blower. This avoids sagging, extends cover life, and signals year-round attention to proper pool cleaning upkeep.
Finish Your Pool Cleaning Routine with a Post-Close Checklist
Complete a written checklist each pool closing—track what was done and note any issues spotted. This is the owner’s best friend in spring; the record speeds troubleshooting. Effective pool cleaning isn’t just doing steps, it’s documenting and reviewing them.
Review every item: vacuuming, chemical balance, equipment cleaning, draining, cover installation, and final water test. Cross each off after double-checking. This transforms closing into a stress-free, repeatable habit, rather than a scramble each year.
- Check water clarity before the cover goes on—even a slightly hazy pool means repeat pool cleaning before frost returns
- Snap a phone photo of the closed and covered pool with visible winter plugs and tied-down cover, adding it to your digital maintenance file
- Log all chemical doses, filter backwash date, and any replaced hardware for fast reference
- Write down anything odd you noticed—small leaks, sticky valves, or a noisy pump—before you forget by springtime
- Share the checklist with family members or neighbors handling your pool if you’re away, so nothing is skipped or repeated
Checklists not only prevent mistakes—they save time reopening. If you spot a missed task, quickly address it before snow or deep cold sets in. Organized notes make pool cleaning twice as effective by the first thaw.
Frequently Asked Questions
Most pool owners begin when daily temperatures fall below 65 Fahrenheit and swimmers stop using the pool. This allows time to complete pool cleaning and chemical adjustments before the first frost risk appears on forecasts.
It’s never wise to skip water balancing before covering. Pool cleaning routines that ignore pH, alkalinity, and sanitizer steps often emerge to stained surfaces and green water come spring—always test and adjust before winterizing.
Rinse, dry, and coil all hoses and tools, storing them in a clean, shaded space like a garage or marked storage bin. Label parts like plugs or baskets for easy identification, making pool cleaning and setup more efficient next season.
Most pools require the water line lowered below the skimmers and returns, but never fully drain an in-ground pool unless instructed by a professional. This protects structure and plumbing from freeze-thaw cycles, a critical piece of any pool cleaning closing plan.
Double-check anchor points and use water bags to weigh down trouble spots. For persistent debris, add a leaf net layer atop the cover. Remove leaves frequently—pool cleaning here means preventing decomposing matter that can cause surface stains.
Post-Party Cleanup: Fast Track to Normalcy at Home
Party’s over? Get your home spotless fast! Follow our post-party cleanup guide to restore order and freshness in no time.