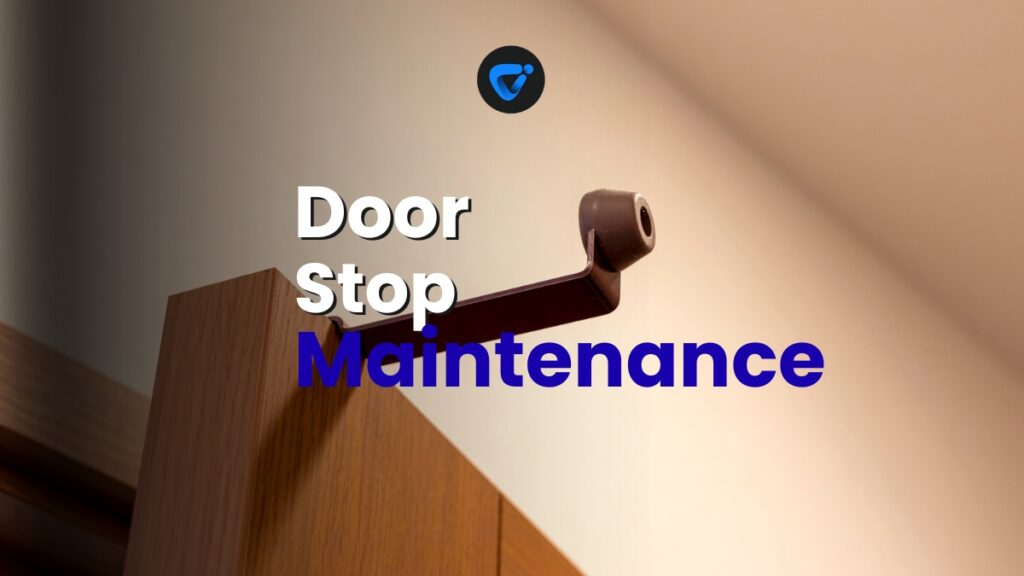
Doors get daily use, quietly protecting your walls and floors—until a loud bang or dent catches your attention. These small emergencies lead many to consider door stop maintenance important for every room.
Neglecting your door stops and wall protectors lets minor damage become major. Each thump or scrape wears down paint, chips wood, or cracks plaster, costing time and money to fix later.
This guide offers practical, expert-backed steps for keeping your home looking sharp. Explore smart door stop maintenance solutions and learn how a little attention now prevents major headaches later.
Choose Reliable Door Stops for Fewer Repairs and Better Protection
Pick door stops that actually last, not just match the decor. Strong materials and simple shapes leave less room for breakdown and will drive smoother door stop maintenance later.
By investing upfront, you reduce hassle, avoid chipping paint, and cut down on wall repairs. Quality choices bring peace of mind throughout every season.
Comparing Door Stop Types in Real Homes
Rubber domes cushion the blow each time the door swings open, making them ideal for high-traffic family halls. Rigid metal stops might dent walls unless perfectly placed.
Spring stops have a satisfying bounce but snag socks and break from repeated impacts. Magnetic models save wall space, securing doors to the baseboard without visible contact points.
Testing each model room-by-room prevents wasted shopping. Family comments, like “This won’t catch my toes” or “No more rattling doors,” reveal preferences before buying in bulk.
When Design Impacts Performance
Decorative stops add style but may underperform if too small or soft. Heavy wood doors often overpower delicate designs, pushing them loose in months.
Simple, commercial-grade stoppers excel in schools or busy entryways. One homeowner tested both: “The fancy one broke, but the chunky gray stopper is bulletproof!”
Matching door stop maintenance to style and force keeps your trim and paint safe year-round.
| Stop Type | Material | Where Best Used | Next Step |
|---|---|---|---|
| Spring | Steel with rubber tip | Bedrooms, quiet areas | Check tip monthly for cracks; tighten base |
| Dome | Solid rubber | Kitchens, hallways | Wipe every two weeks; clean paint transfer immediately |
| Rigid Wall | Zinc or stainless steel | Powerful or heavy doors | Re-secure screws quarterly; inspect for wall marks |
| Magnetic | Metal alloy, rare earth magnets | Entry doors, basements | Test hold strength; remove dust from magnet monthly |
| Hinge Pin | Brass or steel, rubber tip | Bathrooms, tight spaces | Inspect for loose pins; apply lubricant annually |
Quick Cleaning and Lubrication Increase Stop Lifespan and Wall Safety
Wiping and oiling door stops reduces squeaks and friction so they stay true to their purpose. Regular attention makes door stop maintenance straightforward and fast.
Using the right supplies, such as gentle soap and silicone spray, protects every finish and ensures trustworthy operation for years to come.
Gentle Cleaning Prevents Grime and Sticking
Dirt buildup causes stubborn movement or unsightly smudges. Weekly cleaning with a soft cloth and diluted dish soap erases fingerprints and keeps springs from getting sticky.
Moisture from wet mops shouldn’t stay pooled beneath dome or floor-mounted stops. After cleaning, pat dry around any fasteners to avoid future hardware rust.
- Use a non-abrasive sponge so you do not scratch coated finishes; always rinse soap away entirely to prevent film buildup.
- Move rugs aside during cleaning for complete access, so dirt underneath doesn’t grind into soft rubber or weaken glue pads.
- Sanitize frequently touched wall protectors in kitchens and bathrooms to remove food, grease, or soap scum that attracts even more grime.
- Inspect door stop maintenance needs while you clean so you can tighten, replace, or spot cracks you’d otherwise miss until damage appears.
- Add this task to a regular room cleaning schedule to keep up — “Every Thursday, check the kitchen door stop as you mop.” Simple reminders save walls.
Small habits add up and prevent repair headaches later, making this maintenance as routine as tidying the doormat.
Apply Lubricant Once a Month for Quiet and Smooth Action
Silicone spray, rather than grease, keeps door stop moving parts responsive and leaves less mess. Spray a thin layer directly onto steel springs or hinges.
Open and close the door a few times, then wipe away extra lubricant to avoid slippery floors or staining nearby paint. Watch for black streaks as a cue to repeat.
- Shake the lubricant before spraying for even coating and avoid puddles that attract dirt. Always cap the spray after use so it doesn’t clog.
- Shield surrounding trim or wall paint with a paper towel while spraying, so only the intended metal parts get oiled.
- Finish by gently working the stop back and forth with your hand—a cue that moving parts are distributed evenly and nothing sticks.
- If noise returns quickly, consider if a screw or pin has loosened and needs a tool check along with lubing.
- Log “Date Lubed” near the stop for high-traffic doors, like mudrooms. Repeating door stop maintenance regularly extends every product’s working life, even with kids or pets.
Consistent attention to lubrication ensures each section of hardware moves right and doesn’t leave an unsightly line across your baseboard or wall over time.
Fixing Loose or Damaged Door Stops Without Guesswork or Excess Tools
Most doors rattle or scrape because the stop has come loose. Prompt, methodical repair prevents splinters, accidents, or further wall gouges—making door stop maintenance hassle-free.
Use basic household tools for quick repairs so you don’t waste a weekend on unneeded replacements or patch jobs later.
Check Every Fastener and Spot Early Signs of Trouble
Listen for rattling each time you open a door. A fingertip wiggle test reveals if the stop is wobbly or its screw isn’t flush with the baseboard.
Use a Phillips or flat screwdriver that fits the head shape exactly. Tighten each fastener with slow, steady pressure rather than a power driver to avoid stripping wood.
If resistance is weak or holes are enlarged, swap to a longer screw or add a wood anchor for security. This quick door stop maintenance saves hours.
Patching Small Holes and Installing New Stops
When re-tightening doesn’t hold, fill damaged spots with wood filler mixed right in the hole. Let it dry, then drill a fresh pilot hole for the screw.
Install the stop in its original spot, turning gently until it’s snug. If the stop wants to twist, rotate it 30 degrees away from the old hole for better grip.
In drywall, use plastic anchors before reattaching metal stops. This one step ensures your repairs stick—and prevents sudden pops or wall splits from repeat impacts.
Effective Wall Protector Cleaning and Damage Repair
Maintaining wall protectors avoids unsightly paint transfer and permanent dents. With this approach, you’ll consistently keep rooms sharp—a smart addition to door stop maintenance routines.
Explore essential cleanup tools and rapid repair methods for both minor and stubborn issues on every wall surface.
Tackle Fresh Stains With Targeted Cleanup
For recent marks, use a magic eraser or damp sponge with mild soap, applying even, circular motions. This approach lifts surface dirt and most color without harming paint.
Sticky residue from aging rubber protectors comes off with a dab of isopropyl alcohol on cotton. Always follow up with a dry wipe to prevent wall streaks or damage.
Check behind protectors once a month for hidden grime or insects—especially in summer entries. Regular checks support thorough door stop maintenance with little extra effort.
Quick Patching for Dents and Chips
For small wall dents, spread lightweight spackle with a putty knife, press gently, and smooth the edge with a damp sponge for a neat finish.
Pencil-thin cracks near protectors need extra care: use flexible caulk and blend, letting it dry one hour before touching paint or protector pads again.
Always repaint patched areas with a matching, washable finish so your repairs blend—safeguarding your investment in door stop maintenance for months to come.
Replace Outdated or Worn-Out Stops Fast: Avoid Surprises and Save Costs
Replacing stops takes minutes when you’re prepared. Proactive updates strengthen door stop maintenance and sidestep sudden emergencies, wall gouges, or family complaints.
Keep a small stock of new stops and spare screws near your toolbox, allowing fast swaps any day of the week.
Smart Replacements Prevent Problems Down the Line
Old stops with cracked rubber tips or bent springs can’t protect surfaces effectively. Remove these with a steady twist and recycle if possible.
Match new stops to your door’s force and wall material. For heavy fire doors, upgrade to sturdier metal stops with wide, replaceable bumpers for reliability.
Install with a hand tool for firm, careful control—overtightening risks splits. Review your door stop maintenance calendar, aiming for a full house check twice a year.
Scenario: Family Gets Ahead of Stop Failures
Lisa noticed the laundry door thudding harder each week. Instead of waiting, she swapped in a new, thick rubber dome. Now the clatter is gone and paint stays crisp.
Ready replacements at home mean time isn’t wasted hunting stores. Her solution: “Buy two, tape one to the breaker box, and swap at the first crack.” Easy and stress-free.
This small step keeps door stop maintenance visible and regular, not forgotten until the door slams through.
Conclusion: Consistent Care Boosts Home Safety and Style
Routine door stop maintenance is simple and affordable—protecting not just walls, but also budgets and family peace of mind each season.
Clean stops, secure fasteners, and timely replacements maintain a polished, damage-free home even in busy spaces. Each step pays off quickly by extending the life of your room finishes.
Next time you hear a door bounce, pause and spend one minute on maintenance. This smart habit keeps your home sharp, safe, and comfortable for years ahead.

Fireplace Ash Removal Without the Mess
Clean your fireplace the smart way! Learn how to remove ash without the mess and keep your hearth spotless.

