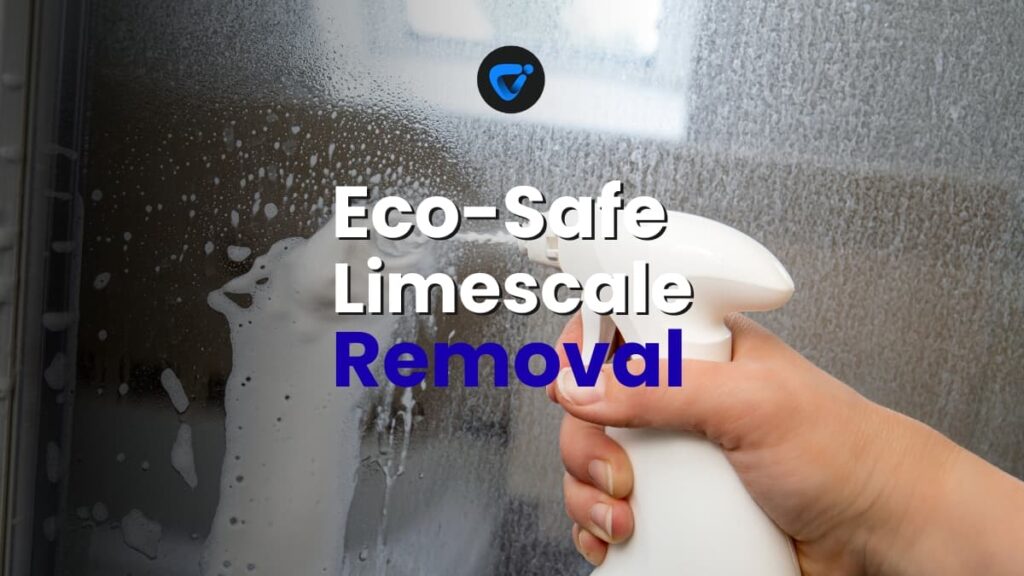
If you’ve noticed chalky stains or stubborn buildup on your faucet or showerhead, you’re experiencing the subtle irritation of limescale removal firsthand. These mineral deposits creep up in kitchens and bathrooms, quietly making appliances less efficient. A proven limescale removal routine can mean smoother faucets, brighter tiles, and a space that feels truly fresh.
Hard water affects many U.S. households. It leaves behind calcium and magnesium deposits, the root cause of limescale issues. Tackling this buildup while protecting the environment is where eco-safe limescale removal stands out, protecting your plumbing and the planet at once.
Ready for clear guidance? Dive into this article for practical steps and choices for eco-friendly limescale removal. Discover why these solutions matter, how to apply them, and what to avoid for real results in your kitchen and bathroom.
Optimal Home Solutions for Limescale—Clear Steps and Choices
Start by choosing limescale removal methods that work for your surfaces and are safe for your family. Eco-safe acids, manual scrubbing, and proper drying each play a vital role.
In a typical kitchen, you’ll encounter limescale buildup around the sink aerator and on kettle elements. A set procedure, like soaking with vinegar, leads to visible results quickly.
Assessing Your Limescale Hotspots
Look for telltale chalky streaks and rough deposits around faucet bases, inside tea kettles, and at showerheads. These are the most likely places needing limescale removal.
Use your finger to feel for texture changes. Limescale isn’t smooth. Identify every spot so your eco-safe limescale removal routine is complete.
Addressing all affected locations ensures limescale removal is thorough, not just surface-level, improving both function and appearance with one effort.
Using Household Acids Effectively
White vinegar and lemon juice dissolve limescale because their acidity breaks mineral bonds. Pour vinegar over the deposit, let it sit, then scrub off loosened residue.
Limescale removal works faster with warm vinegar. Repeat applications if needed; stubborn spots respond well after a second round. Rinse surfaces thoroughly, avoiding residue.
Apply these acids to sinks, showerheads, or tiles as needed for eco-safe limescale removal. Wear gloves if your skin is sensitive; avoid mixing with other cleaners.
| Location | Best Eco Method | Time Needed | Next Action |
|---|---|---|---|
| Kettle | Vinegar soak | 30 minutes | Rinse thoroughly |
| Sinks | Lemon rub | 15 minutes | Dry afterward |
| Showerhead | Vinegar bag | 1 hour | Scrub after soak |
| Tiles | Baking soda paste | 20 minutes | Wipe off paste |
| Faucet tip | Lemon wedge | 10 minutes | Buff with cloth |
Eco-Friendly Products and What to Skip—See Real-World Results
Eco-safe products for limescale removal clean hard deposits without introducing ammonia, chlorine bleaches, or phosphates that pollute waterways. Avoid any item labeled “corrosive.”
Choose plant-derived acidic cleaners or products explicitly designed for limescale removal and listed as biodegradable. They’re safe for stainless steel and ceramic—two materials common in kitchens and bathrooms.
Evaluating Eco-Labeled Limescale Removers
Check the ingredient label for citric, lactic, or acetic acid. These acids break down scale without lingering toxins. Look for third-party eco-seals that confirm environmental safety.
Avoid products with vague “fragrance” or “preservative” labels. Genuine eco-safe limescale removal products disclose what’s inside so you know what touches your surfaces.
- Read ingredient labels for clarity before bringing home any limescale removal cleaner to avoid harming surfaces or your family’s health. Select recognizable, plant-based acids.
- Test on a hidden spot, especially when working with marble, stone, or vintage taps. Tiny changes in color or etch marks mean the product might not be the best choice for limescale removal.
- Use the right tool: a soft sponge or brush for tiles, but never wire wool on chrome. The right scrubber boosts your limescale removal without scratching finishes.
- Try concentrated vinegar for fast limescale removal on glass shower doors, then rinse thoroughly to maintain a streak-free shine and prevent future buildup from hard water.
- Don’t mix eco-acids with bleach or ammonia. Combining strong cleaners could create unhealthy fumes and undo your goal of safe limescale removal.
Brands that emphasize full transparency with clear product testing ensure the best experience. Refer to customer reviews using phrases like, “left no residue” or “safe for children’s bathroom.”
Making Your Own Eco Limescale Cleaners
A homemade limescale removal solution often works better than store brands and avoids packaging waste. Combine equal parts vinegar and water for sinks and faucets.
Baking soda can boost cleaning. Sprinkle some over a vinegar-soaked sponge and watch fizzing tackle limescale on tub fixtures. Rinse thoroughly after removal for best results.
- Mix vinegar and water in a spray bottle for routine limescale removal. Spray, wait 10 minutes, scrub gently, then rinse for a safer, fresher sink.
- Make a baking soda paste: three parts baking soda, one part water. Apply it to limescale patches, wait, scrub with a toothbrush, and rinse with care.
- Combine lemon juice with a dab of salt to rub away deposits on metal taps, giving a bright, eco-friendly result for your next limescale removal session.
- Old toothbrushes make perfect detail tools for eco-safe limescale removal behind faucet handles and tight tile joints. Label and store separately for repeated use.
- If you’re sensitive to strong smells, infuse vinegar with citrus peels for a month before use. This makes limescale removal pleasant while still effective.
Skip overuse of strong, corrosive descalers. Gentle persistence with natural products preserves your fixtures while achieving thorough limescale removal each time.
Preventative Routines Keep Limescale Minimal—Make It Habitual
Weekly actions for limescale removal prevent heavy buildup, meaning less effort and longer-lasting appliances. Preventative maintenance is easier than tackling hard, crusty deposits later.
Establish a habit by drying surfaces quickly and running hot water through fixtures after every use. These steps prevent water drops from evaporating into limescale.
Micro-Schedules for Busy Households
Monday: Spray down faucets and handles with vinegar, wait five minutes, then wipe dry. This limescale removal ritual takes less than 10 minutes, even for teens.
Wednesday: Focus on glass shower doors, using a squeegee and a quick vinegar rinse. Consistent, focused limescale removal ensures less visible scale after each shower.
Saturday: Deep clean kettle elements by boiling vinegar-water, letting cool, and discarding. Your tea tastes fresher without the crusty limescale ring hiding inside.
Involving the Whole Family
Assign limescale removal roles that pair with age-appropriate tasks. Young children can dry tiles, while older kids tackle faucet spots using safe, diluted vinegar spray.
Use a shared list—on the fridge or phone—detailing bathroom and kitchen limescale removal steps by day. Regular updates keep everyone on track effortlessly.
Praise effort, not perfection. Even small steps toward frequent limescale removal add up. Let “clean when you see it” become a well-shared motto for every family member.
Diagnosing Stubborn Limescale in Appliances—Act Sooner Than Later
Limescale removal isn’t just for sinks and tiles. Water heaters, dishwashers, or coffee machines collect mineral buildup, affecting both function and lifespan. Timely intervention is vital.
Your cue for immediate limescale removal: appliance performance drops, like longer heating times or white flecks in water. Hear ticking or boiling noises? That’s another clear signal to take action.
Descaling Kettles and Coffee Makers
Unplug appliances, then fill with equal vinegar and water. Run a cycle (or boil), let them stand for 15 minutes, then empty and thoroughly rinse with fresh water.
Repeat this limescale removal method every 1-2 months for efficient appliances. After descaling, test by heating water again to check for quicker, quieter performance and no visible residue.
If a faint vinegar scent lingers, run two water-only cycles. This clears odors and prepares your appliance for regular use, maintaining results between limescale removal sessions.
Limescale in Washing Machines and Dishwashers
Add two cups of vinegar (or a formulated eco-descaler) to an empty machine and run a hot cycle. This method handles internal limescale removal without needing manual scrubbing.
A monthly limescale removal session prevents clogs and foul smells while saving long-term energy. You’ll notice less noise and cleaner laundry or dishes after following this eco-friendly routine.
For persistent limescale, sprinkle baking soda into the detergent compartment before starting a second, shorter wash. The dual-action helps break down buildup more effectively, keeping your machine fresh.
Safe Materials for Every Surface—Never Guess What Works
Match your limescale removal method to each surface to maintain shine and extend lifespan. Not all acids are suited for stone or delicate fixtures—choosing wrong risks permanent dulling.
Ceramic and chrome tolerate most eco-acids, but avoid all vinegar-based limescale removal on granite, marble, or porous stone, as it can etch or discolor these materials quickly.
Material-Specific Scripts for Action
“For tile, I mix lemon juice with water, then scrub gently and rinse” fits everyday use. Stick with this for repeated, eco-safe limescale removal that doesn’t damage grout.
“On stone counters, I use only water and a microfiber cloth for limescale removal—no acid.” Coach guests and family too, so no one makes a quick, costly mistake.
“If in doubt, test first.” Try your planned limescale removal method in a hidden section. Wait one hour before deciding it’s safe for the visible area.
Quick Table: Surfaces and Best Practices
| Surface | Safe Acid | Test Needed? | Go-To Tool |
|---|---|---|---|
| Ceramic Sink | Vinegar | No | Sponge |
| Chrome Tap | Lemon Juice | No | Soft cloth |
| Stone Counter | None | Yes | Microfiber |
| Glass Door | Vinegar | No | Squeegee |
| Plastic Handle | Lemon Juice | Yes | Old toothbrush |
Clever Tools Pair with Eco-Safe Limescale Removal—Boost Every Effort
Using the right tools for limescale removal can double the effect of eco-friendly methods. Efficient brushes, spray bottles, and proper cloths turn your efforts into results.
Place all limescale removal tools in a visible caddy near the kitchen or bathroom. This makes quick response easier and encourages regular, swift touch-ups throughout the week.
- Choose non-scratch sponges for limescale removal on stainless steel to prevent dulling your sink after several scrubs.
- Repurpose old toothbrushes for tiny edges, like around shower handles, making precise limescale removal a breeze.
- Use microfiber cloths to buff dry tiles and taps for a streak-free finish post-limescale removal—brighter surfaces feel instantly cleaner and look like new.
- Save empty spray bottles for diluted vinegar or lemon juice mix. Label each bottle so family knows what’s for limescale removal in which room.
- Store a compact scoop or spoon nearby to sprinkle baking soda exactly where needed, targeting problem spots without mess or product waste.
Practical Schedules and Scripts—Get Results Without Overload
A timed routine for limescale removal fits easily into busy weeks, especially with clear scripts everyone can follow. Routines reduce stress and make results almost automatic.
Scripts transform “Where do I start?” into simple, repeatable actions. Write instructions for each zone: kitchen sink, tub, and appliances, then keep posted nearby as a reminder.
Example Kitchen Limescale Removal Routine
“Fill bowl with vinegar and water. Soak faucet aerator for 20 minutes. Scrub with toothbrush. Rinse and wipe with cloth. Repeat every Thursday.” Consistency matters.
“After every dishwashing session, quickly squeegee and dry sink surfaces.” Fast limescale removal steps keep weekly buildup in check and your kitchen looking its best every day.
Include reminders in your shared family to-do list, so no one forgets their role in consistent limescale removal and upkeep. Even two minutes makes a difference daily.
Measured Approach for Bathrooms
“Spray vinegar on shower doors, wait 10 minutes, squeegee, then buff with a cloth.” Focus on edges and run water for a spotless, scale-free space after limescale removal.
List each bathroom’s focus: “Handle tub faucets on Fridays, mirror frames on Sundays.” Visual cues turn limescale removal into a repeatable family habit, not a forgotten task.
Track your results monthly. Mark hard-to-reach spots that previously resisted limescale removal and celebrate clean victories, teaching the whole household about positive, eco-safe cleaning routines.
Eco-Safe Limescale Removal for Kitchens and Bathrooms: Quick Wins and Long-Term Impact
We’ve explored how limescale removal can be effective, gentle, and eco-conscious for every kitchen and bathroom. Each tip above saves time, preserves fixtures, and helps our environment.
Limescale removal extends the life of your appliances and plumbing, making your daily routines easier. These methods boost results immediately and maintain a healthier home overall.
Try one routine today—like a vinegar soak or a kitchen check—and notice the improved feel and look. Every effort towards eco-safe limescale removal benefits your space, your health, and the planet.
DIY Patching for Small Drywall Holes at Home
Fix wall damage fast! Follow our DIY guide to patch small drywall holes easily and get smooth, lasting results.