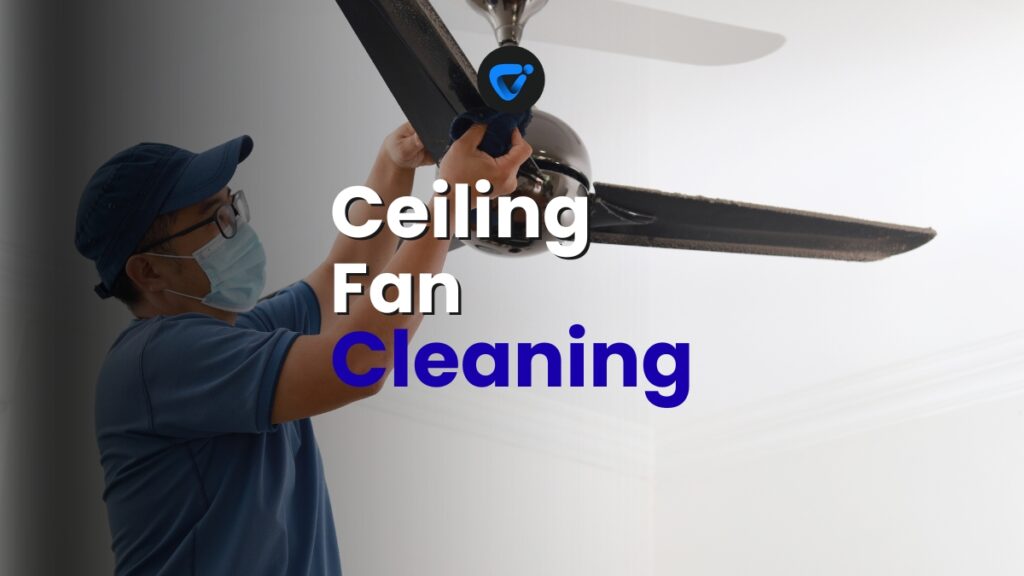
Nothing kills a cozy room vibe like watching dust rain down from your ceiling fan while cleaning. If you’ve noticed this, you’re not alone.
Fans pick up grime quietly, day by day, and improper cleaning scatters it everywhere. Smart ceiling fan cleaning makes a big difference for fresh indoor air and real comfort.
This guide shows you work-tested ways to deep clean fan blades without triggering clouds of dust. Let’s make each sweep count and keep your home truly fresh.
Using Precise Planning to Prevent Dust Clouds Before Cleaning
Prior planning ensures your ceiling fan cleaning efforts trap dust, not release it into the air. You’ll notice more efficient results if you prep your workspace first.
Setting up the area matters as much as cleaning itself. Block furniture, cover nearby electronics, and clear clutter below to catch stray dust or droplets instantly.
Choosing and Placing Drop Cloths for Dirt Control
Pick a washable sheet or specialized drop cloth. Lay it flat beneath your fan so all dust lands safely, no matter where you work or stretch.
If cleaning above a bed or couch, drape covers generously over these items. This step speeds your post-cleaning routine and protects your fabrics from stains or smears.
For wooden surfaces like floors or tables, choose cloths with non-slip undersides. Dust won’t embed in your furniture, and you avoid “gritty” surprises after you finish.
Limiting Airflow As You Work: Exact Steps That Help
Shut windows and doors before ceiling fan cleaning begins to keep airborne dust in one area. Turn off any HVAC or fans to halt circulating air while cleaning.
Ask anyone nearby to avoid entering the room. One person moving through can disturb settled dust and undo your containment efforts in seconds. Block pets from the area, too.
If possible, use a portable air purifier in the room. Position it away from your work zone to quietly draw floating debris out of the air while you clean.
| Step | What to Use | Why It Works | Actionable Tip |
|---|---|---|---|
| Protect Surfaces | Drop cloths/fitted sheets | Trap falling dust | Cover even hard-to-reach corners |
| Decrease Airflow | Close doors/windows | Keeps dust from spreading | Work in still air for entire session |
| Shield Upholstery | Thick towels | Blocks stains/splatters | Shake them out outdoors after cleaning |
| Block Traffic | Household signs/cones | Prevents dust disruption | Tell household members when cleaning is done |
| Pre-stage Tools | Supply basket | No mid-process searching | Lay out tools before starting |
Applying Targeted Dust Removal: Step Sequences for Immediate Results
Direct dust removal steps keep debris from circulating while you deep clean. By following a careful process, you’ll ensure a healthier atmosphere and protect hard-to-clean spaces below.
Always remove loose dust prior to wet washing. That’s the core of reliable ceiling fan cleaning: dry removal prevents sticky residue and minimizes airborne particles in your home.
Dry Dust Trapping in Action
Use a pillowcase or microfiber duster, sliding it over each blade. Pull dust in one smooth direction, keeping it contained inside the cloth rather than letting it fall.
A microfiber duster clings to fine particles using static, which means you won’t send the dust into the air. Clean each blade gently for best results in a routine ceiling fan cleaning.
- Tightly grip the knife edge of the blade to avoid breakage, and avoid pressing down hard.
- Work from the fan’s center outward, trapping buildup in the cloth’s folds.
- Shake out the pillowcase or duster outdoors between blades for minimal spread.
- Inspect the inside edge of each blade for hidden clusters and repeat as needed.
- Once finished, launder cloths right away to prevent dust drifting when handled later.
Never sweep with your bare hand or a dry towel; this actually sweeps microscopic dust into the air and extends your cleaning work.
Damp Wipe Techniques That Cut Down Dust Plumes
Slightly dampen a microfiber cloth with water and a mild cleaner. Wipe gently, catching leftover smudges without saturating the blade, which keeps moisture—and dust—under control.
Switch cloths whenever the fabric looks dirty or leaves streaks behind. Always finish one or two blades, then flip to a fresh side or new towel for effective ceiling fan cleaning.
- Spritz cleaner on the cloth, not directly on the blade, to limit excess moisture drop-off.
- Press lightly, especially at the leading edge, where stubborn grime collects.
- Wipe blade supports, housing, and nearby light fixtures as part of a thorough sweep.
- Follow up with a dry wipe to prevent streaks or water spots, extending the shine of your cleaned blades.
- Dispose of any disposable wipes immediately to stop dust from shaking off indoors.
Leaving moisture behind causes warping or attracts new dust sooner. A quick dry pass helps lock in results and keeps blades cleaner between ceiling fan cleaning days.
Refining Your Deep Cleaning Method: Realistic Examples That Save Time
Smart technique choices can reduce scrub time, maximize comfort, and yield cleaner blades. Each approach below supports a thorough, efficient, and safe ceiling fan cleaning routine.
Small adjustments, from ladder position to tool selection, make a noticeable difference in how much dust you handle and how little you spread.
Using Ladders Safely for Above-Head Cleaning
Set your ladder’s feet flat, a few inches back from your fan, so you won’t need to reach or strain upward. Lock the spreaders every time before climbing.
Bring all supplies up with you in an apron or bucket. This way, you avoid repeated descents—the most tiring part of ceiling fan cleaning in rooms with high ceilings.
Work at blade height, not above it, to keep dust from drifting onto your face. Always keep one hand on the ladder for security during each cleaning move.
Choosing Tools for Efficiency (Blades and Beyond)
Microfiber cloths lead the pack for gentle, effective ceiling fan cleaning—they won’t shed fibers that cling to blades. Sturdy dusters catch particles in hidden spots without bending delicate surfaces.
Extension poles give you reach for wide or tall fixtures. Opt for adjustable heads, matching the shape of your fan’s blades for faster, safer cleaning from ground level.
Vacuum attachments with brush heads pull particles downward rather than pushing them away. Use them in tandem with damp wiping for the deepest clean on heavily soiled blades.
Streamlining the Entire Process for Less Mess and Less Work
Adopting a rhythmic process each time you clean makes ceiling fan cleaning feel manageable—even enjoyable—instead of a two-hour weekend chore.
Dedicating ten minutes monthly reduces buildup, so deep cleaning sessions go faster and spread less dust across your rooms and furniture in the long run.
Monthly Routine for Consistent Results
Set a calendar reminder for ceiling fan cleaning every four weeks. Regularity means less dust accumulates, reducing airborne particles and labor at each cleaning session.
Start from the highest points in your home, like ceiling fans, before cleaning furniture or floors. This sequence prevents finished areas from being recontaminated as you clean.
If you clean every ceiling fan at once, you’ll notice less floaty dust after finishing. Group tasks and enjoy a consistent, easy-to-maintain environment for your family and guests.
Training Yourself to Notice Dirty Spots
Take a close look at both the upper and lower faces of each blade every week. Dust and grease hide in areas beyond direct sight, especially in rooms prone to humidity.
Keep a small flashlight handy. At certain angles, you’ll see “film” or sticky buildup that’s otherwise invisible under lamp light. Pinpoint trouble spots early for better cleaning cycles.
Encourage kids or housemates to point out dusty blades. This habit builds shared ownership of the space and helps keep ceiling fan cleaning going throughout the year.
Choosing Cleaning Products and Homemade Solutions for Minimal Residue
Selecting the safest cleaners ensures that ceiling fan cleaning leaves your home fresher and more comfortable. Harsh chemicals risk discoloring blades or irritating sensitive noses.
Each product has specific advantages—and drawbacks—that you can judge based on your blades’ material, finish, and location in your home.
| Cleaner Type | Best For | Main Caution | Takeaway Tip |
|---|---|---|---|
| Mild Dish Soap Solution | Metal, painted blades | Avoid over-wetting | Mix a few drops in water for safe, all-purpose use |
| White Vinegar and Water | Glass fixtures, stubborn spots | Skip on wood or classics | Spray on cloth, not on blade, every few months |
| Commercial Fan Cleaner | Heavily soiled blades | Check compatibility | Read label and spot-test first |
| Furniture Polish | Wooden blades (sealed finish) | Avoid silicone-based | Buff dry after applying |
| Isopropyl Alcohol (Diluted) | Grease buildup, sticky residue | Ventilate well | Apply only for stubborn messes |
Minimizing Re-Contamination and Maintaining Results After Each Cleaning
Post-cleaning steps help your hard work last longer and keep ceiling fan cleaning efficient. You’ll see fewer “dust returns” if you implement these details each time.
By maintaining clean fan blades, you reduce how much dust collects and gets redistributed around your home between cleaning sessions. It’s an easy strategy with clear payoff.
Final Check and Gentle Polishing
Once you’ve finished your active cleaning, run a soft, dry microfiber over each blade one more time. This catches stray residue and encourages a streak-free shine on most finishes.
Peeking at each fan blade’s edge at eye level uncovers sticky spots you might have missed. Address them with a quick spot-wipe so you don’t miss hidden buildup.
- Replace ceiling fan filters or dust-catching light bulbs as needed to keep airflow clean.
- Use blade polish (for wood/metal) for extra gloss and to repel new dust.
- Label the cleaning date on your calendar so you know when to repeat this cycle.
- Encourage everyone in the home to look up weekly for dust, boosting overall air quality.
- Store your ceiling fan cleaning tools together to streamline future deep cleans.
Sealing Lasting Cleanliness: Creating New Fan Habits for Your Home
Combining prep, process, and mindful follow-through transforms ceiling fan cleaning from a hassle to a quietly satisfying routine in every room where a fan spins.
The reward is more than outward appearance: reducing airborne dust helps you sleep easier, breathe freely, and preserves the freshness of everything in the room below the fan.
By adopting these habits, your ceiling fan cleaning becomes a trusted ritual. Each session supports a healthier, more welcoming living space for you and everyone who shares your home.
DIY Patching for Small Drywall Holes at Home
Fix wall damage fast! Follow our DIY guide to patch small drywall holes easily and get smooth, lasting results.