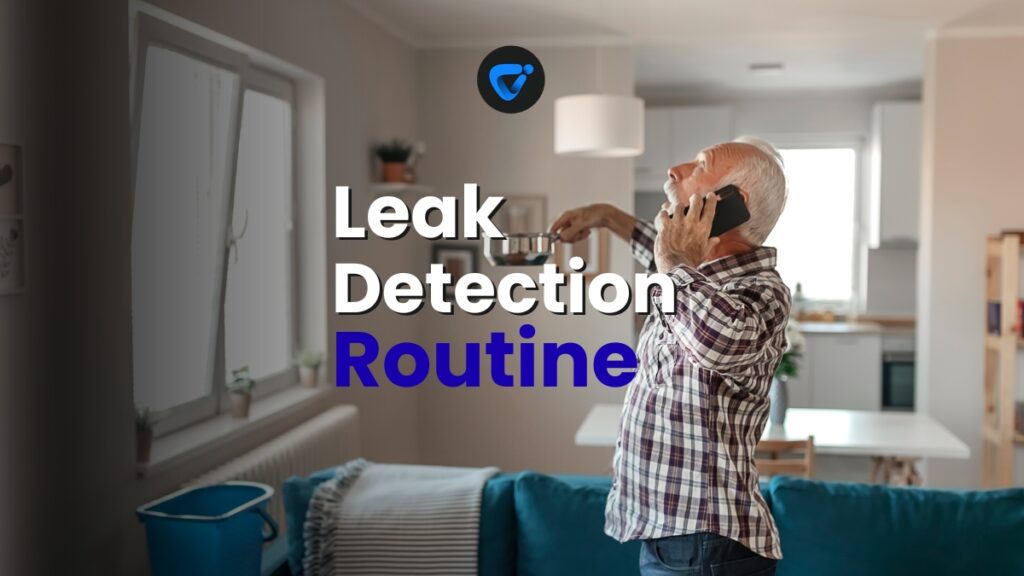
You notice a faint sound of water behind a cabinet while putting away kitchen supplies. These tiny clues are the reason leak detection isn’t just a specialist task—it matters daily.
Silent plumbing issues can slowly undermine your home’s foundation, spike your bills, and leave you troubleshooting repairs for weeks. Establishing a routine for leak detection makes your space safer and prevents small problems from becoming expensive disasters.
This article breaks down a practical, step-by-step drip and leak early-detection routine. Read on for insights that will help you shield your home from stealthy water damage, hassle-free.
Pinpointing the Top Household Leak Hotspots Brings Swift Action
When targeting early leak detection, focusing on vulnerable spots first shaves hours off troubleshooting later. Kitchen sinks, bathroom fixtures, and laundry rooms lead the list for fast, meaningful checks.
Reliable routines mean you check these areas so frequently that any new drip is swiftly spotted. Let’s break down which locations to zoom in on for guaranteed results.
Routine for Examining Under-Sink Cabinets
Start each check by running your hand along the pipe under sinks. If you feel cool moisture or spot a water ring, this signals you should dig deeper.
Open the cabinet doors fully, using a flashlight to search dark corners. Water trails and small puddles around the P-trap or shutoff valves alert you to potential trouble.
If you notice a musty smell that lingers, even when dry, it means stagnant moisture. Jot down the spot, so you can monitor and escalate if leaks persist.
Silent Signs at Toilet Bases and Supply Lines
Stand over your toilet and press a dry paper towel against the supply line. Any dampness signals developing leaks around the connection or shutoff valve.
At the toilet base, look for discoloration in the flooring or grout. Cracked caulk here lets drips escape to subflooring, so replace it as soon as possible.
If your toilet rocks or feels loose, tiny movements strain the wax ring, causing eventual leaks. Tighten bolts gently and check for persistent water marks next cleaning.
| Leak Location | Easy Detection Tip | Typical Cause | What to Try First |
|---|---|---|---|
| Under sinks | Feel for damp pipes | Loose joint or seal | Tighten coupling nut and retest |
| Toilets | Check floor color change | Worn wax ring | Replace or re-seat toilet |
| Laundry rooms | Look for lint clinging to hoses | Cracked supply line | Swap out old hoses |
| Basements | Watch for seepage lines | Wall/floor gap leaks | Seal foundation cracks |
| Water heaters | Listen for hissing near valve | Valve failure | Turn off water, call pro |
Crafting an Effective Five-Minute Drip Patrol for Busy Households
A dedicated five-minute patrol builds regular leak detection into daily life without upending your schedule. This bite-sized routine relies on making checks quick, visible, and easy to remember.
After a few repetitions, you’ll spot warning signs in moments—long before water stains appear. Here’s how to set up a quick, actionable drip patrol at home.
Sequencing the Room-by-Room Scan
Begin in the kitchen with a glance under the sink and near dishwashers. Quick passes keep you alert to pooling that signals a leak detection win.
Next, check bathrooms: lift the flush tank lid, examine supply lines, and peek behind the toilet with a flashlight. These rapid-fire steps halt growth of small leaks.
- Start with the highest-use room first to maximize impact and catch leaks where they develop fastest—usually kitchens or main bathrooms.
- Make a habit of using the same path through your home each time. Familiarity helps you notice new drips or dampness on consecutive patrols.
- Set reminders for critical timing, such as after laundry days or big cooking sessions, to ensure post-use checks catch leaks at their earliest phase.
- Keep a small notepad or use your phone’s notes for recording any suspicious spots. Documentation highlights leaks that keep recurring and speeds up repairs.
- Recruit family: assign one room per person during a group routine to finish the check even faster and make sure no leak detection blind spots remain.
Consistent quick checks build muscle memory, so subtle changes—like new sounds or unexpected wetness—jump out at you.
Tools and Tricks that Boost Routine Leak Detection Success
Equip yourself with a bright flashlight for peering into deep cabinets. Shine the beam at pipe joints, watching for reflection off wet spots.
Keep dry hand towels nearby. Newly found leaks show up instantly by touching pipes or the floor with a clean towel each run. Compare for differences daily or weekly.
- Flashlights: Use a small LED flashlight to see hidden moisture behind objects or deep inside dark under-sink spaces for fast, clear leak detection every time.
- Colored tape: Place a small bit on pipes under monitoring. If the tape moves or wrinkles, you’ll know moisture or shifting has occurred since the last inspection.
- Paper towels: Press on suspect fittings. Immediate dampness leaves a visible mark, making hidden drips more obvious than searching for puddles.
- Plastic bins: Store items under sinks in bins rather than loose. Drips are easier to spot on smooth plastic, and bins prevent damage to stored supplies.
- Phone camera: Take periodic photos of high-risk plumbing spots. Comparing these images over weeks helps you notice slow progression and triggers early repairs.
With this toolkit in place, the routine becomes efficient and any pattern of moisture is easier to diagnose.
Responding to the First Signs: What Smart Leak Detection Means in Practice
Catch early evidence, act instantly, and prevent water from spreading. Leak detection isn’t theoretical—here’s what deliberate response looks like in everyday life.
Decoding Odors, Humidity, and Staining Clues
If your bathroom smells earthy after a shower, pause and open any vanity doors. A wet wood scent underneath signals a hidden leak, not just lingering humidity.
Along baseboards, yellow or brown streaks—no matter how faint—always prompt you to check for slow leaks coming from behind drywall or below floors.
Wipe your hand along the tub’s edge or sink’s countertop. If residue feels slimy, it points to constant seeping, which creates perfect mold conditions within days.
Taking Action with Standard Home Tools
Grab plumber’s tape to tighten threaded connections if a drip comes from a visible pipe. This quick fix staves off leaks until you can schedule a permanent repair.
Replace or tighten washers if a faucet won’t stop dripping, using a wrench and a spare washer kit found at hardware stores. Acting straightaway prevents unnecessary water bills.
If water comes from wall joints or flooring, isolate the leak by shutting off water for that section. Document everything and move valuables, stopping damage from spreading further.
Fine-Tuning Awareness: Small Habits to Boost Leak Detection Reliability
Embedding minor checks into existing routines makes leak detection smoother, so you catch subtle problems effortlessly while doing daily tasks.
Habit-stacking works: attach a leak check to another frequent habit, like making coffee or showering, to guarantee a steady watch over vulnerable spots.
Pairing Leak Checks with Morning and Night Rituals
Every morning, glance under the kitchen and bathroom sinks as you brew coffee or brush teeth. If you spot water rings, flag them for follow-up immediately.
Before bed, peak into laundry or utility rooms while switching off lights. If hoses or valves look shinier than usual, touch them for dampness—moisture glimmers in artificial light.
Running your hand over baseboards during vacuuming highlights any unusual softness or warping. This silent cue can be an early warning, long before water pools visibly.
Using Analogies to Simplify Complex Checks
Treat each under-sink check like buckling a seatbelt before a drive—small and simple, but with major impact if an emergency arises down the line.
Think of running your hand along plumbing the same way you’d pull freshly laundered clothes to check they’re dry: tactile feedback confirms a full inspection’s been done.
Tidy up stored items beneath sinks every few days. Just as reorganizing helps you notice missing kitchen supplies, it also exposes hidden leaks or shifting containers.
Conclusion: Make Leak Detection a Non-Negotiable Home Habit
Focusing on daily, bite-sized steps transforms leak detection from a burdensome chore into second-nature home care. Simple habits make major water issues rare exceptions.
Integrating quick routines after common tasks—like morning coffee or evening tidying—guarantees leaks are stopped before damage escalates. Rapid detection lets you resolve issues in minutes, not weeks.
With regular, mindful observation, leak detection becomes effortless protection for your space, wallet, and peace of mind. Prioritize prevention to keep your home dry and your daily life undisturbed.

Pool Closing and Cleaning Before the First Frost
Protect your pool this winter. Learn essential pool cleaning and closing steps before the first frost. Follow this reliable, expert-backed guide for a clear, hassle-free